-
-
First you will be removing the hotend from the Printer. Remove the lanyard clip from the PTC clip as shown by the arrow in Pic 1.
-
Once unclipped, press down on the black ring on the PTC adapter and slide the PTFE tube out of the hotend as shown in Pic 2.
-
Cut and remove the Zip tie holding the whip to the SE300 board as shown in Pic 3.
-
-
-
Slide the rubber boot up off the 10 pin connector as shown in Pic 1. Unclip the 10 pin connector from the SE300 board.
-
Slide up the rubber boot from the power connector and the thermistor plug as shown in Pic 2. Unplug both of these connectors and this will remove the whip from the hotend.
-
Unclip the arms from the hotend platform and remove the hotend from the machine.
-
-
-
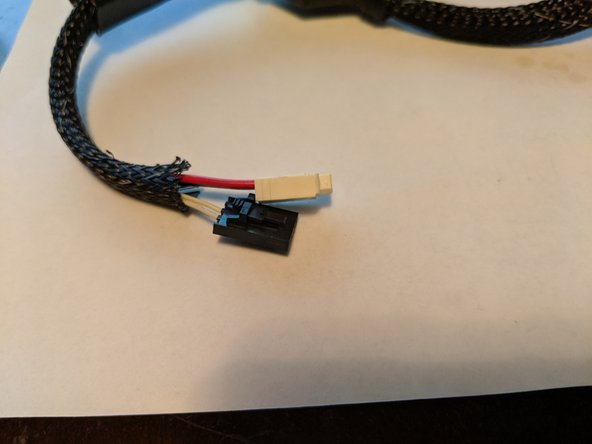
We will be working on the side with the 2 plugs. This is the power and thermistor plugs as shown in Pic 1.
-
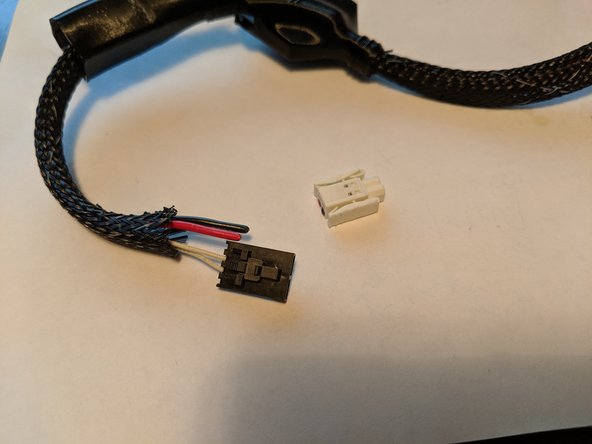
You will want to cut off the white 2 pin plug as close to the plug as you can as shown in Pic 2.
-
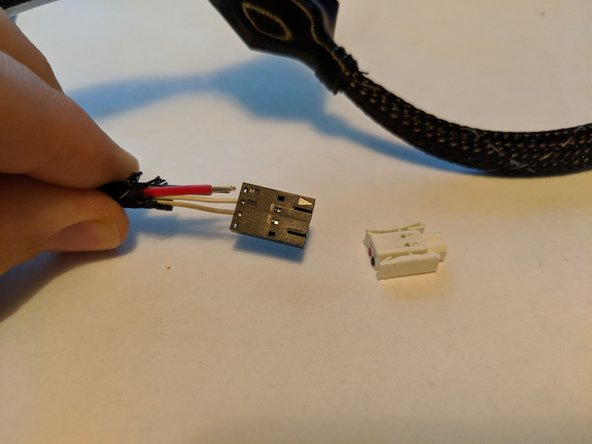
Strip about 3mm of wire from the red and black wires as shown in Pic 3.
-
-
-
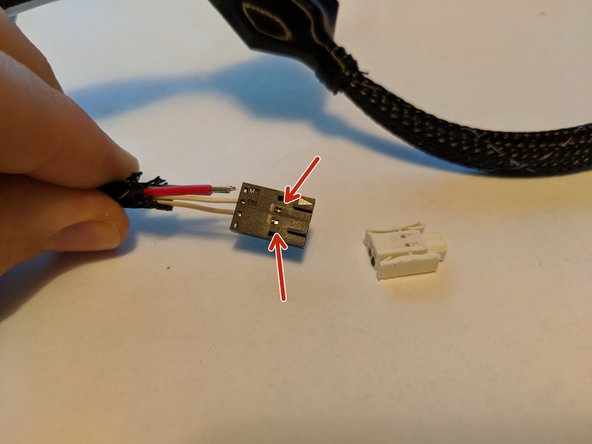
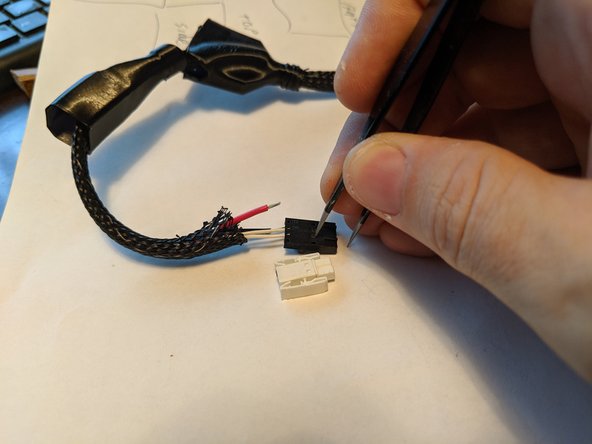
You can see in Pic 1 there are windows in the plug for the thermistor. You can see the metal plugs in the center 2 positions where the thermistor wires go.
-
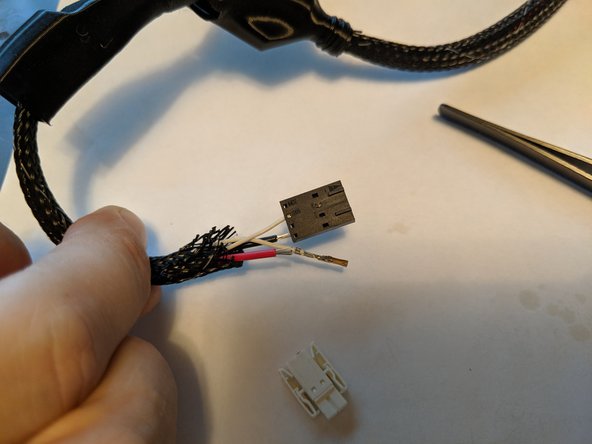
You will want to insert something into the window to press on the metal tab that holds the wire into the plug and slide the wire out of the plug. In Pic 2 I am using a pair of tweezers to press on the locking tab.
-
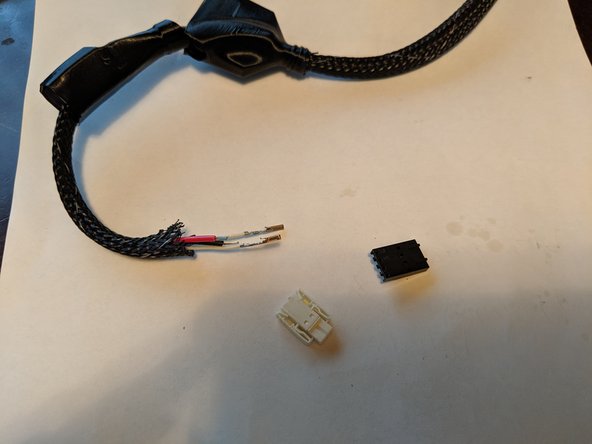
Pic 3 shows one of the thermistor wires removed.
-
-
-
Repeat the previous step with the other thermistor wire to remove the black clip from the thermistor wires. as shown in Pic 1.
-
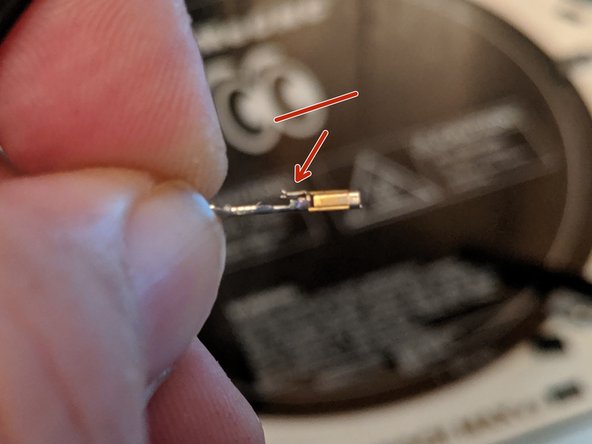
Pic 2 shows the tab on the metal connector that has been depressed in order to remove it from the plug.
-
With your fingernail, GENTLY lift this tab up to bend it slightly up so it can be re-used as shown in Pic 3. Compare Pictures 2 and 3 and you will see the tab lifted.
-
-
-
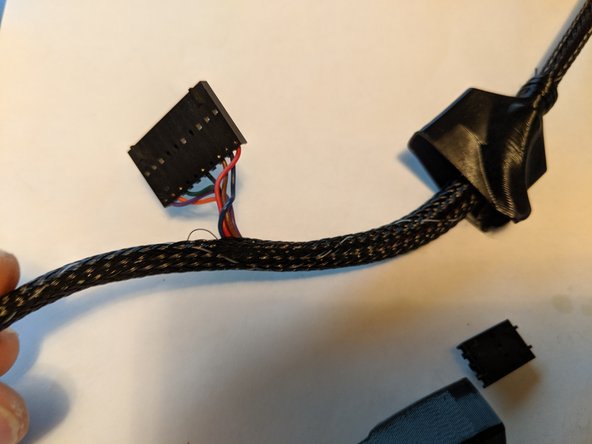
We will now be working near the 10 pin plug. Slde the boot up and out of the way to work in this area as shown in Pic 1.
-
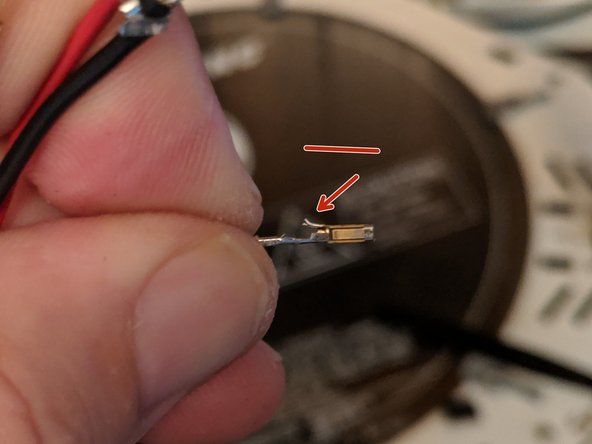
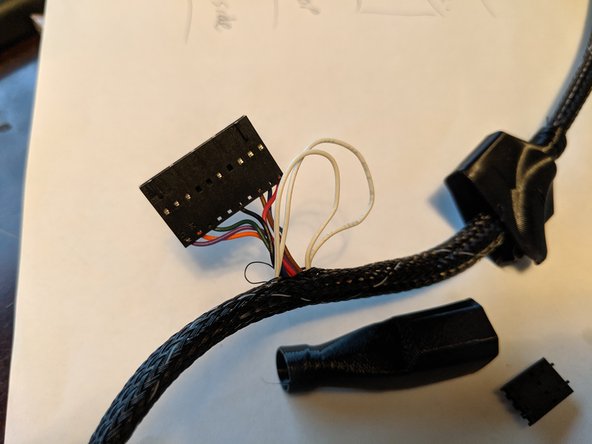
Using something like needle nose pliers, you will reach into the loom in the gap where all the wires for the 10 pin plug come out and grab the white wires and start to slide them out as shown in Pic 2.
-
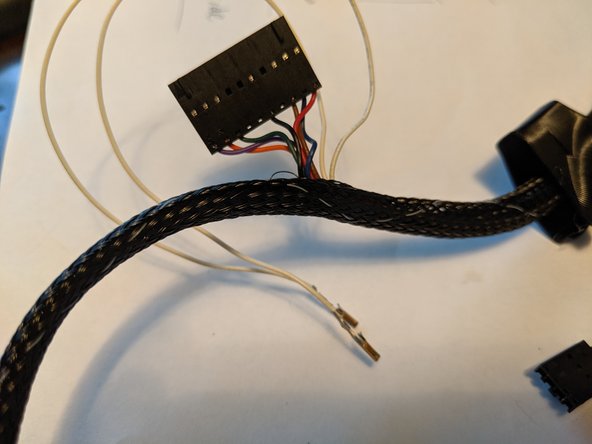
Slide the thermistor wires all the way out of the loom to exit the same area the wires for the 10 pin harness come out as shown in Pic 3.
-
-
-
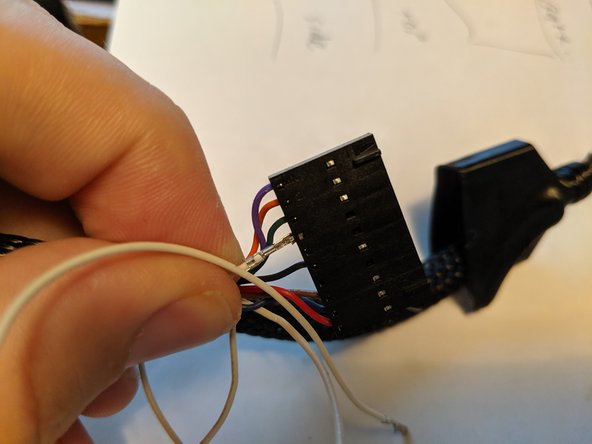
There are 2 empty spaces in the 10 pin plug next to each other between the green wire and the black wire. This is where the thermistor wires will be plugged into.
-
The tab you previously lifted on the thermistor wires will face the side of the plug with the windows in order for it to slide fully in and lock into place as shown in Pic 2. You will hear an audible click when fully inserted.
-
Insert both thermistor wires side by side into the two empty locations and fully lock the plugs in place as shown in Pic 2.
-
-
-
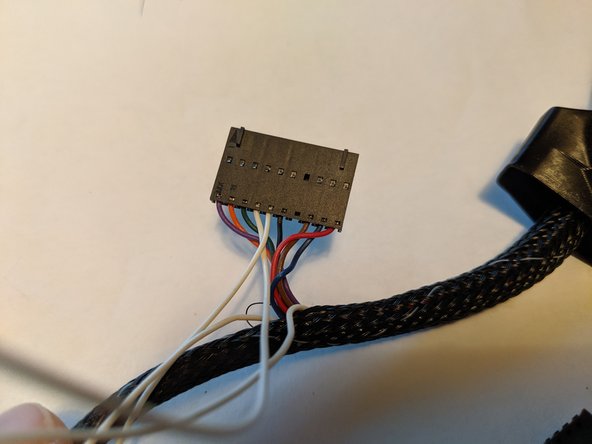
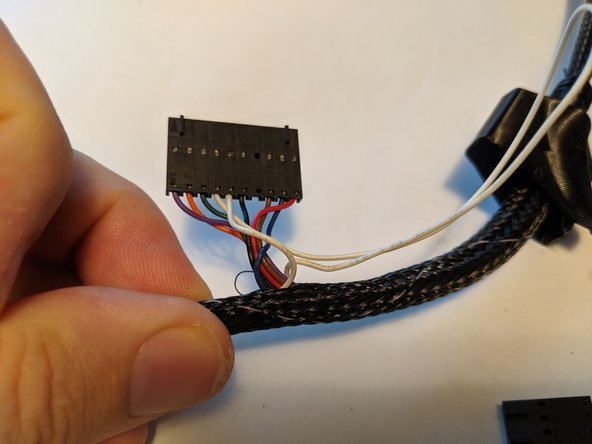
You will have excess white thermistor wires sticking out of the harness. You will want to feed that wire back into the loom heading down where they came out of towards the red and black plugs. You can see the wire fed back in Pic 1.
-
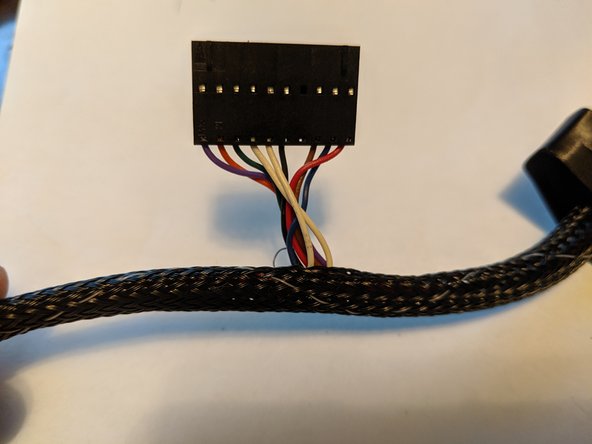
Repeat this for the other thermistor wire until the wires are clean as shown in Pic 2.
-
-
-
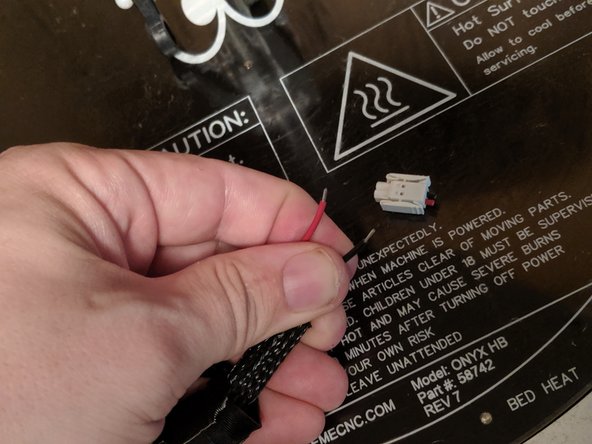
Working back on the red and black power wires, you will get the two crimp on terminals for the red and black wires.
-
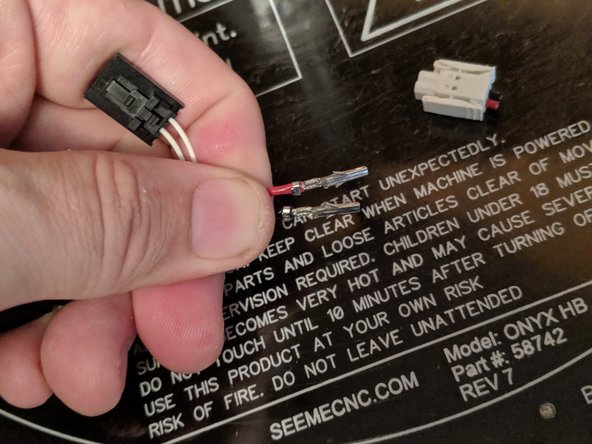
The crimps have 2 sets of tabs sticking up from them. One longer set at the back of the crimp, and one on the inside that are smaller. You will want to place the bare portion of the wire inside the smaller tabs on the inside, while having the coated part of the wire inside the longer tabs.
-
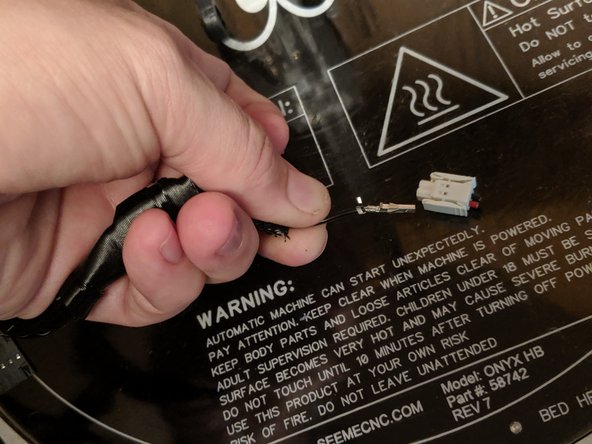
Using a crimping tool such as a PA-09 crimping tool, use the 1.9mm crimp slot to crimp and secure the bare wire part on the inside tabs as shown in Pic 2.
-
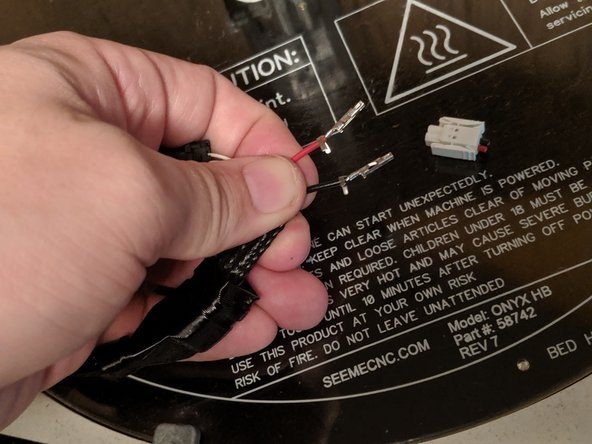
Repeat this process on the red wire as shown in Pic 3.
-
-
-
Now you still have the long tabs to crimp down. I found it easiest to cut these tabs in half using a small pair of precision cutters and using needle nose pliers to bend the tabs over slightly. Then I used my crimping tool to complete the crimp as seen in Pic 1.
-
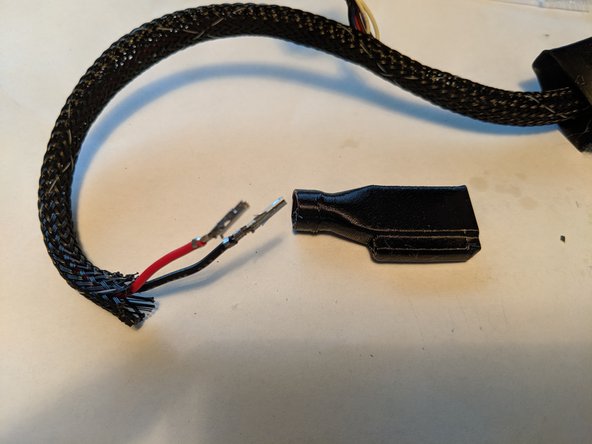
With both wires crimped, you will get the rubber boot for the new plug as shown in Pic 2.
-
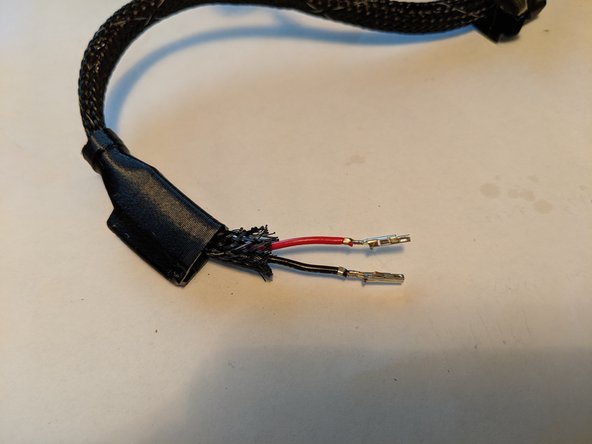
Insert the wires and loom into the boot and slide the boot up the whip as shown in Pic 3.
-
-
-
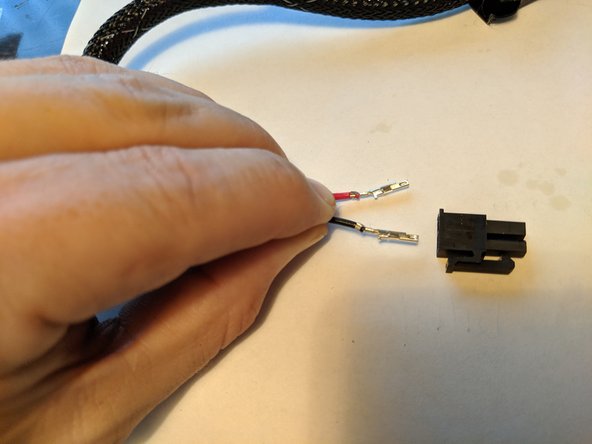
We will now get the black connector for the power plug and install the wires into this plug. If you look carefully at Pic 1, I am holding the wires the way they will insert into the plug.
-
There are tabs on each side of the metal plugs and they are inserted with the tabs facing the long flat side of the black connector. This is how the wires are being held in Pic 1 and how they will insert into the black housing.
-
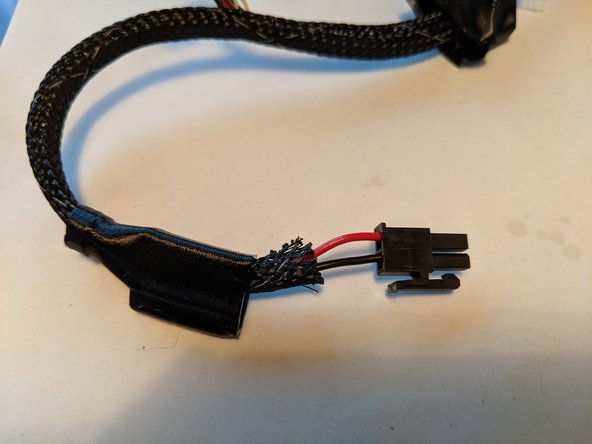
The black wire will go on the side of the black housing with the clip on it. THIS IS IMPORTANT as polarity DOES matter!
-
You will insert the red wire on the opposite side of the clip as shown in Pic 2.
-
-
-
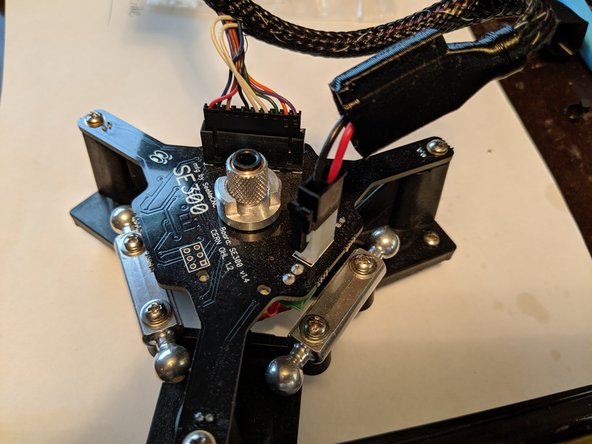
You can now plug the modified whip into the V1.4 SE300 hotend as shown in Pic 1.
-
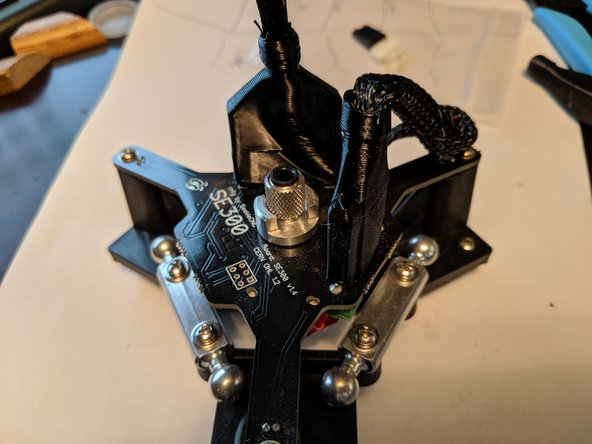
Slide the boots down to cover the plugs as shown in Pic 2.
-
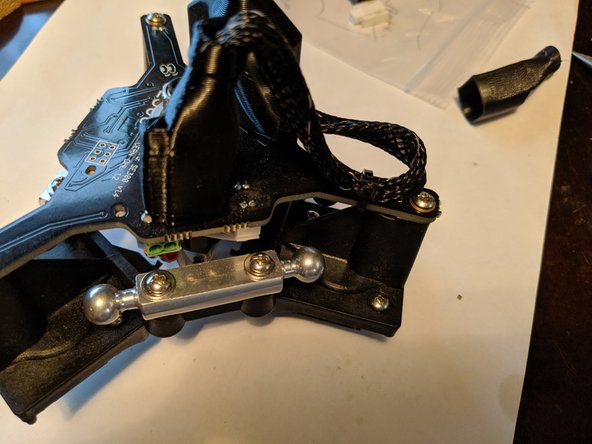
Install a zip tie to secure the whip for the power wires to the SE300 board as shown in Pic 3.
-
-
-
You can now connect the PTFE tube to the PTC adapater and install the locking lanyard that you removed in the beginning of this guide.
-
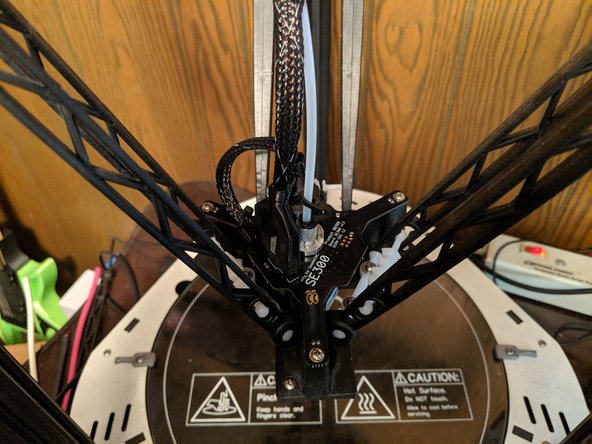
Now connect the arms back onto the platform to complete the installation. The proper orientation of the hotend has the golden blinky eyes facing the front of the machine as shown in Pic 1.
-
Congratulations! Your whip modification and install of the SE300 V1.4 Hotend is complete! You can now re-calibrate your machine and start printing!
-
Cancel: I did not complete this guide.
One other person completed this guide.


