Difficulty
Moderate
Steps
7
Time Required
- Cura - DUET Dual Extrusion Setup 7 steps

In Progress
This guide is currently being written. Reload periodically to see the latest changes.

Private
This guide will not appear in search results and can only be viewed by team members!
Quiz
0
Introduction
Please note that dual extrusion is for advanced users. You should have some advanced knowledge on some G-Code and how to solve random issues that may arise such as filament jams.
-
-
Start by downloading Cura 3.3.1 or later as this is what our profiles are designed for.
-
Cura can be downloaded here: Cura
-
-
-
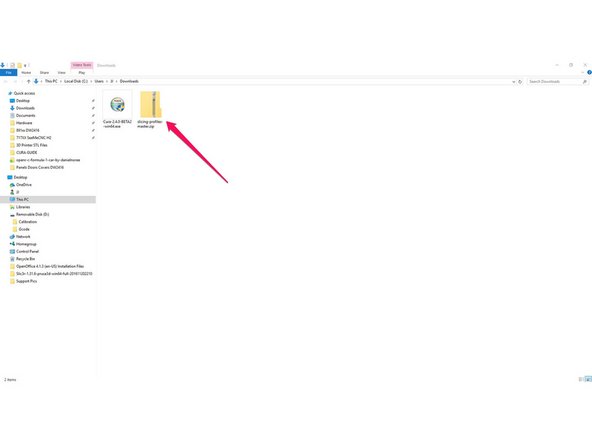
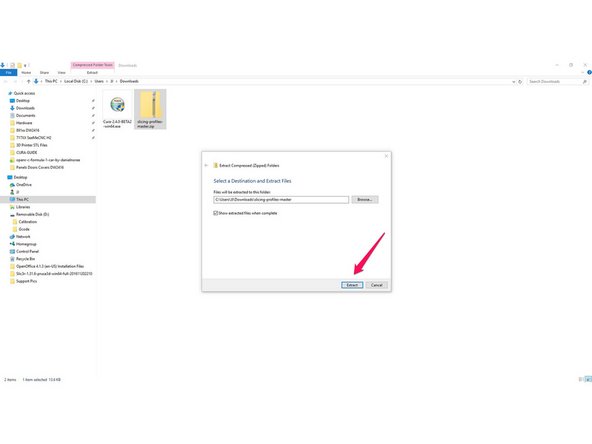
Download and extract the SeeMeCNC Slicing Profiles
-
Save/move them to a location where you can access them in the future steps / or to return to defaults.
-
There are several different pre-configured slicing profiles for you to choose from. They have been broken into categories for hot end type (ERIS, HE280, & SE300) and slicing engine(MatterControl, Slic3r, & Cura) . This guide will show you how to import the appropriate settings in future steps.
-
HE280 comes stock on all Orion Delta and Rostock Max v3 printers
-
SE300 comes stock on the Artemis 300 and Rostock Max v3.2
-
-
-
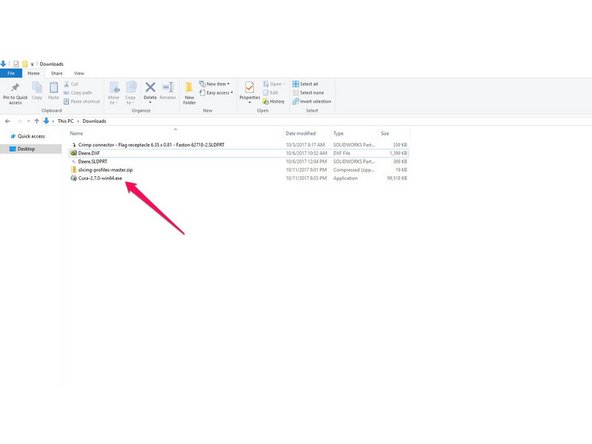
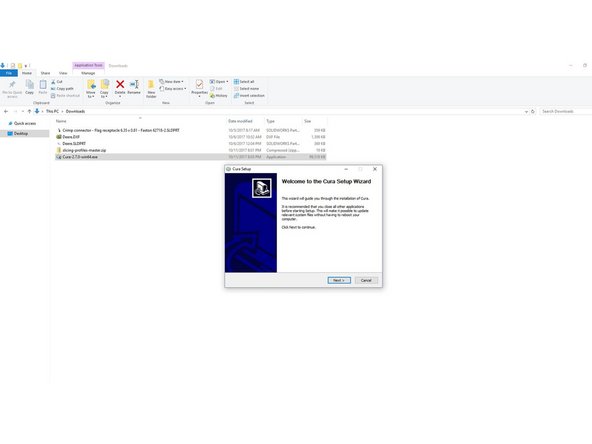
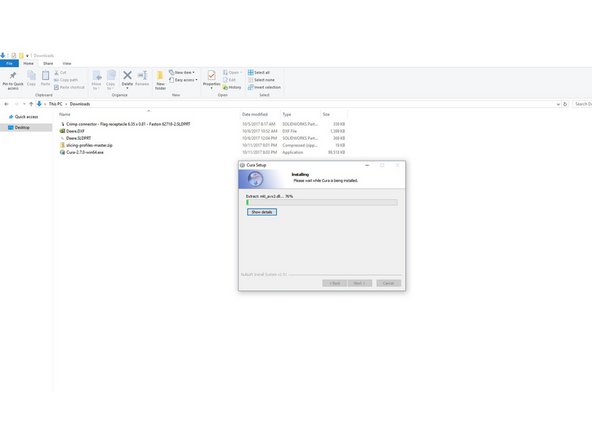
Double click on the Cura install that you downloaded.
-
Follow through the prompts to specify the installation location, file types, etc.
-
When the install is complete, click the finish button on the setup dialog, that will automatically launch Cura.
-
-
-
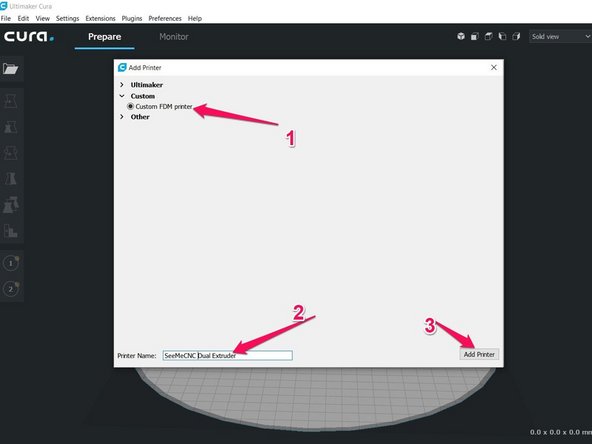
When CURA opens you will automatically be presented with the option to add a printer. Choose: Custom > Custom FDM printer
-
Give the printer a Name (Your Preference). If setting up as dual extruder, you should label this profile as such.
-
Click on: Add Printer
-
-
-
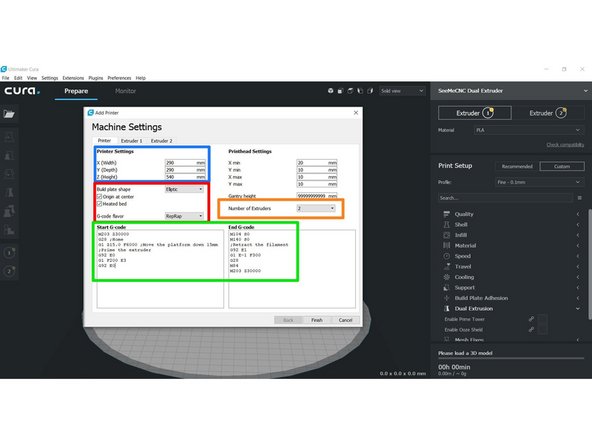
You will need to configure your printer on this page. The box in blue notes settings that are specific to your machine type (These settings are noted below for each machine.) The boxes in red should be set as shown in the image . The box in orange should be set to 2 for dual extrusion.
-
The box in green should match for any machine using Duet electronics (Artemis and Rostock Max v3.2). If using rambo electronics the green box should match EXCEPT the line "M203 Z30000".
-
Artemis 300 Settings: X 290 Y 290 Z 540
-
Rostock Max v3 and v3.2 Settings: X 265 Y 265 Z 400
-
Click Extruder 1 to proceed to the next step.
-
-
-
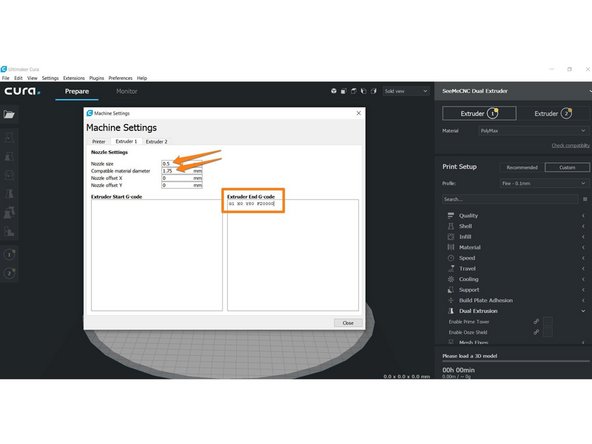
Set nozzle size to 0.5 *This is our stock nozzle size, if you are using a different nozzle size, put the correct nozzle size here*
-
Set filament size to 1.75
-
In "Extruder End G-Code" match in the picture. You will add the line "G1 X0 Y80 F20000"
-
This is where knowledge of the printer comes in. The extruder end G-Code is used to move away from the print to swap filament. If your print is in this area, use a different X / Y coordinate to avoid any ooze on your print.
-
Click the tab labeled Extruder 2 to continue to next step.
-
-
-
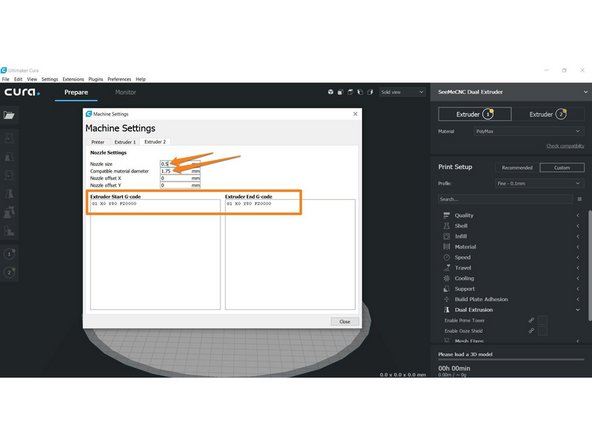
Set nozzle size to 0.5 *This is our stock nozzle size, if you are using a different nozzle size, put the correct nozzle size here*
-
Set filament diameter to 1.75
-