-
-
First, press the reset button the control panel. This will ensure that the extruder stepper is powered down. You can't easily turn it if it's active.
-
Press in the knob on the control panel and turn it to select the Adjust Temps menu item. Press the knob in to select it.
-
Turn the knob to the NOZ Temp and push it in to select, then rotate the knob clockwise to increase the temperature. Set the temperature to what you normally print the loaded filament with.
-
Push the knob in to "commit" the value you set.
-
-
-
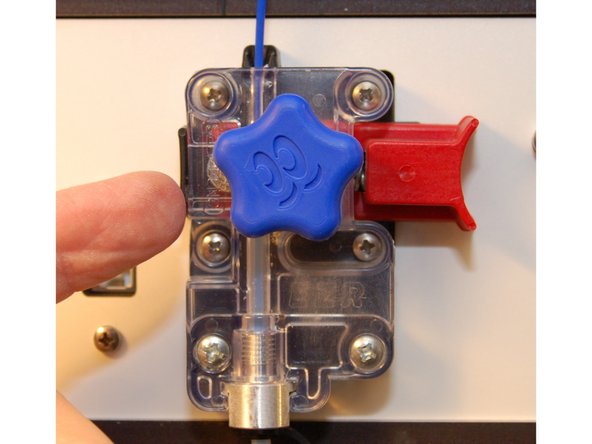
When the hot end has reached the target temperature, rotate the manual feed knob counter-clockwise to feed 10mm or so of filament. This helps ensure there are no clogs before you load new filament.
-
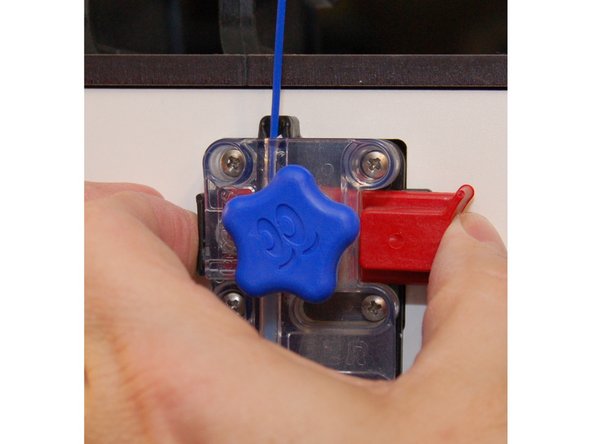
Squeeze the plunger assembly between your thumb and forefinger to release the "grip" on the filament and manually pull the filament free of the extruder.
-
-
-
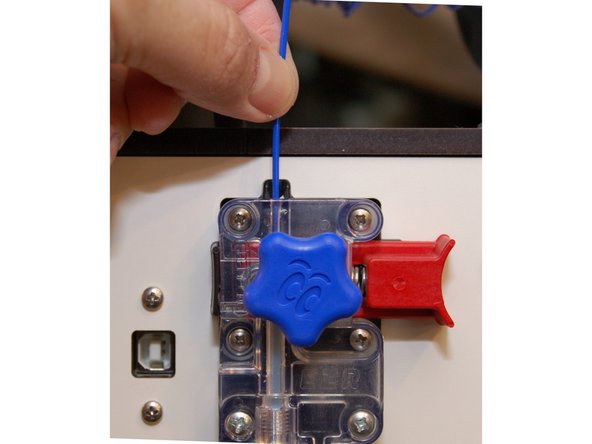
Insert the new filament into the top of the extruder until it stops.
-
Squeeze the plunger in to feed the new filament into the extruder. Feed it all the way through and in to the hot end.
-
Once the new filament has reached the hot end, turn the manual feed knob clockwise in order to purge out the previous material. Do this until you see the pure color of the new filament.
-
You're done!
-
Cancel: I did not complete this guide.
5 other people completed this guide.
3 Comments
Hi Gene, how do you turn back on the extruder stepper when complete? Thanks! SHAWN
Shawn Chase - Resolved on Release Reply


