
Introduction
How to properly remove and replace the SE300 whip with the newer revision (7-10-2018) whip. This guide is written specifically for the Artemis 300.
Parts
No parts specified.
-
-
First, click here to read safety information . This safety information may be updated at anytime so occasionally check for updates.
-
NOTE: This guide is intended to be followed online in order to fully utilize the links and documentation found within.
-
Open and inspect the contents of your shipment to ensure you have all the parts listed on the BOM.
-
-
-
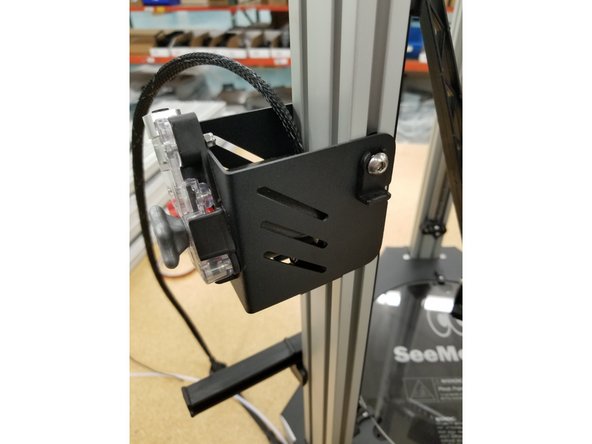
There are six plastic rivets holding the top cover in place. Use a sharp object (carefully) to pop the rivets up and remove them.
-
When removing the top cover, make note of the position of the fan connector on the Duet board. Unplug the fan and set the cover aside for now.
-
-
-
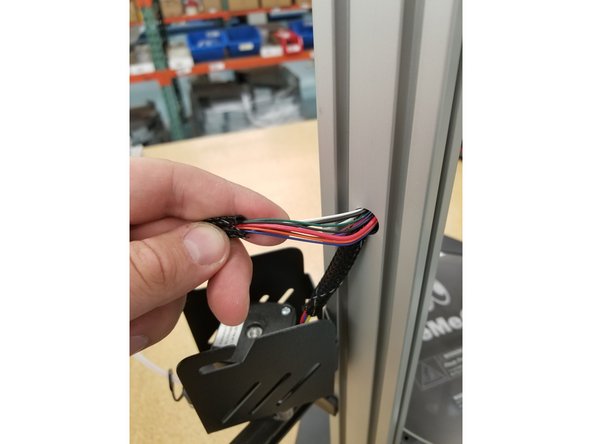
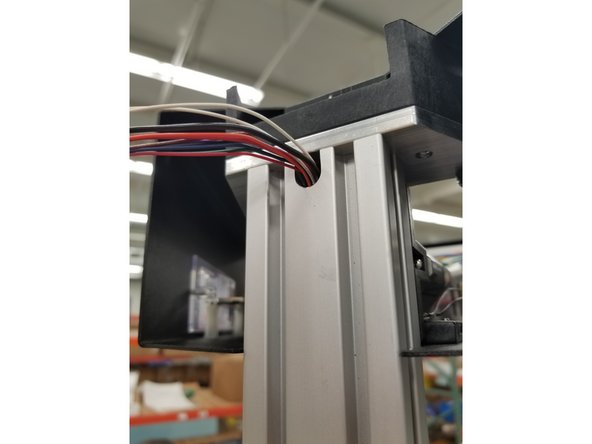
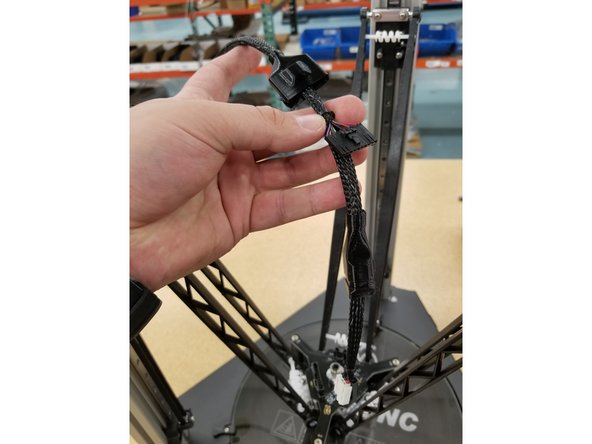
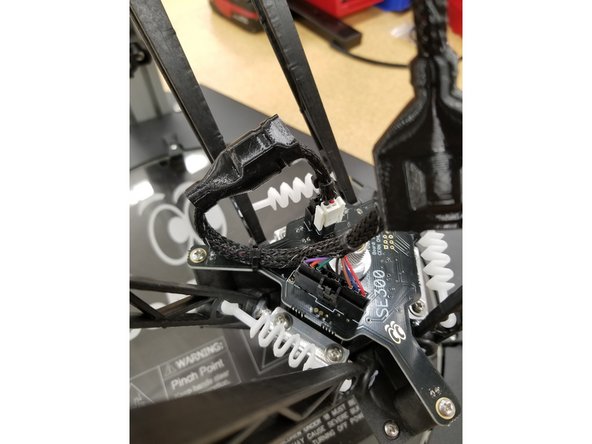
Coming from the X tower, a short section of mesh loom houses the hotend whip wires and the extruder wires. Disconnect all connectors on wires exiting this mesh loom.
-
-
-
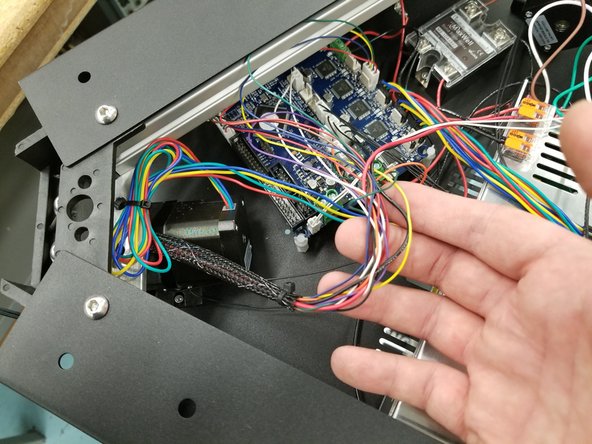
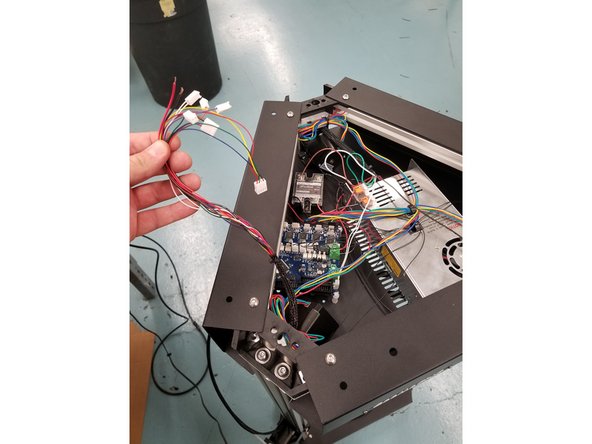
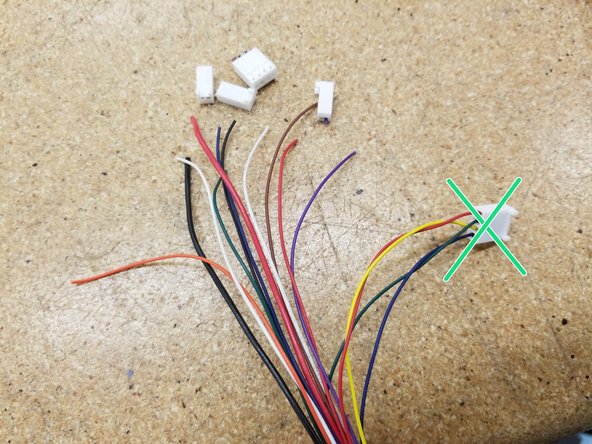
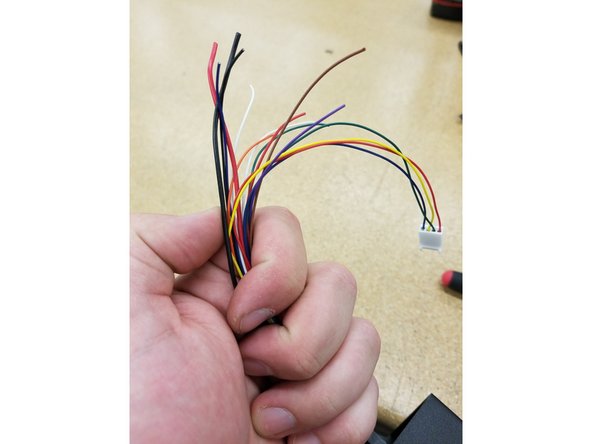
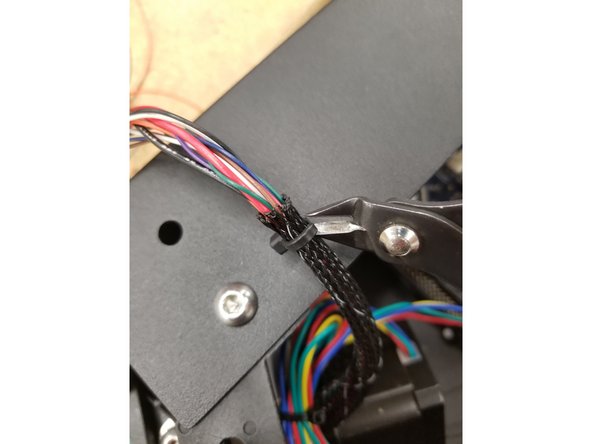
You will need to snip the terminals off the ends of all the wires you unplugged form the Duet. Don't snip the extruder terminal!
-
Seriously, don't snip the extruder terminal!
-
-
-
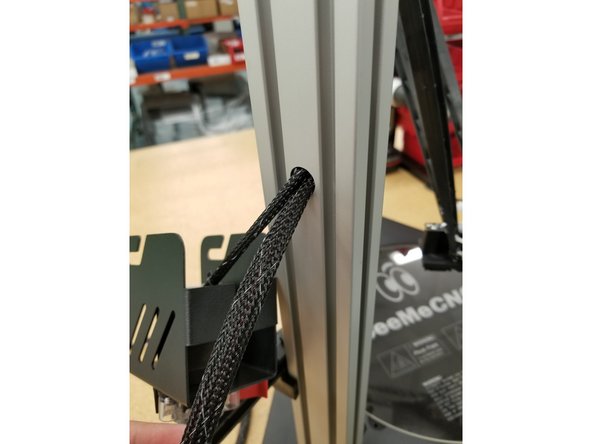
Snip the zip tie on the short section of mesh loom exiting the X tower and remove the mesh loom. This mesh loom is only installed at the factory to prevent wire pinching during the initial machine assembly. It won't need to be re-installed after these steps if you don't wish to.
-
Rotate the spool holder in the outer position.
-
-
-
Loosen the bolts holding the extruder assembly in place.
-
Make sure not to loosen them TOO much, as the T-slot nut can be difficult to realign if it falls down the tower.
-
Remove the extruder assembly and rest on the spool holder to keep it out of the way for future steps.
-
-
-
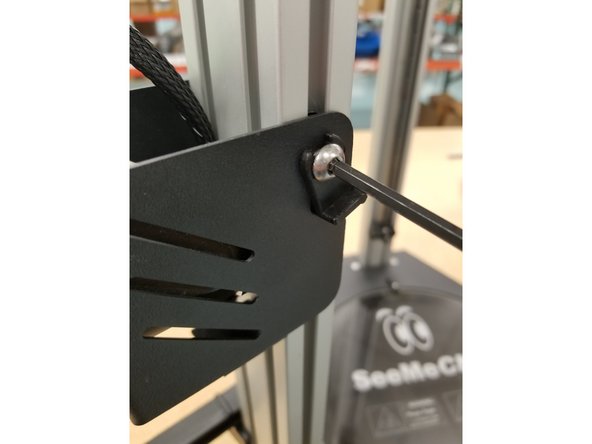
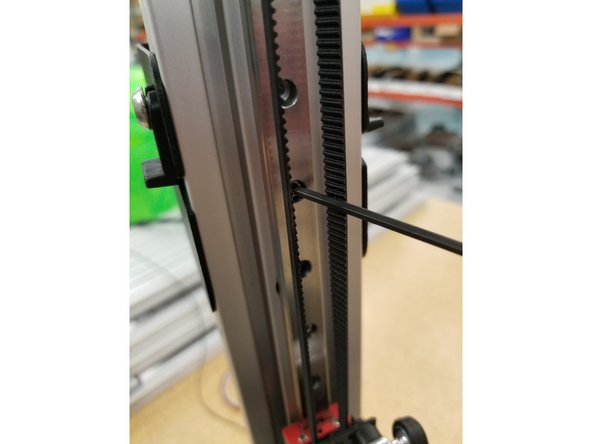
Remove the linear rail bolts from the top of the tower down to the last bolt before the hole where the extruder and whip wires enter the tower.
-
Tip: There are two bolts at the top, then in every other space after that. You should end up removing a total of 12 bolts when you're done.
As far as I can tell these linear rail bolts aren’t removed in order to remove anything else, i.e. the rail will not be removed from the tower.
They are long enough to protrude into the tower cavity and snag any wires that are pulled through, so I am fairly sure that the ONLY reason to remove them is to allow easy passage of the wires.
-
-
-
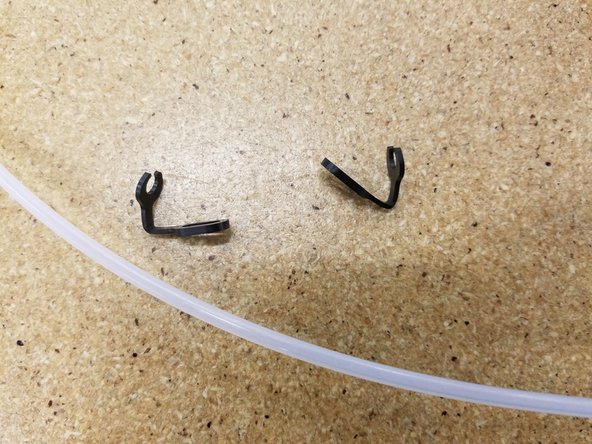
Remove the PTFE tube and lanyard clips.
-
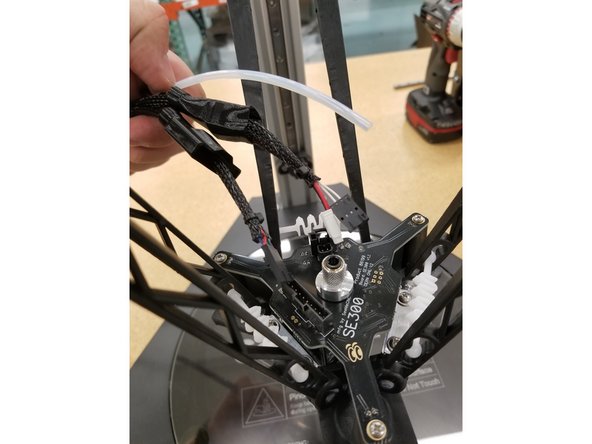
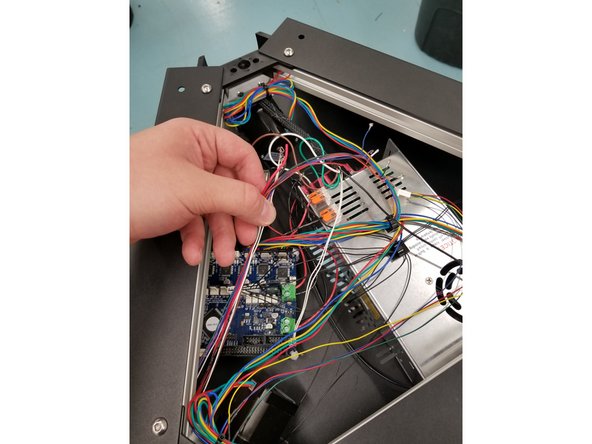
Unplug the connectors from the hotend board.
-
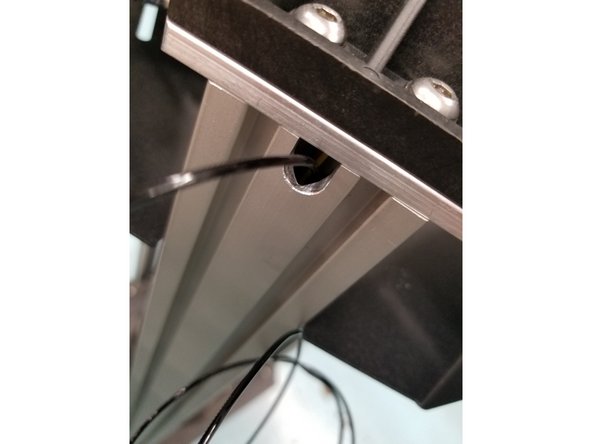
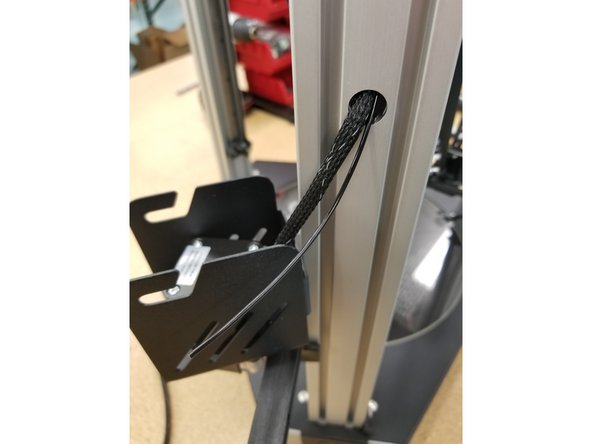
Pull the whip wires from the tower. Be careful here so you can keep the wires for any future needs.
-
Make sure you don't remove the extruder wires.
-
-
-
Snap off a long piece of filament and fish it down the tower, from the notch facing the outside of the machine to the hold the extruder is hanging from.
-
Tape the new whip wires to the end of the filament line. You may need to tape it in multiple places to make sure it's attached well. You don't want to lose your wires in the tower and start all over again.
-
-
-
Pull the wires through the tower until the mesh loom enters the hole in the tower and there is enough wire to reach all the connection points in the top assembly when wrapped around the tower.
-
-
-
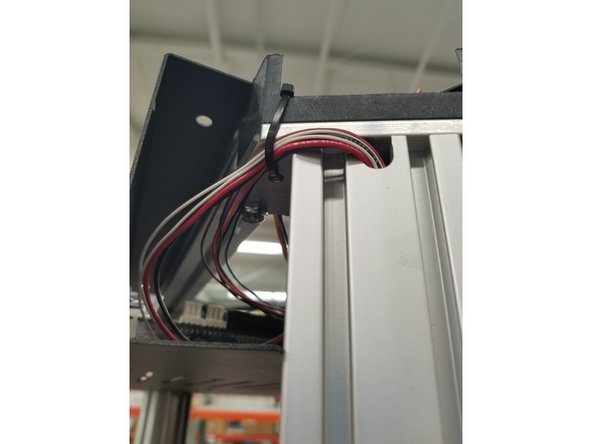
If you want, use an extra zip tie through the unused hole in the machine's frame to keep the wires clean and out of the way.
-
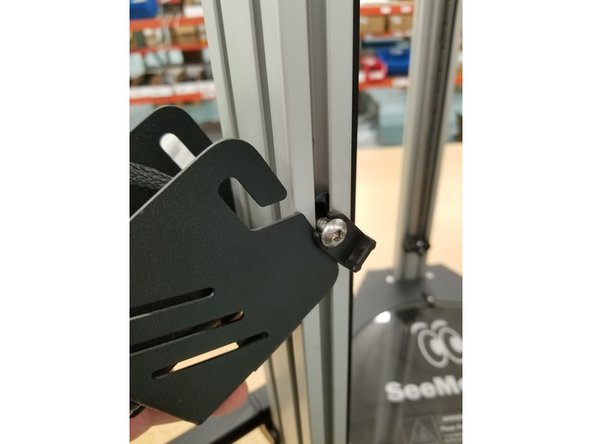
Reinstall the extruder assembly over the hole as it was before.
-
Reinstall the linear rail bolts.
-
-
-
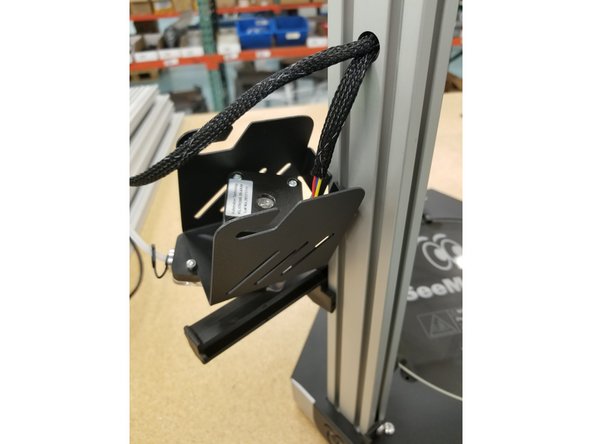
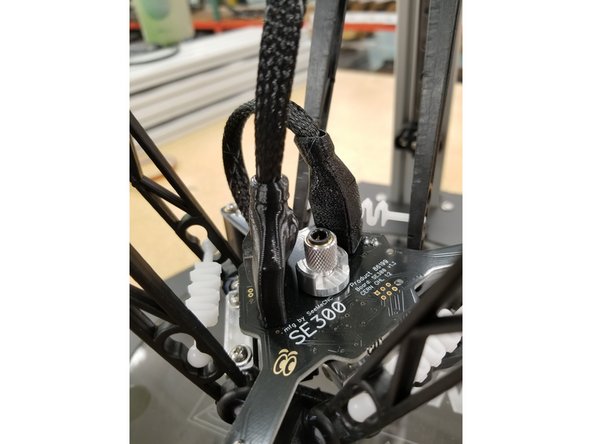
Pull back the cable boots to give access to the connectors at the end of the whip.
-
Plug in the 10 pin SL connector to its home on the hotend.
-
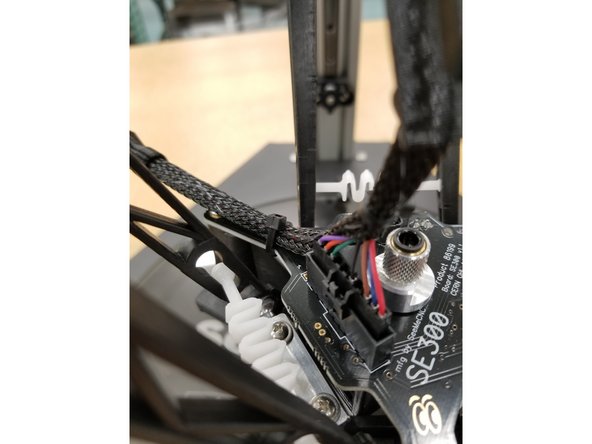
Rout the power and thermistor section of the whip to the back left of the hotend and zip tie around the mesh loom and the hotend board arm as shown.
-
-
-
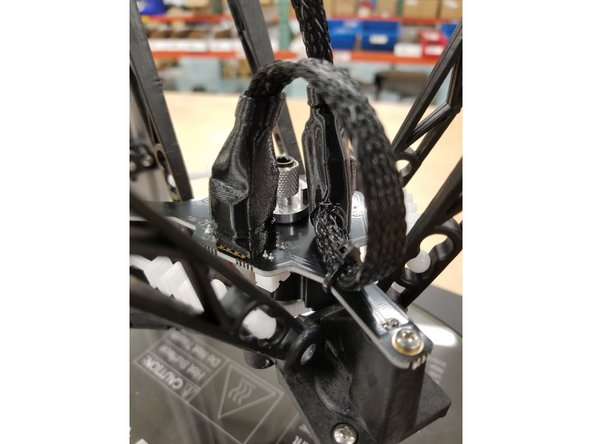
Plug in the 4 pin SL connector and the 2 pin phoenix connector to their homes on the hotend board.
-
Slide the boots in to place, routing the whip extension through the opening in the back of the 10 pin boot as shown.
-
-
-
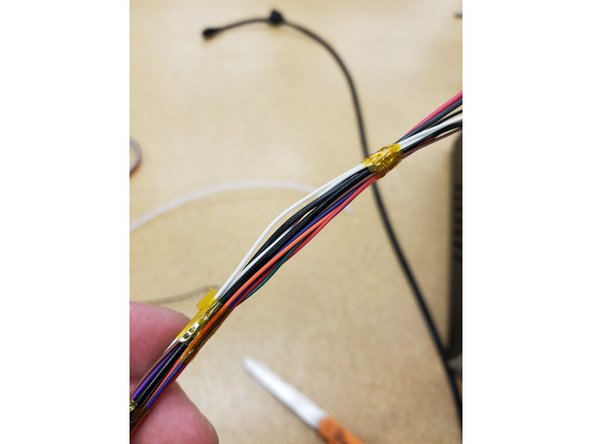
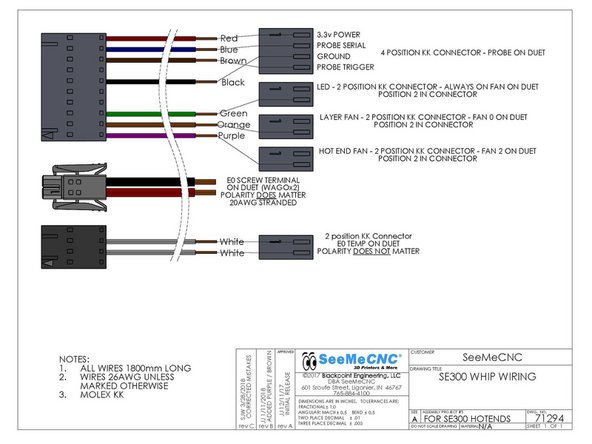
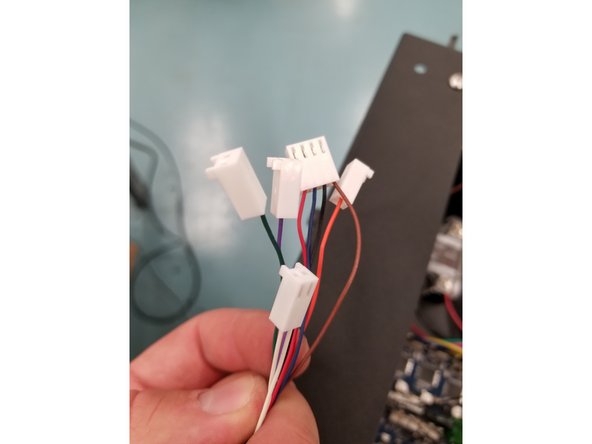
Use the diagram shown to terminate the ends of the hotend whip wires.
-
-
-
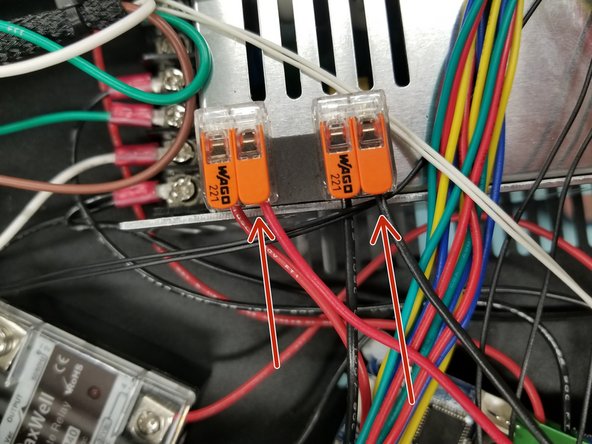
Strip back some extra of the red and black 20awg wire from the whip and reinstall in the WAGO connectors, opposite of what you did to remove them.
-
Make sure to reconnect the extruder motor wires to the Duet.
-
-
-
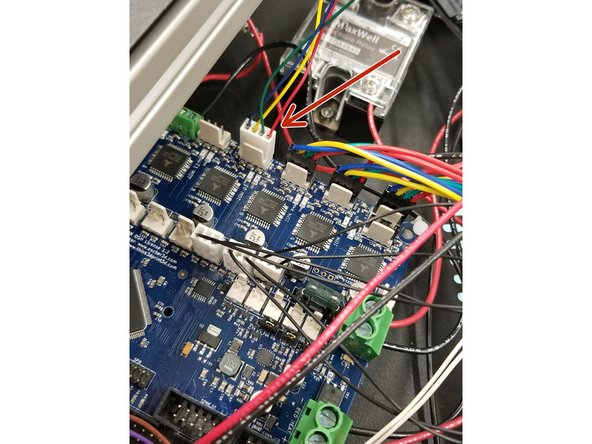
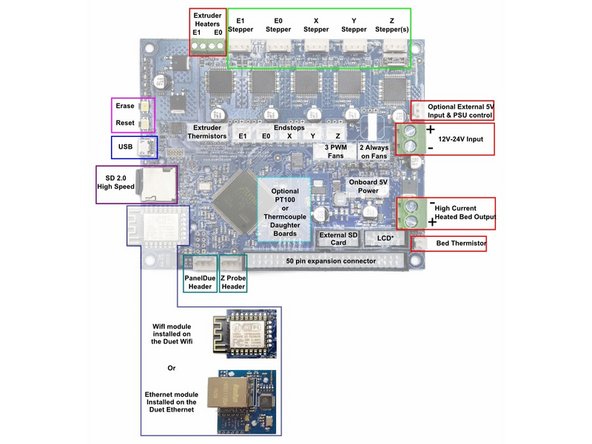
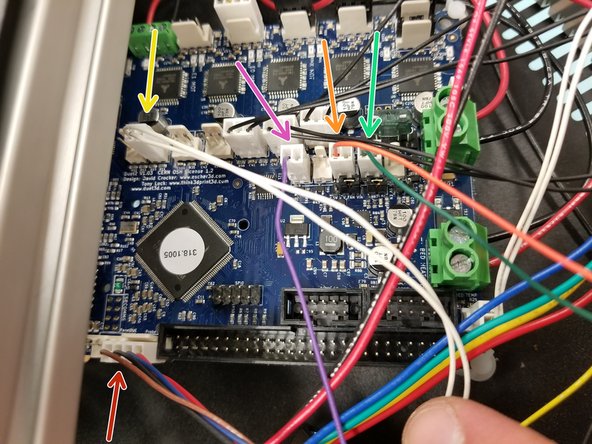
Use the diagram and the photo to re-connect all your whip wires to the Duet
-
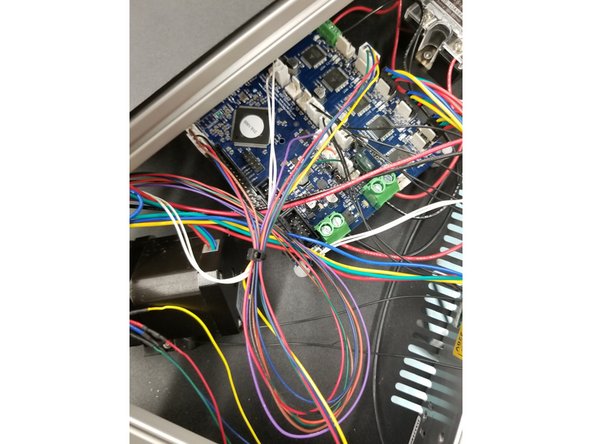
If you want, use any of your remaining zip ties to bundle and clean up the whip wires.
-
-
-
Plug the top cover fan connector back in to place and reinstall the top cover with the push rivets you removed in the beginning steps.
-
-
-
You no longer have to let the machine whip you around!
-
That was a terrible pun, I'll see myself out.
-


Cancel: I did not complete this guide.
One other person completed this guide.

2 Comments
Will this affect the strain sensor probing in the SE300 with the ziptie around one leg?
Mitch Cerroni - Resolved on Release Reply