Difficulty
Moderate
Steps
48
Time Required

In Progress
This guide is currently being written. Reload periodically to see the latest changes.

User-Contributed Guide
This guide is not managed by the site's staff.
Quiz
0
-
-
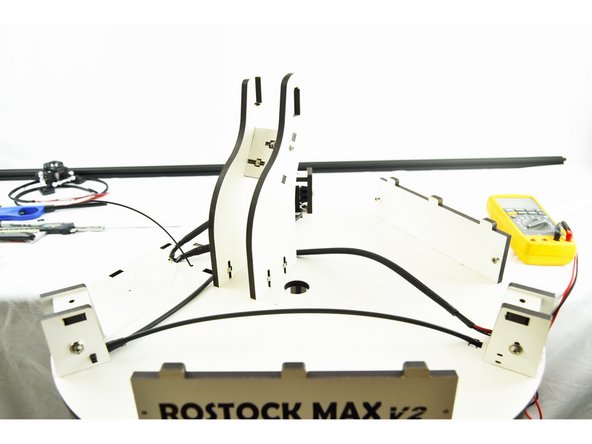
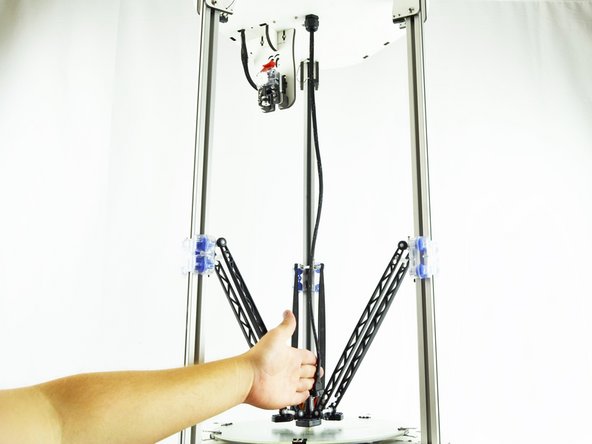
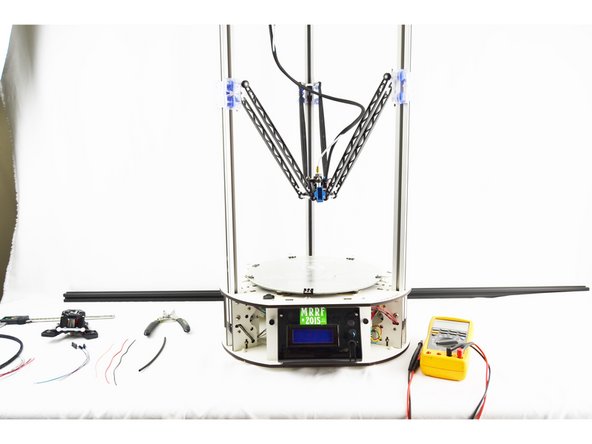
Remove power cable(s), USB, etc from the printer and clear a suitable work-space for performing the upgrade.
-
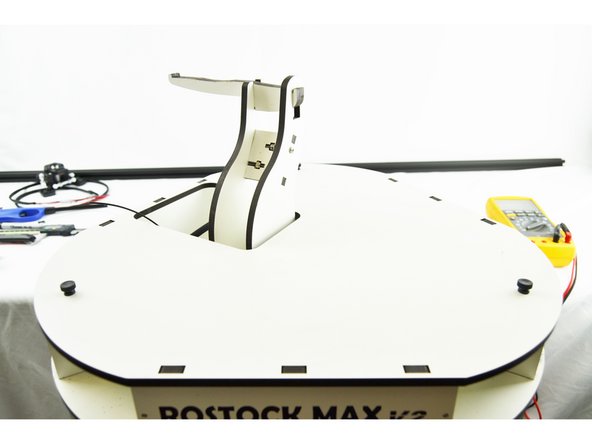
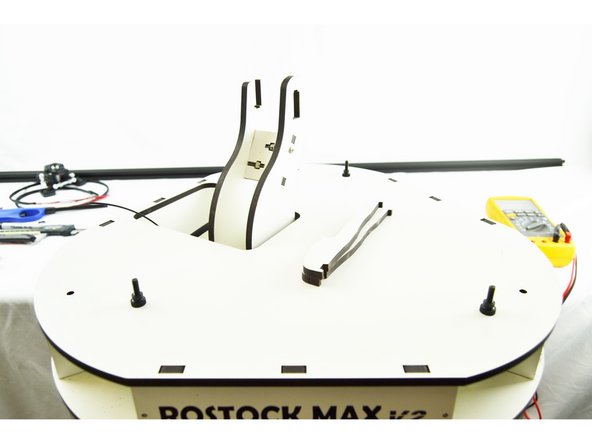
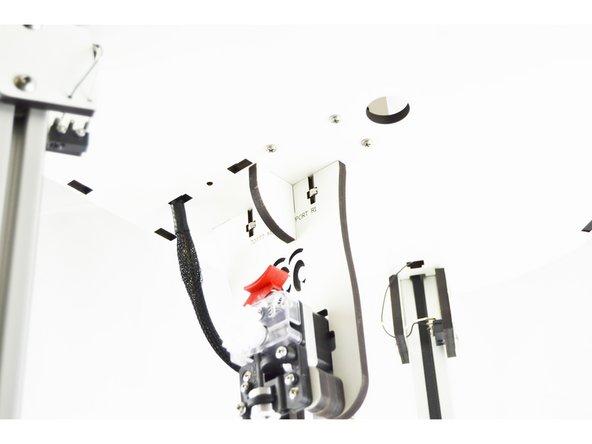
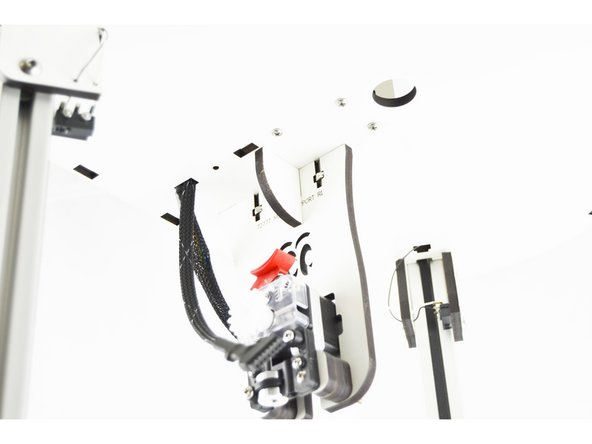
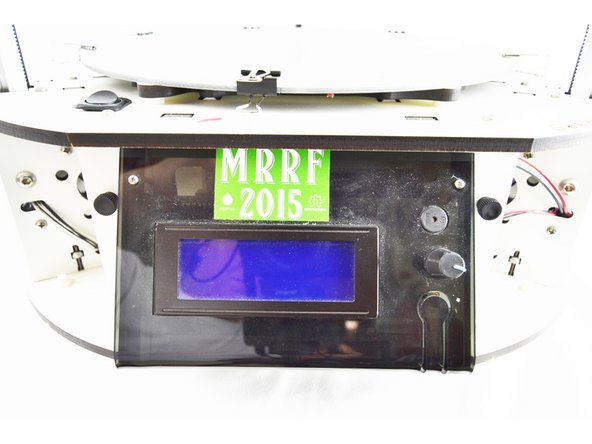
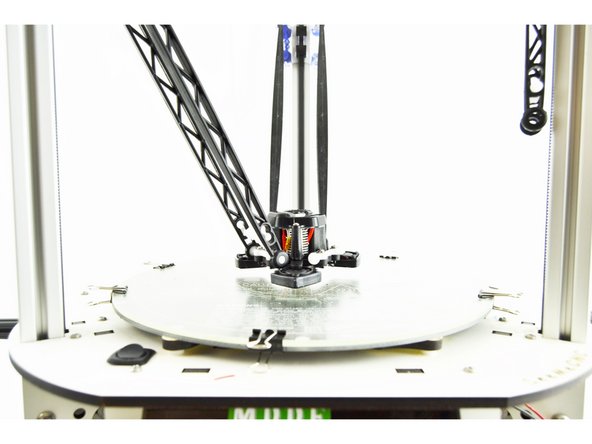
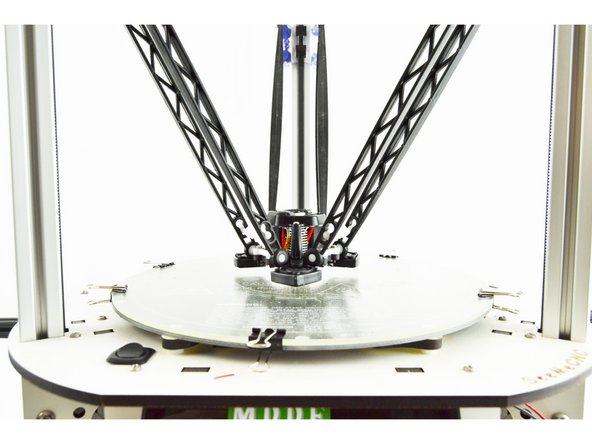
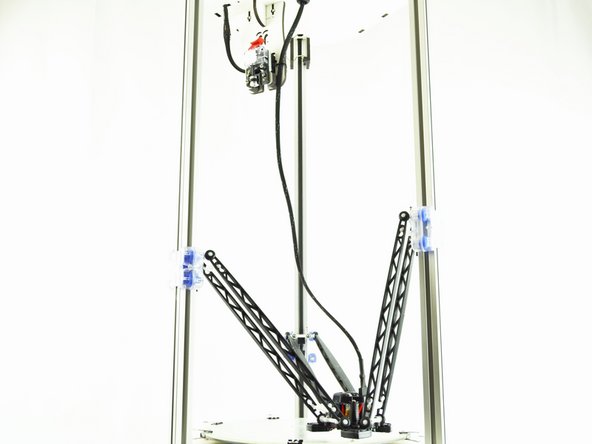
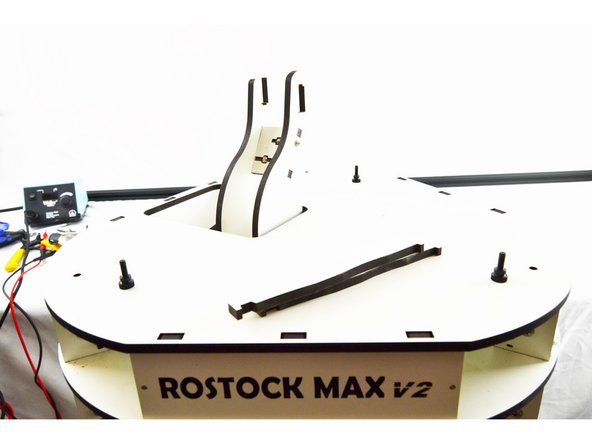
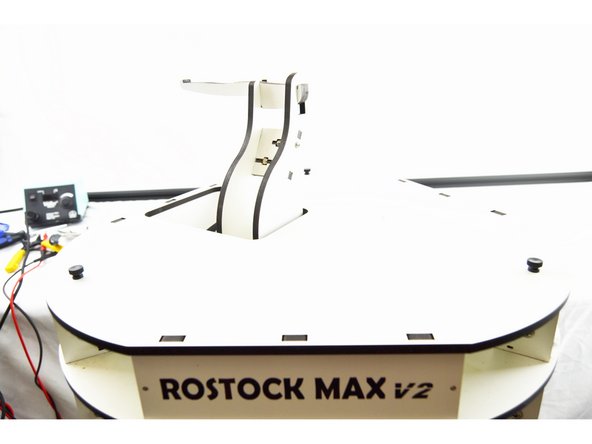
Remove the LCD bezel from the front of the printer.
-
-
-
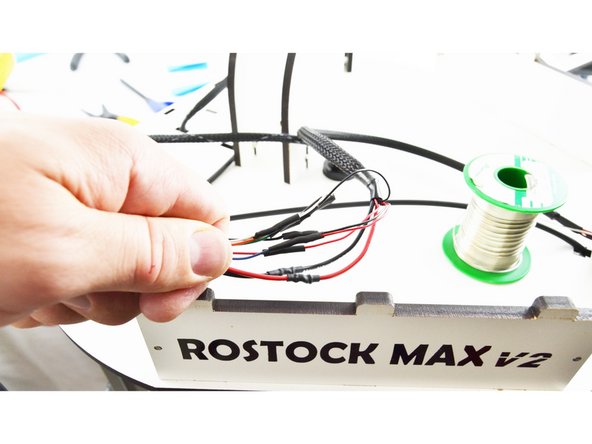
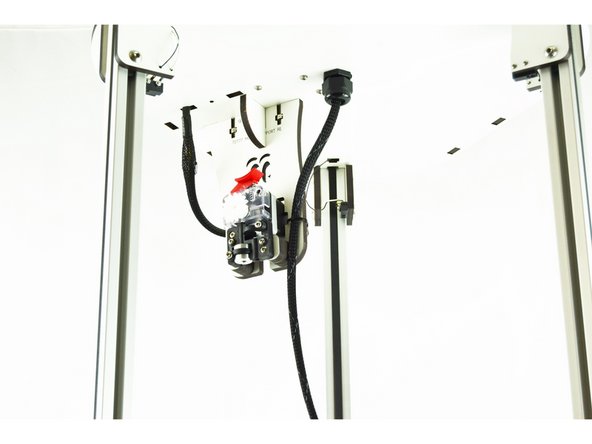
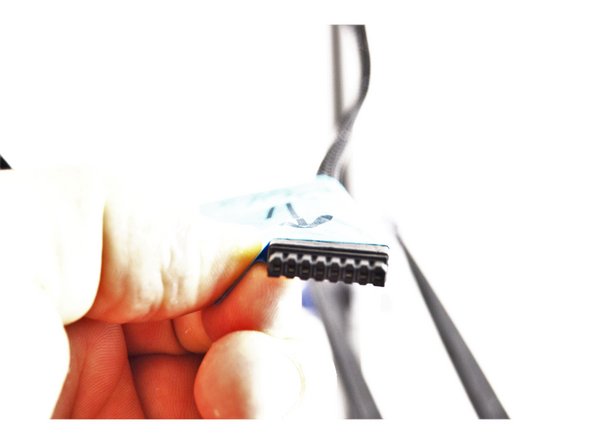
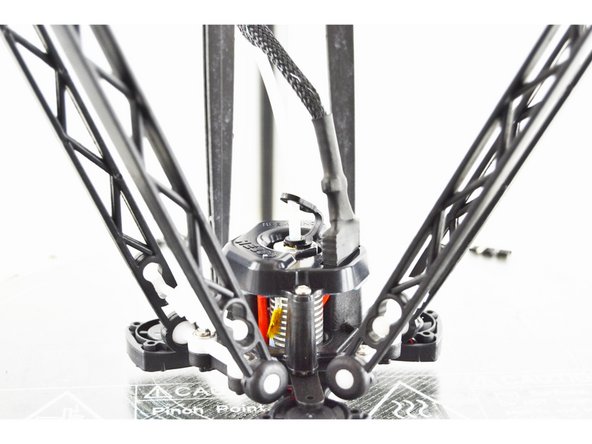
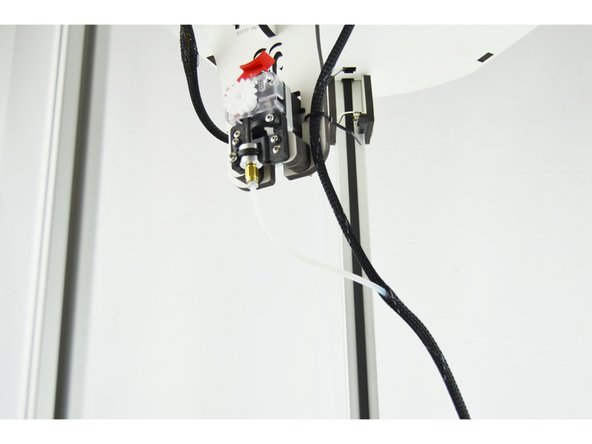
If you purchased the Hotend Whip from SeeMeCNC, it is fully assembled. For upgrading Rostock machines, it will require some modification.
-
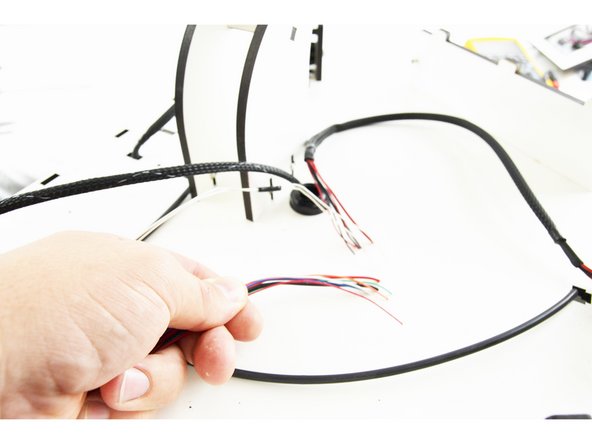
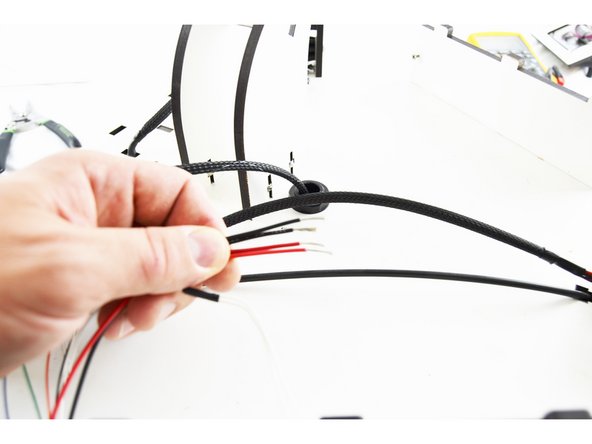
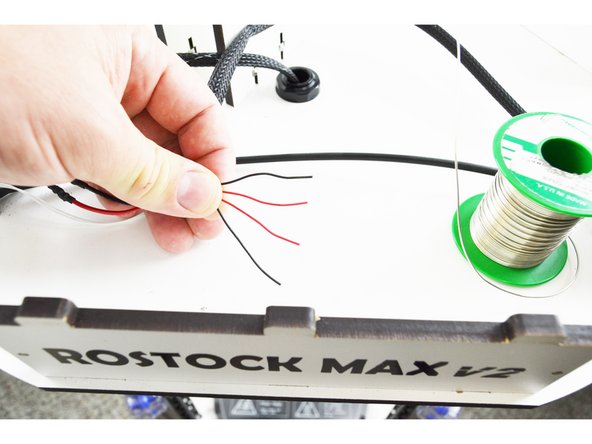
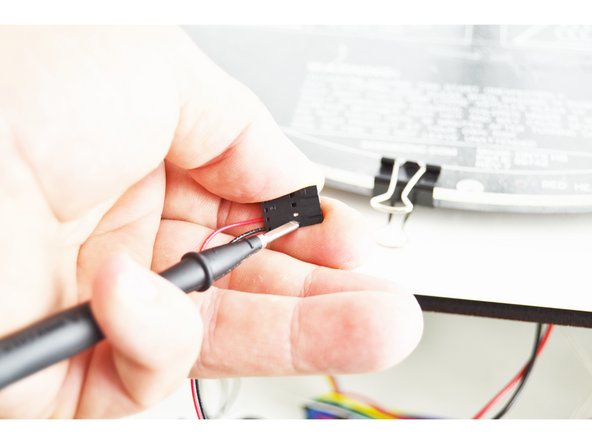
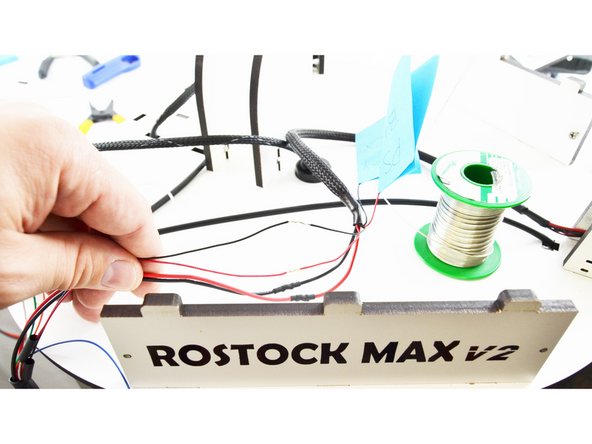
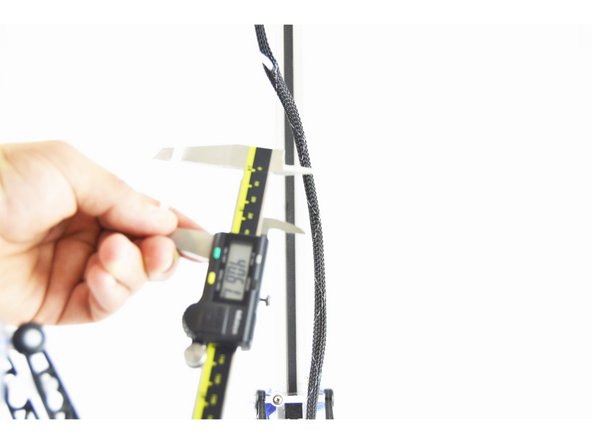
One end of the whip has an 8 pin pluggable connector, the other end has (2) 2 pin connectors & (1) 4 pin connector.
-
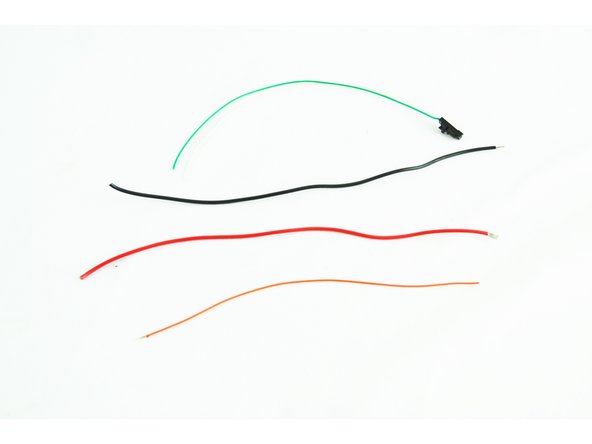
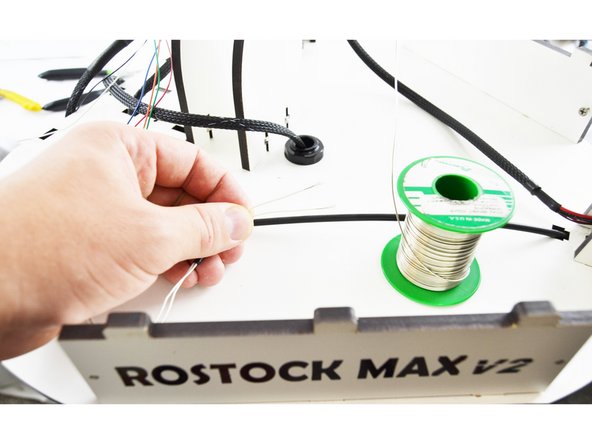
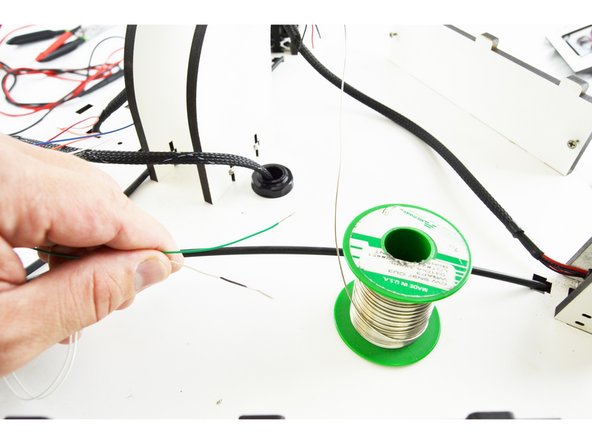
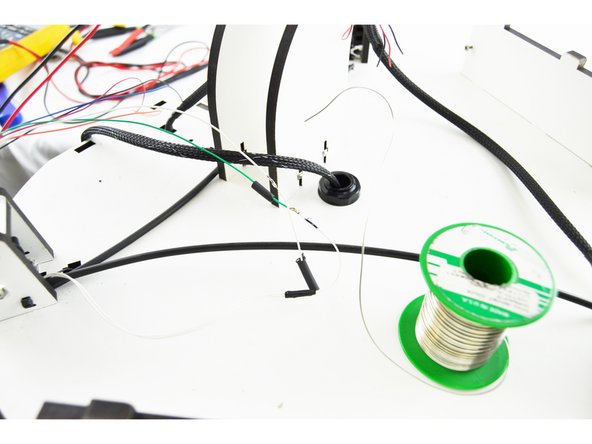
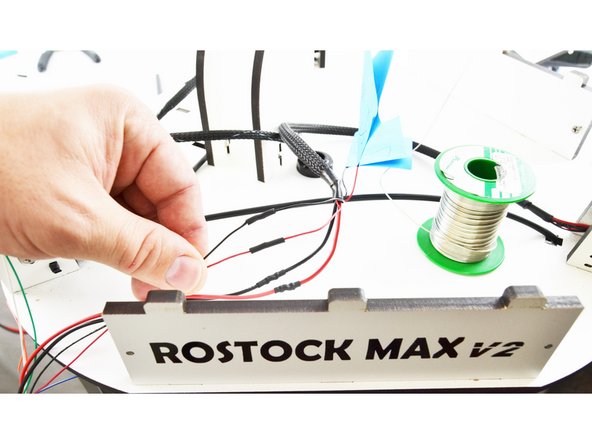
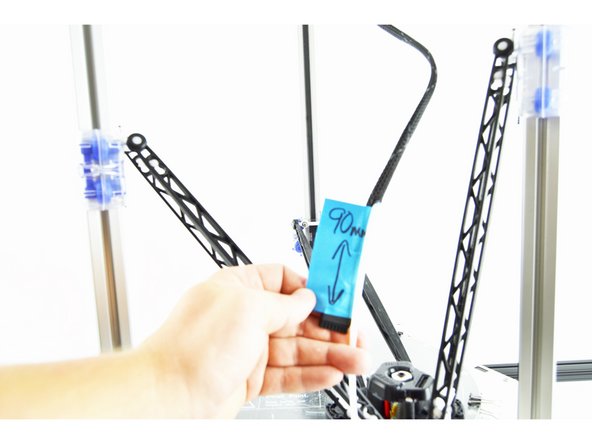
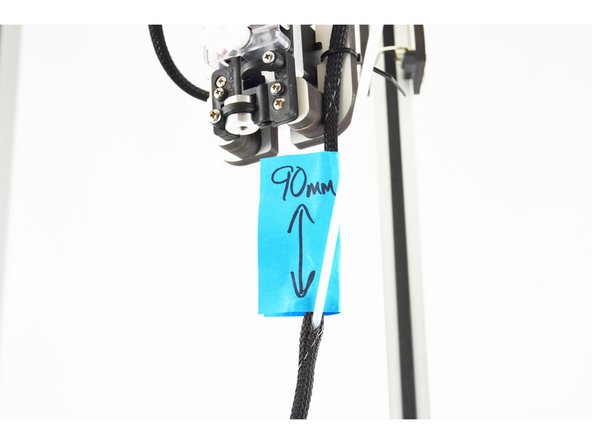
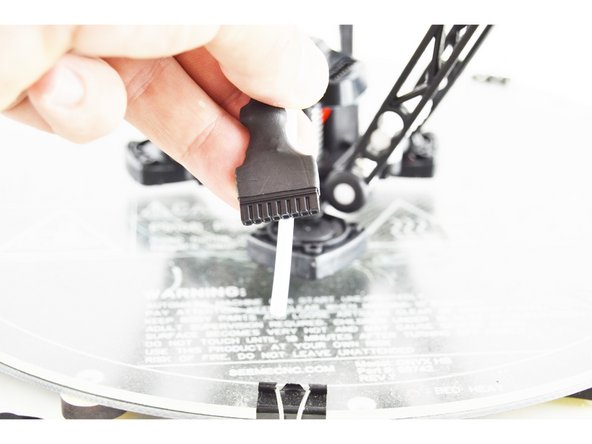
On the side that has (2) 2 pin connectors & (1) 4 pin connector, measure and cut all 8 of these leads approximately 125mm from the end. (they are cut slightly longer in the picture)
-
-
-
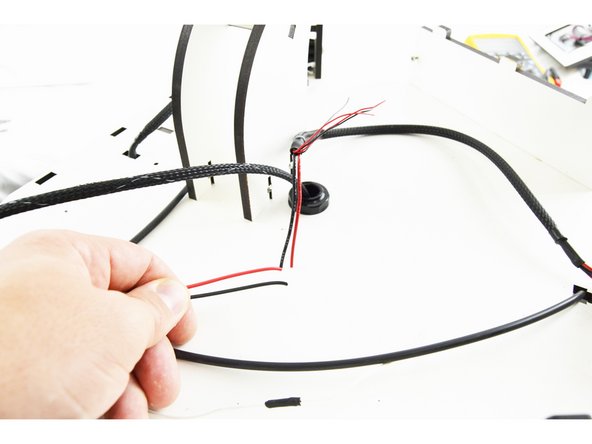
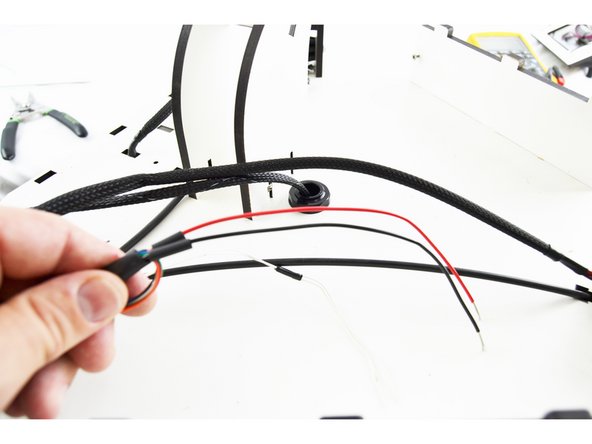
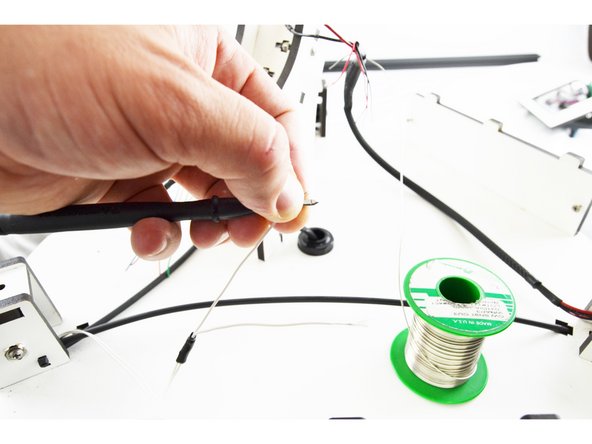
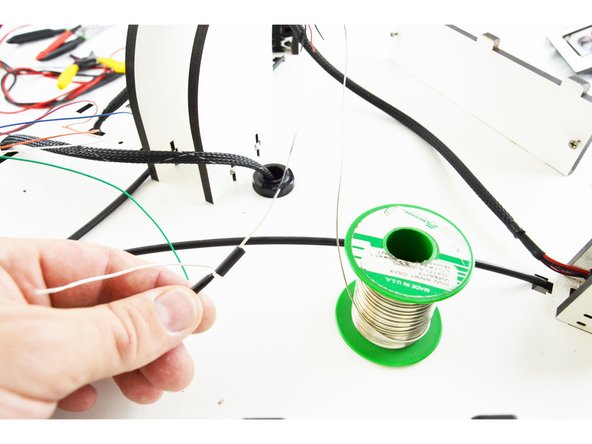
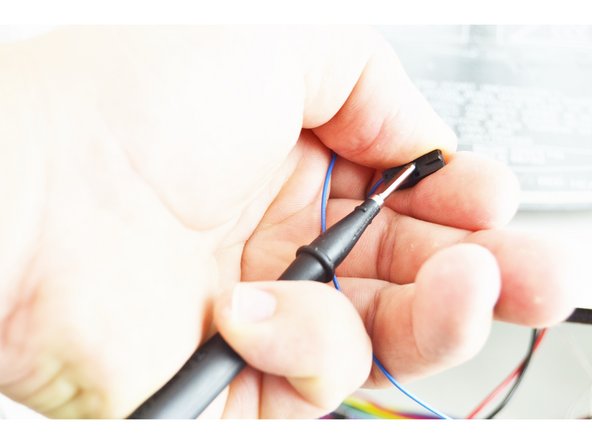
The wires shown in this image are not going to be used on your upgrade. You may find them helpful if ever performing other work, especially the green/white pair that are pre-terminated and in a 2 pin latching housing.
-
-
-
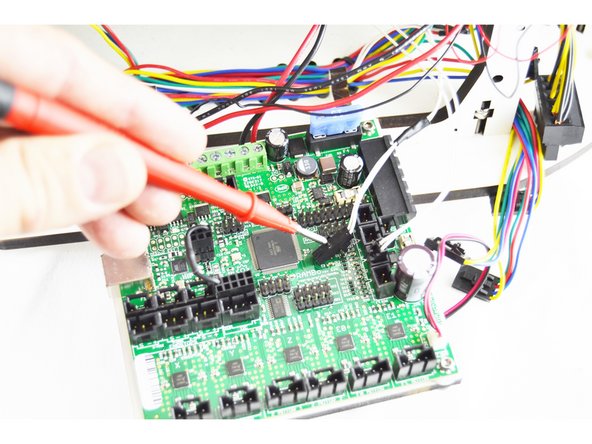
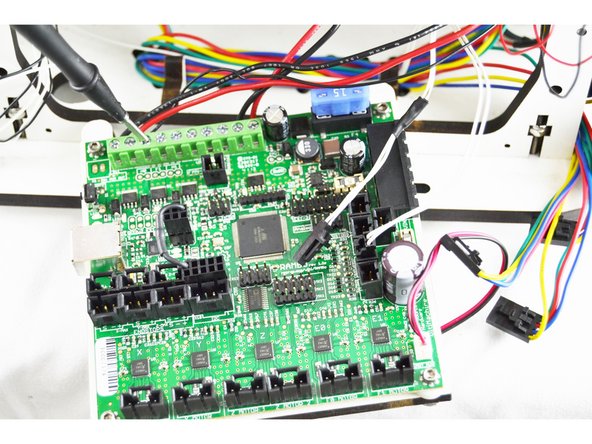
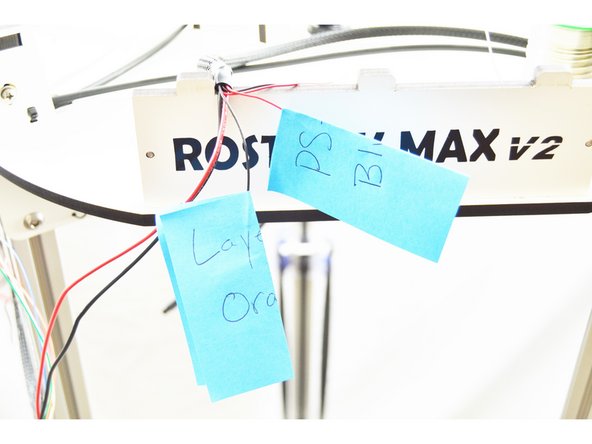
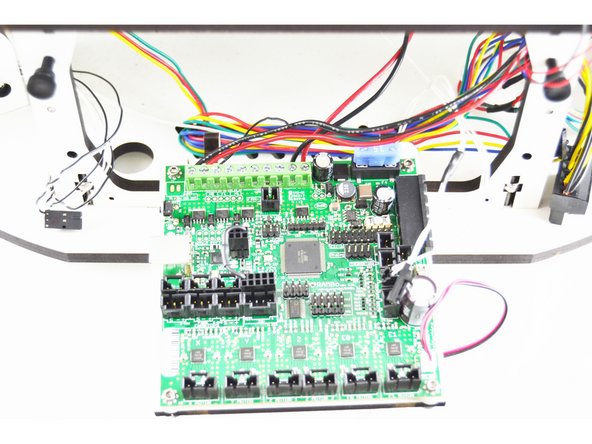
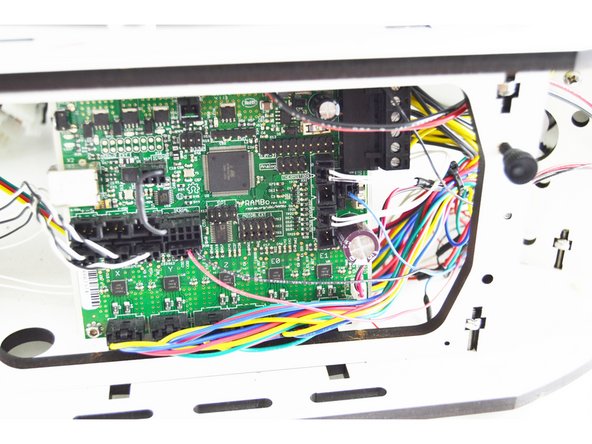
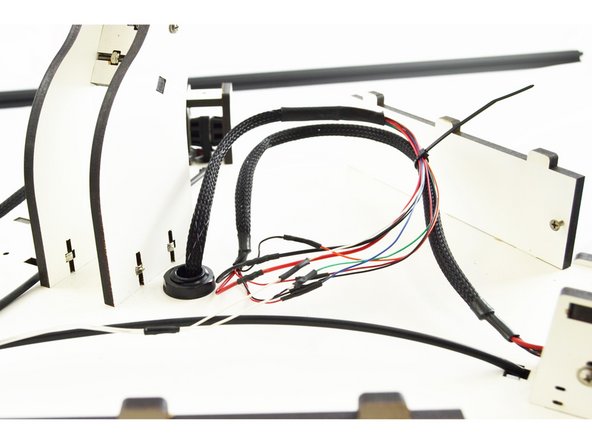
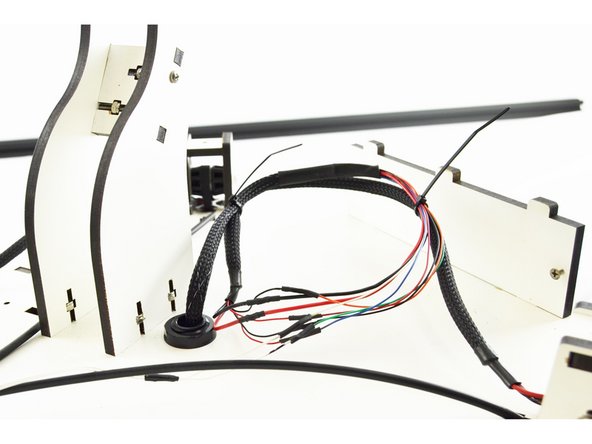
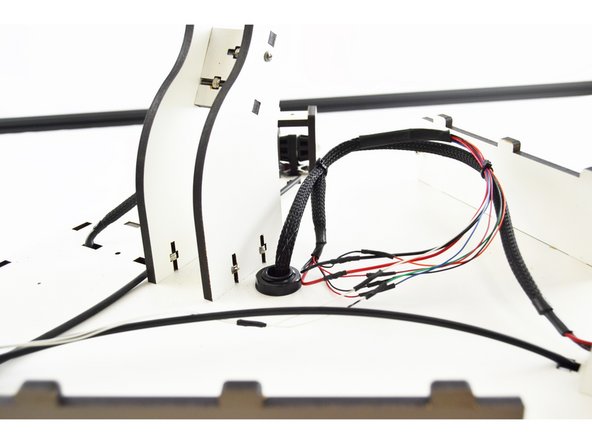
Remove the end-stops from the RAMBo board one at a time. If they are not already labeled, please label them as you remove them. From left to right they should be labeled X Y Z
-
Remove the stepper motor wires from the RAMBo board one at a time. If they are not already labeled, please label them as you remove them. From left to right they should be labeled X Y Z _ E0 _
-
-
-
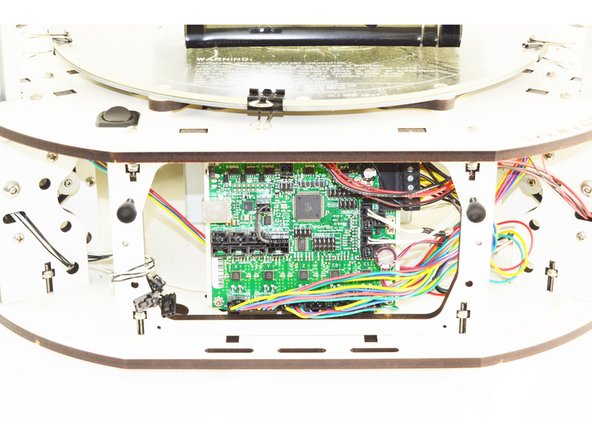
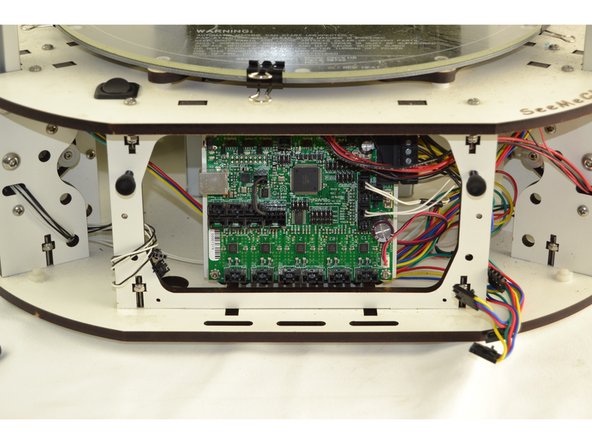
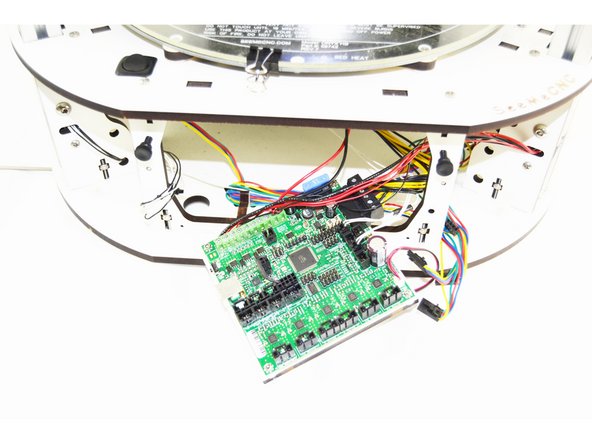
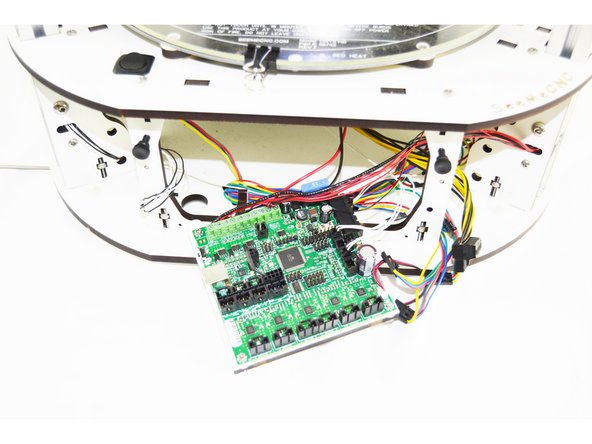
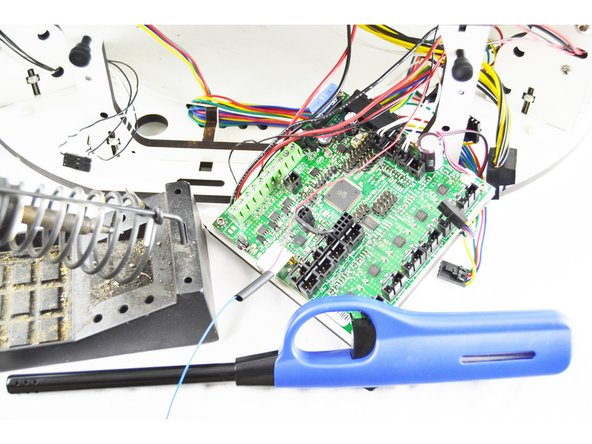
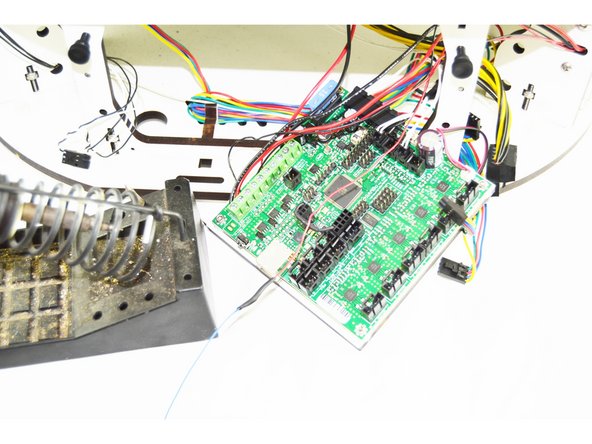
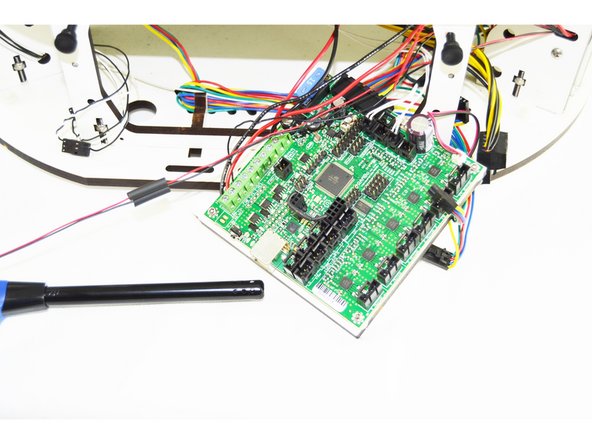
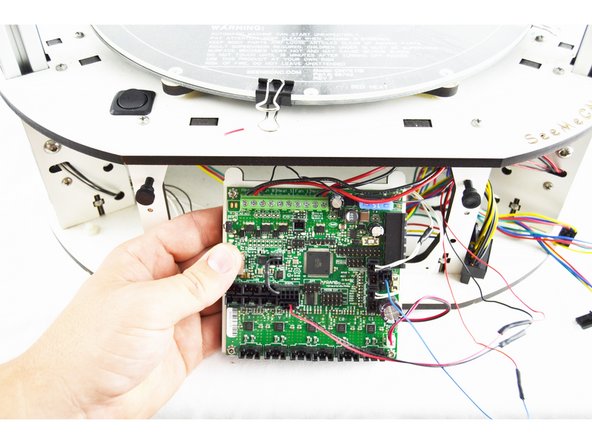
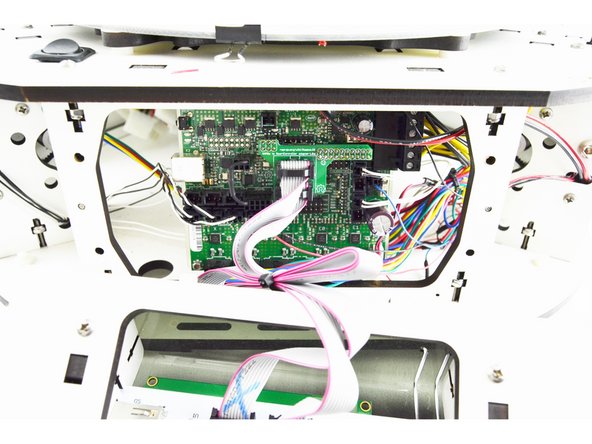
The RAMBo board is mounted to a backer board. You will grasp that backer board on the bottom left and right pull out. The bottom of the RAMBo (and backer) should pull freely and tip out. Once the top ears on the backer board have cleared the top plate of the base, the entire board can be removed.
-
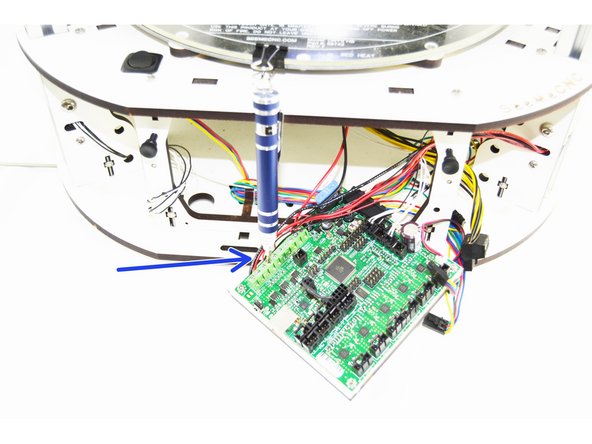
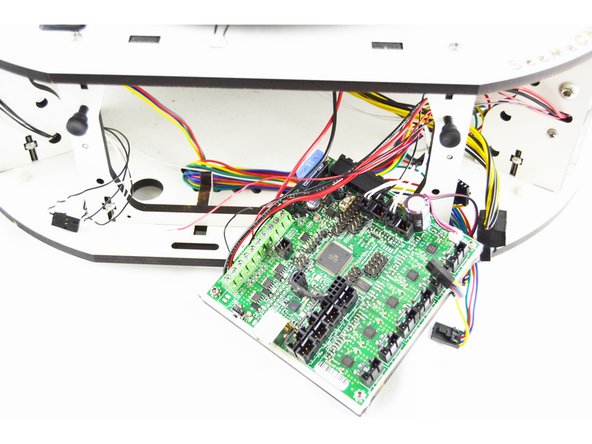
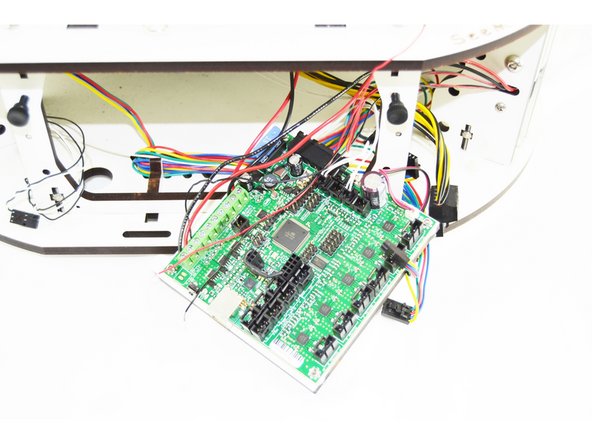
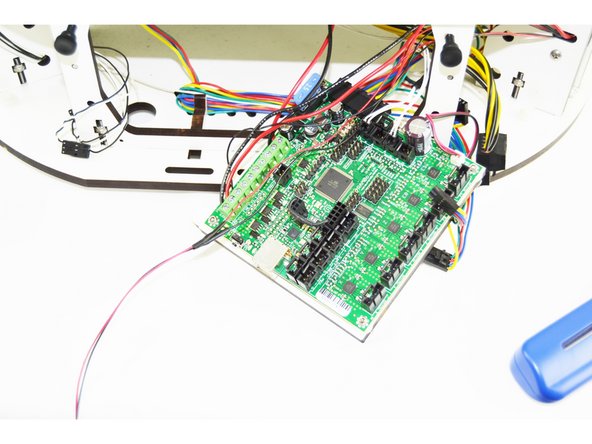
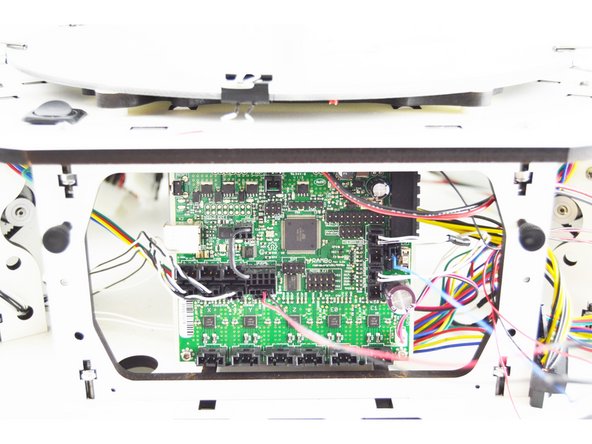
Remove the 6 pin pluggable terminal block from the RAMBo board. (This terminal block has the wires that come from the power supply)
-
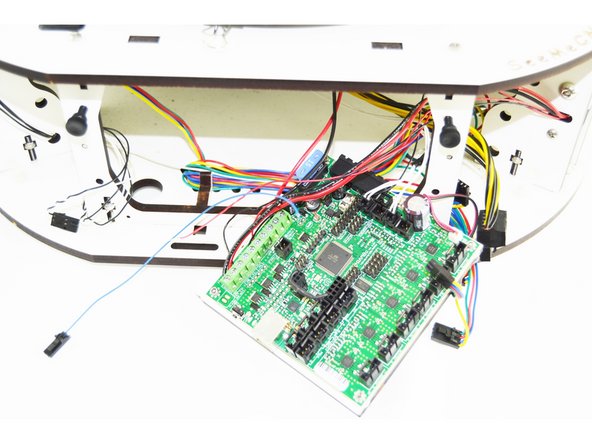
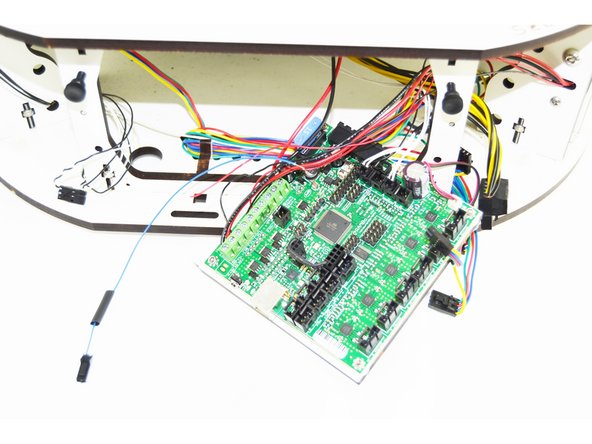
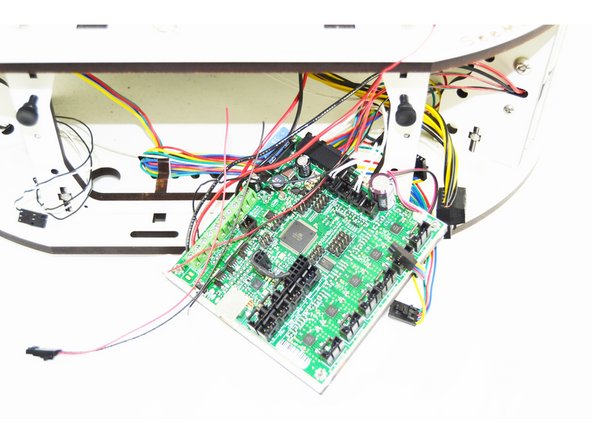
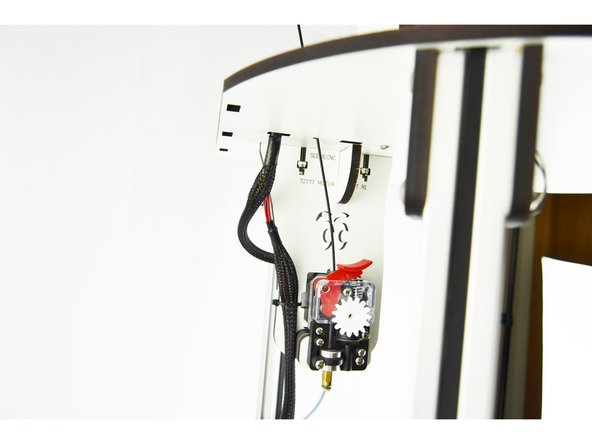
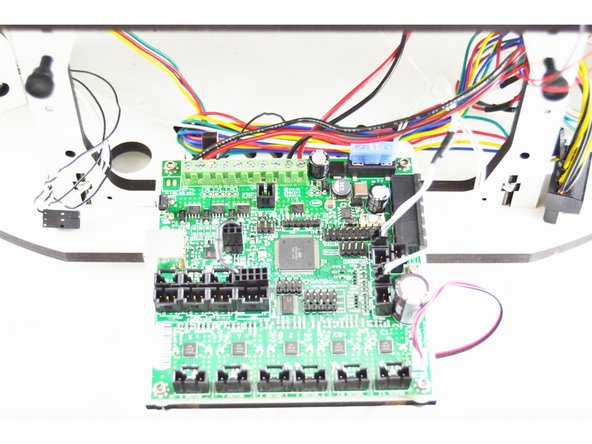
Loosen and remove ONLY the wire from the Fan 0 + terminal on the top of the RAMBo board.
-
-
-
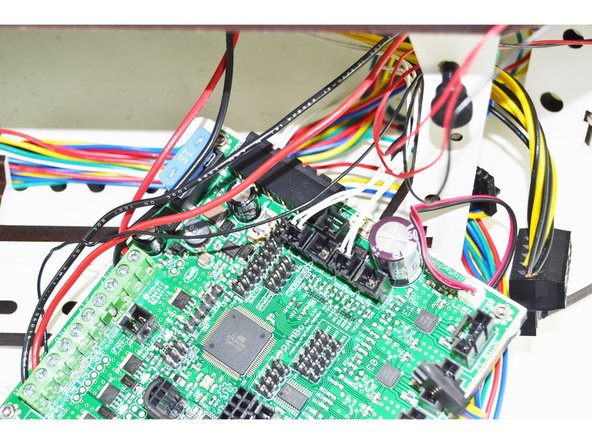
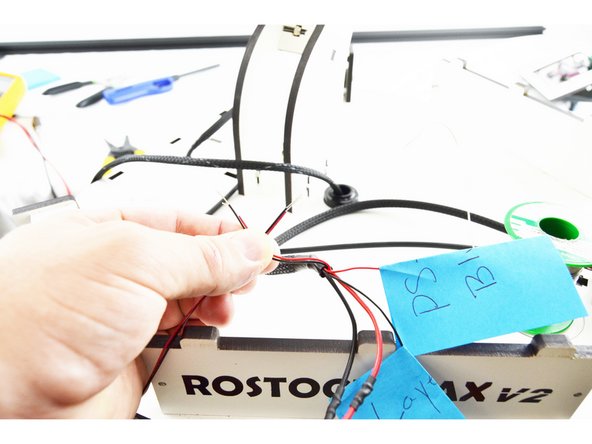
If your Fan 0 wires are knotted (like the ones here) and there is not enough excess room to work with the + wire, take a minute and get those wires separated.
-
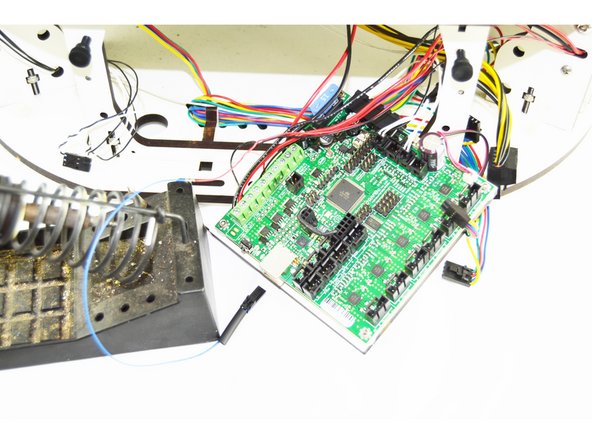
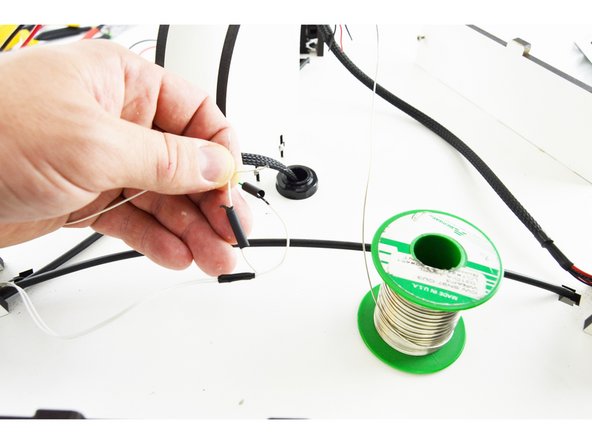
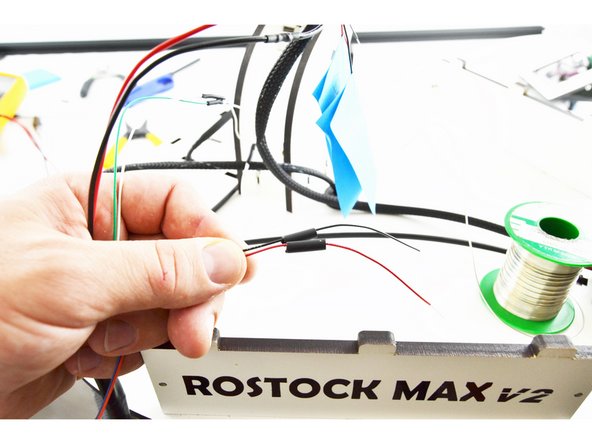
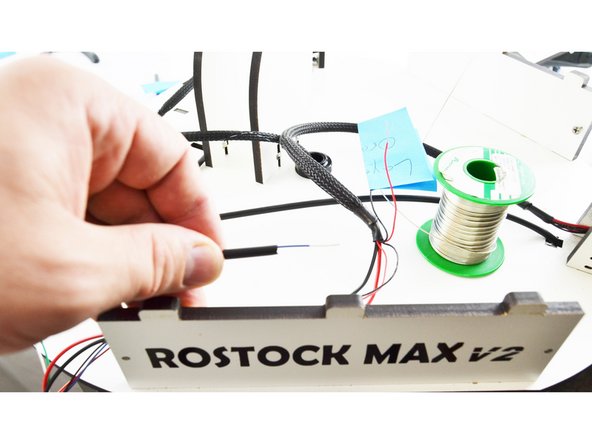
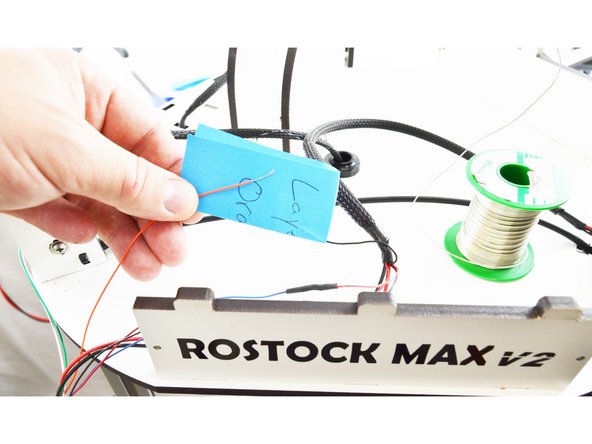
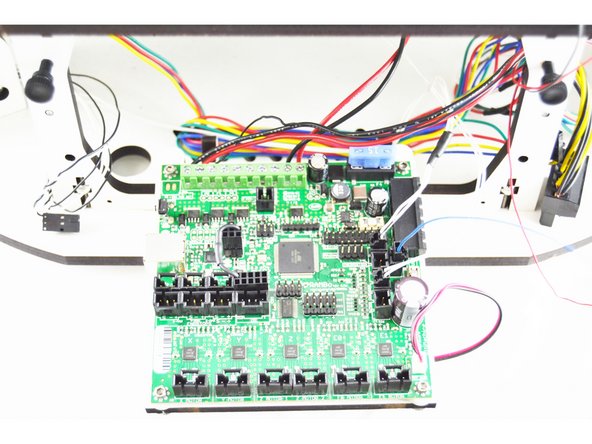
Locate the BLUE 26awg wire that you cut from the Hotend Whip. This wire is already inserted into a 2 pin latching housing.
-
Strip approximately 10-15mm of insulation off of the blue wire.
-
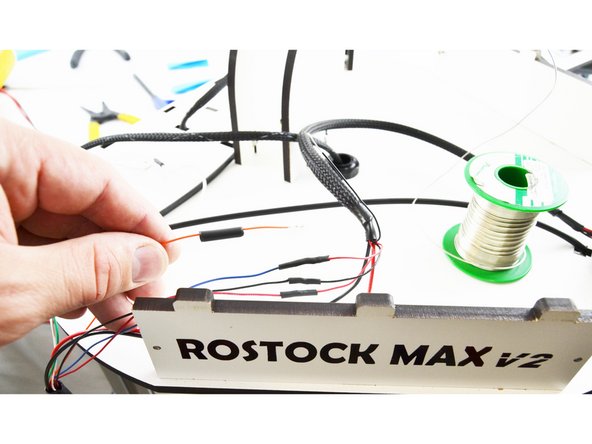
Strip approximately 10-15mm of insulation off of the wire that was previously in the Fan 0 + location.
-
-
-
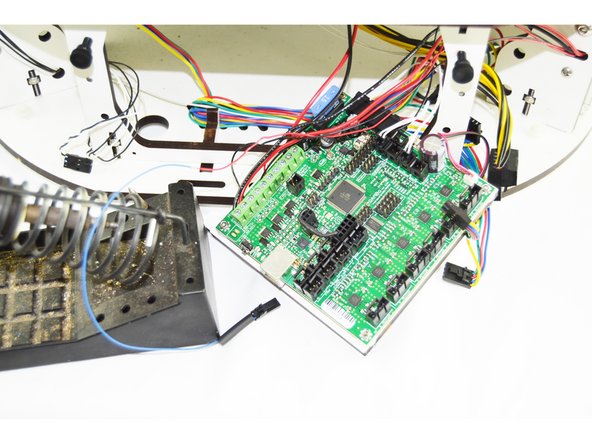
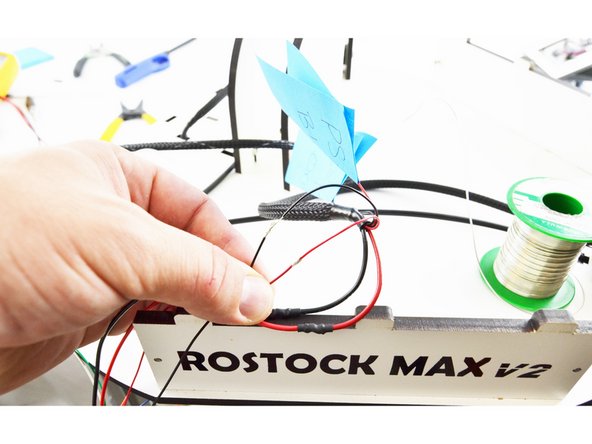
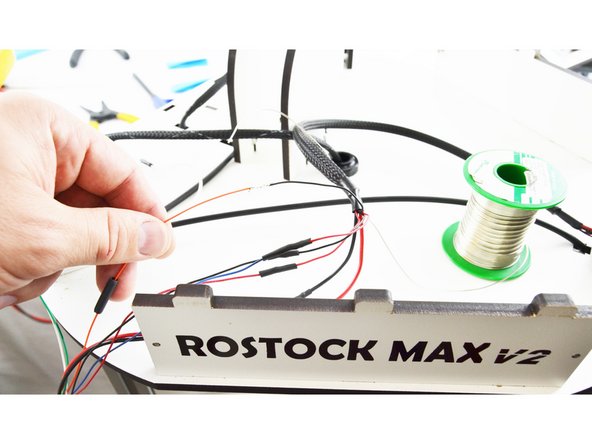
Cut a piece of heat-shrink at 15mm. (This was included with the hot end whip)
-
Slide the 15mm long heat-shrink tubing over the blue wire.
-
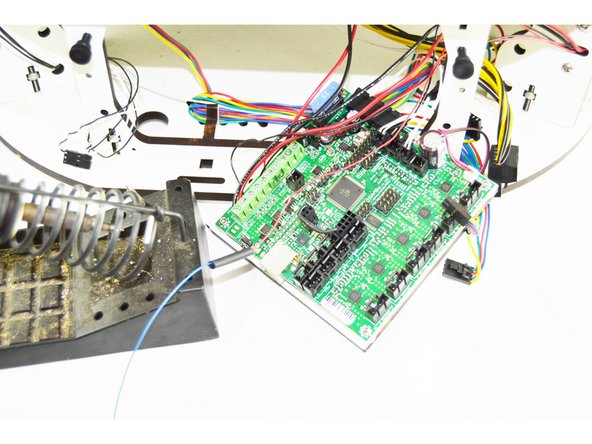
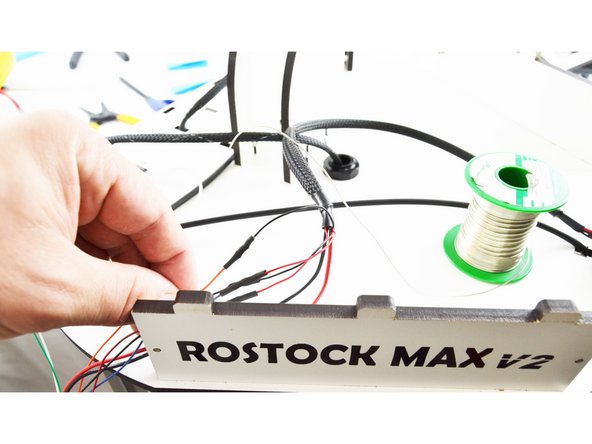
Perform an in-line splice of the blue wire and the wire that was previously in the Fan 0 + terminal.
-
Solder the connection.
-
-
-
Slide the heat-shrink up over the connection that you soldered and heat it with a lighter.
-
Do not allow the heat to be concentrated in one place for too long.
-
The heat-shrink will shrink down over the connection.
-
-
-
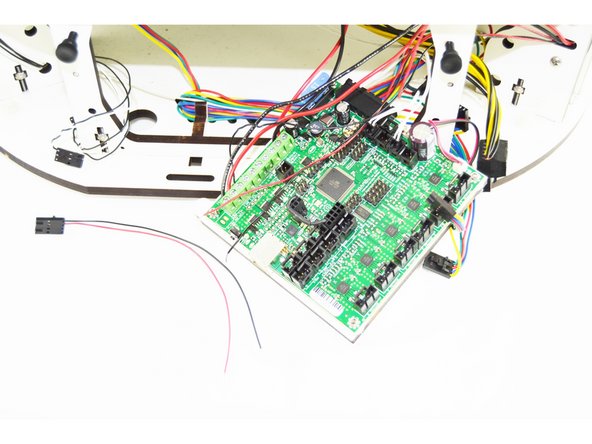
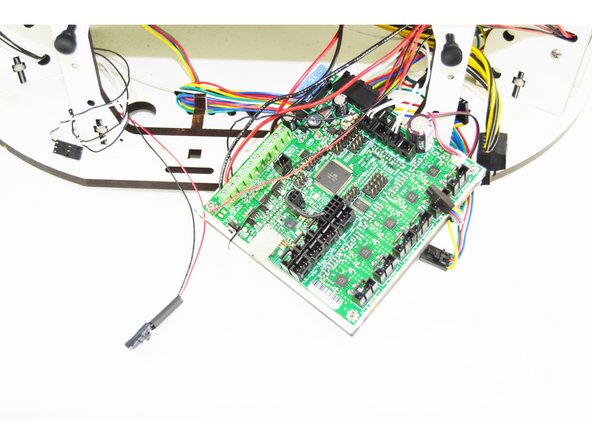
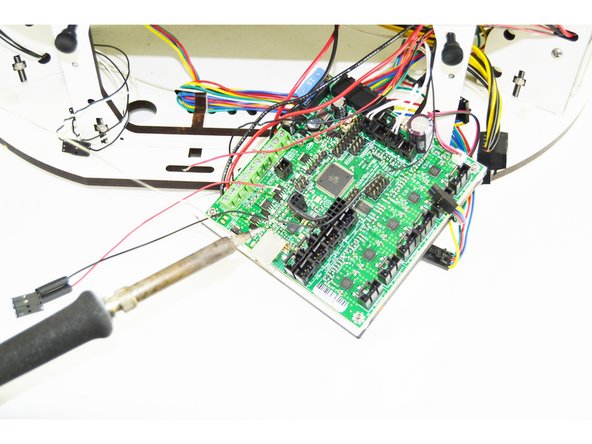
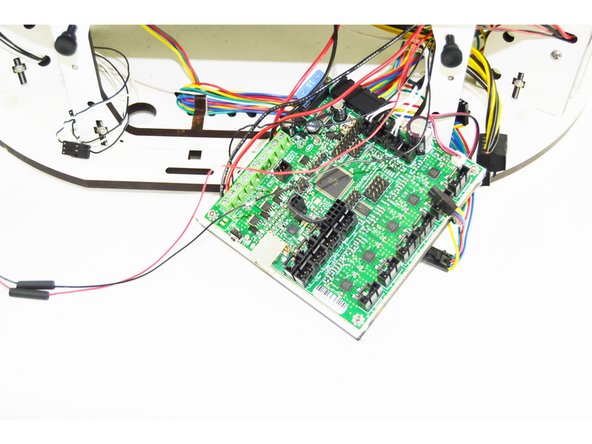
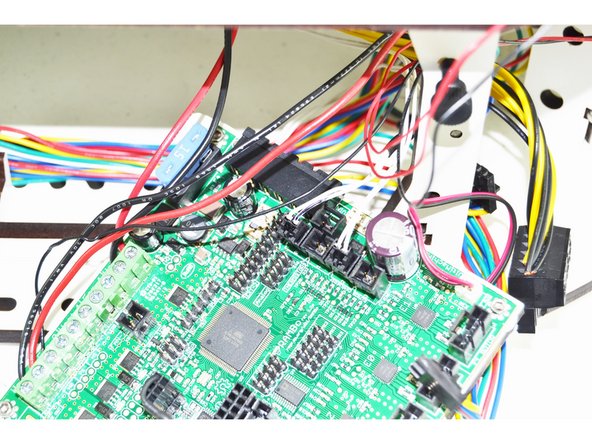
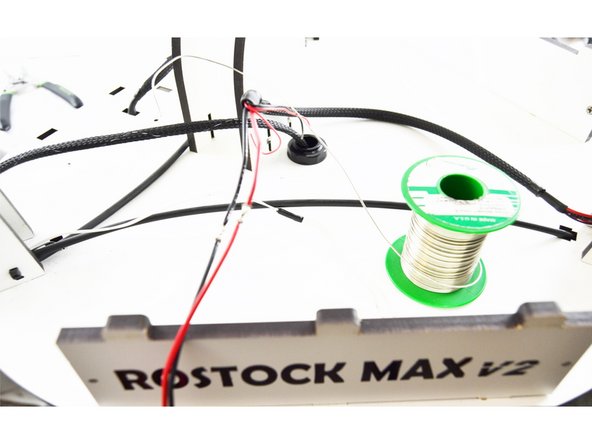
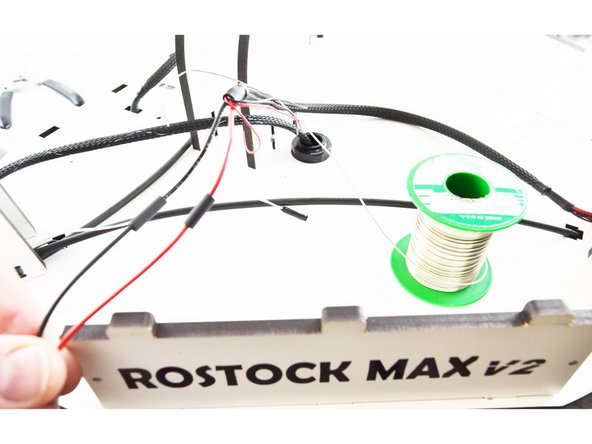
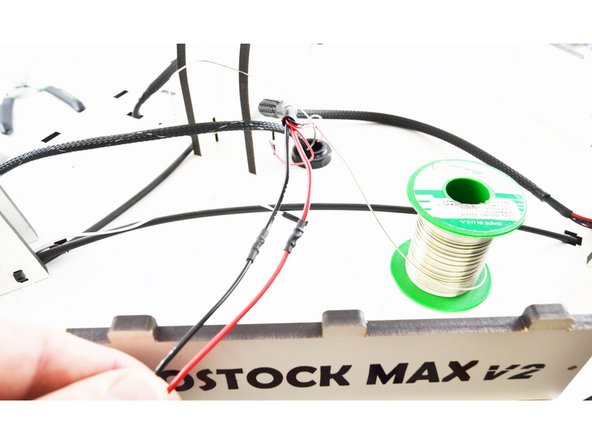
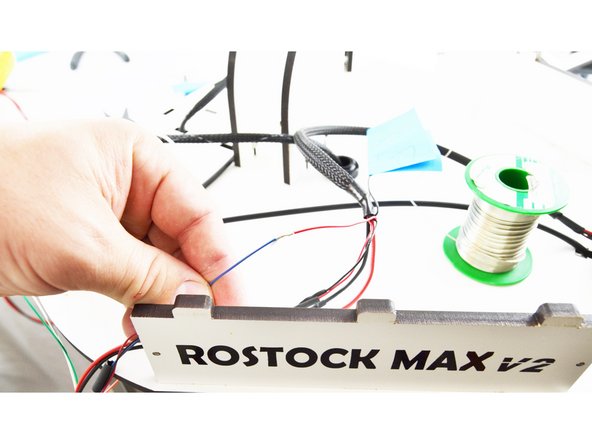
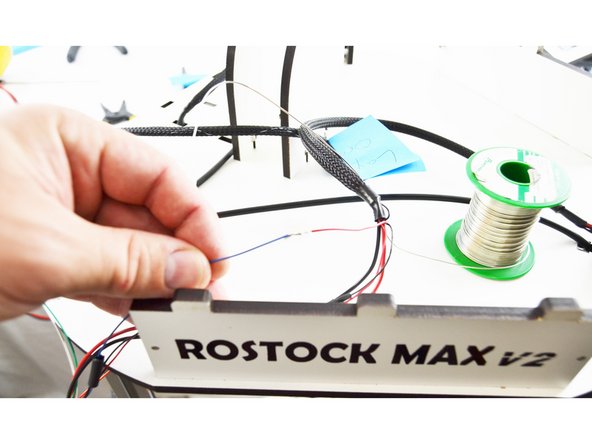
Remove the wires from the Heat 0 - & + terminal.
-
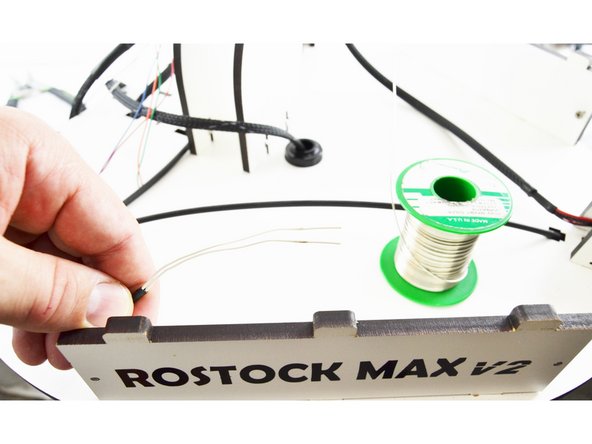
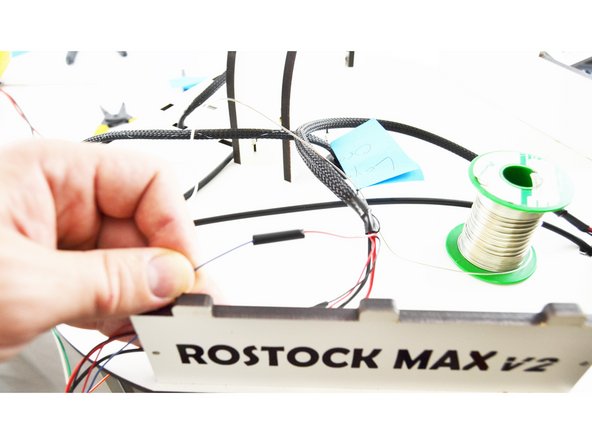
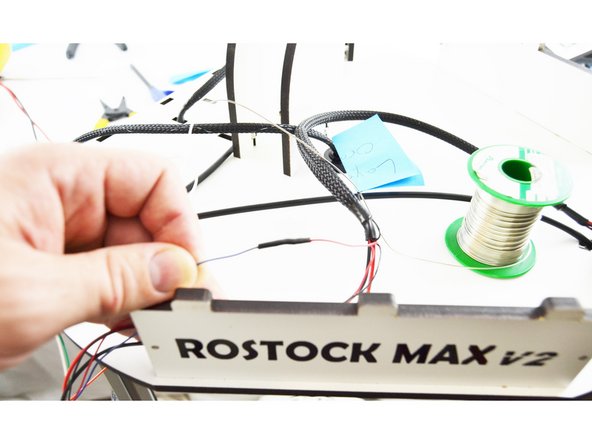
Locate the wire
-
-
-
Insert wisdom here.
-
-
-
Insert wisdom here.
-
-
-
Insert wisdom here.
-
-
-
Insert wisdom here.
-
-
-
Insert wisdom here.
-
-
-
Insert wisdom here.
-
-
-
Insert wisdom here.
-
-
-
Insert wisdom here.
-
-
-
Insert wisdom here.
-
-
-
Insert wisdom here.
-
-
-
Insert wisdom here.
-
-
-
Insert wisdom here.
-
-
-
Insert wisdom here.
-
-
-
Insert wisdom here.
-
-
-
Insert wisdom here.
-
-
-
Insert wisdom here.
-
-
-
Insert wisdom here.
-
-
-
Insert wisdom here.
-
-
-
Insert wisdom here.
-
-
-
Insert wisdom here.
-
-
-
Insert wisdom here.
-
-
-
Insert wisdom here.
-
-
-
Insert wisdom here.
-
-
-
Insert wisdom here.
-
-
-
Insert wisdom here.
-
-
-
Insert wisdom here.
-
-
-
Insert wisdom here.
-
-
-
Insert wisdom here.
-
-
-
Insert wisdom here.
-
-
-
Insert wisdom here.
-
-
-
Insert wisdom here.
-
-
-
Insert wisdom here.
-
-
-
Insert wisdom here.
-
-
-
Insert wisdom here.
-
-
-
Insert wisdom here.
-
-
-
Insert wisdom here.
-
-
-
Insert wisdom here.
-
-
-
Insert wisdom here.
-
-
-
Insert wisdom here.
-