
-
-
To prepare the heated bed you should "tin" the 10 pads on the bottom of the heated bed. For the smaller pads on the bed, you should be careful not to heat the pads too hot for too long as this can cause the pad/trace to lift from the board.
-
-
-
Solder the resistor to the heated bed.
-
Solder the LED to the heated bed. NOTE the polarity of the LED in the picture. The short leg is the - and the long is the +
-
You can cut the excess resistor and LED leads after you have soldered it to the bed.
-
-
-
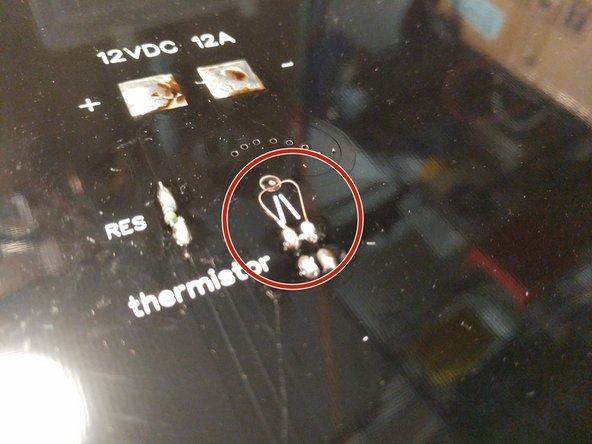
Separate the legs of the thermistor as shown and insert the glass bead of the thermistor into the hole in the center of the heated bed. Solder them to the top two pads on the heated bed.
-
You can cut the excess leads after you have soldered it to the bed.
-
-
-
Move the heated bed close enough to the printer that the wires will reach the pads that you have tinned.
-
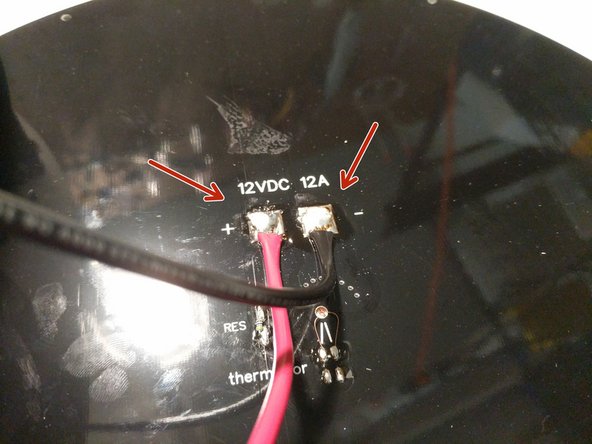
Fan out the exposed strands of wire for the 12awg red and black wires. Solder them to the heated bed in the location indicated. NOTE: These are large wires and pads. You will need to ensure that the pads and wire strands get hot enough to wick the solder throughout resulting a good solder joint. Apply additional solder as needed.
-
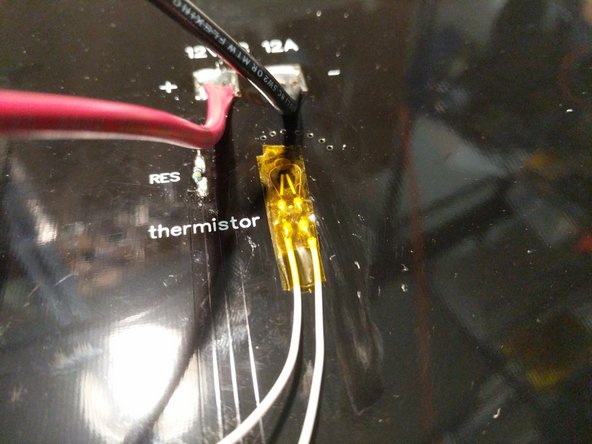
Solder the thermistor leads to the pads where indicated. There is not polarity so either wire on either pad will work. Since these pads are smaller, you want to be sure not to heat them too hot for too long or the pad can detach from the board.
-
Cover the soldered thermistor locations and thermistor hole with Kapton Tape (or equivalent)
-


Cancel: I did not complete this guide.
2 other people completed this guide.
