
Difficulty
Moderate
Steps
6
Time Required

User-Contributed Guide
This guide is not managed by the site's staff.
Quiz
0
Tools
No tools specified.
-
-
You will first need to download the image file for the AstroBox. Click HERE to go to AstroPrint's download page and choose the download for Raspberry Pi.
-
After the download has completed, navigate to your downloads folder.
-
Right click on the folder that you just downloaded (the one with the .zip) and choose extract all. You can choose to extract this to the downloads folder or another preferred location
-
-
-
Download the Win32DiskImager utility located here: Win32DiskImager After the download has finished, double click on the file to install Win32DiskImager on your computer.
-
Launch Win32DiscImager
-
Insert the SD card into your SD card reader (on your computer. You can use the SD Card slot (if you have one) or a cheap SD adapter in a USB port.) and check which drive letter was assigned. You can easily see the drive letter (for example G:) by looking in the left column of Windows Explorer.
-
In Win32DiskImager, select the image file you extracted previously, and select the letter of the SD card in the device box. Be careful to select the correct drive; if you get the wrong one you can destroy your data on the computer's hard disk!
-
Click Write and wait for the imaging process to complete.
-
Exit the imager and eject the SD card.
-
-
-
Insert the SD card into the card reader and Mini USB WiFi Module into a USB port on the Raspberry Pi.
-
Plug the power in on your Box. You do NOT need to plug in a monitor, keyboard, or mouse.
-
Wait for it to boot up. This may take a few minutes.
-
Using any wifi enabled device (phone, tablet, or computer) search your available wifi networks. The AstroBox will create a network called "astrobox." Connect to that wifi network. Note: You do NOT need to log into your AstroBox operating system to do this. You should use a separate device, such as a computer, tablet, or smartphone.
-
Open the browser of your choice
-
Go to http://10.10.0.1/
-
-
-
Click on Begin Setup
-
Provide a Unique Name for the AstroBox
-
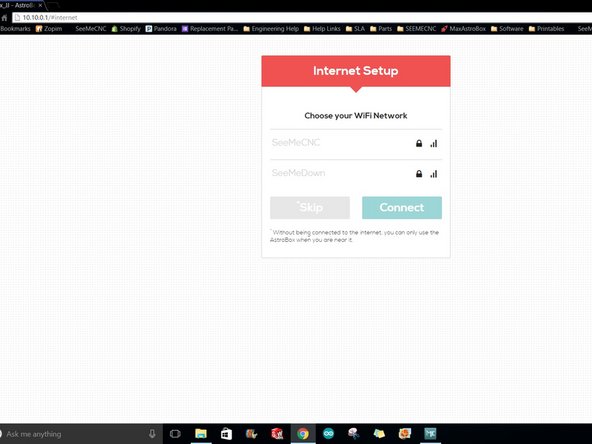
Follow the steps for Internet Setup. During this step you will select your current wifi network and enter the associated password so that the AstroBox will be accessible on the internet.
-
-
-
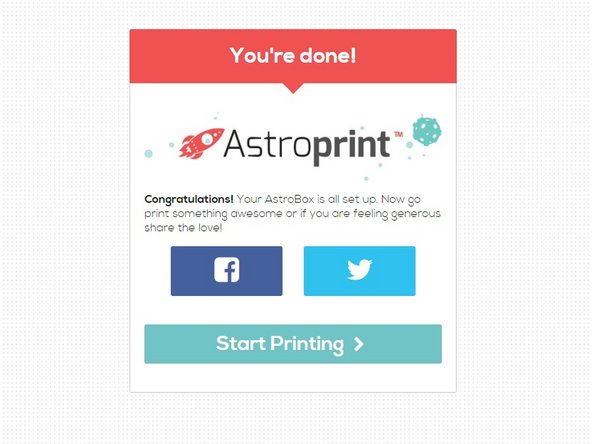
You will now be cued that the setup has been a success. Good Work!
-
Click on the create a new account link and create a new user account with AstroPrint.
-
Click on Printer Connection
-
-
-
Connect the USB cable to the Raspberry Pi and the 3D Printer
-
Choose: GCODE - Marlin firmware (even though we are using Repetier Firmware)
-
Set the Baud Rate to: 250000
-
Click Connect
-
Success! You have now got everything set up. If you have not already you can disconnect from the AstroBox local network and connect back to your own wifi network
-
Click on Start Printing to get stared.
-


Cancel: I did not complete this guide.
3 other people completed this guide.
