Difficulty
Moderate
Steps
4
Time Required
- SE300 Build Guide 4 steps

In Progress
This guide is currently being written. Reload periodically to see the latest changes.

Private
This guide will not appear in search results and can only be viewed by team members!
Quiz
0
-
-
Start with the heating cartridge and remove the two tubes covering the legs of the heating cartridge
-
Cut the legs of the heating cartridge to approximately the full length of the two crimp terminals included in the kit.
-
Bend one leg of the cartridge 90 degrees away from the other leg. This will seperate them giving room to attach the crimp terminals.
-
-
-
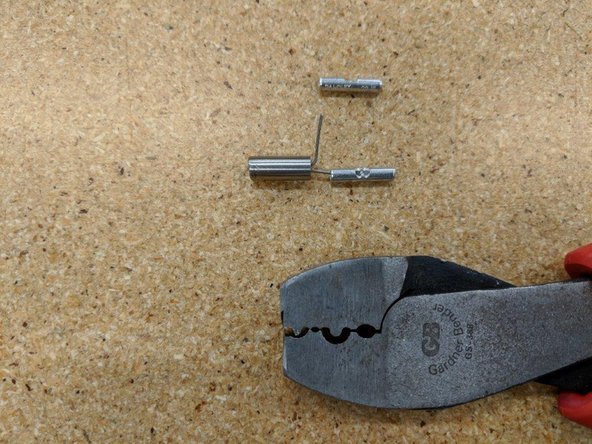
if you have a pair of crimps like the one in the picture, this will help. The first position near the tip of the crimps pictured are used in this step.
-
Place the frist crimp on one leg of the cartridge. The leg of the cartridge will go to the mid point of the crimp shown.
-
Use the crimp tool to crush the HALF of the crimp that the leg of the cartridge is in. DO NOT crimp the entire length of the crimp as the wire will go in the other half.
-
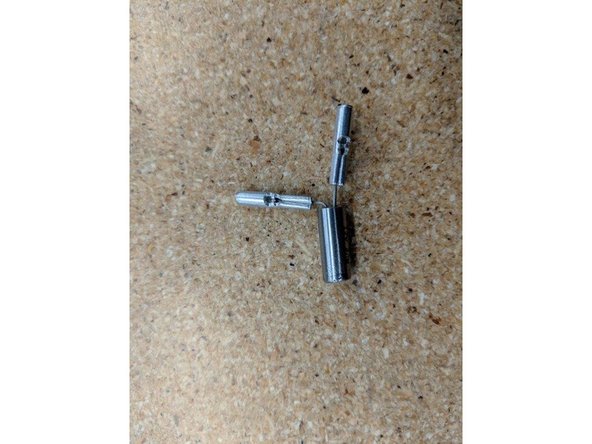
Repeat the process on the other leg of the cartridge so both crimps are attached to the heater cartridge.
-
-
-
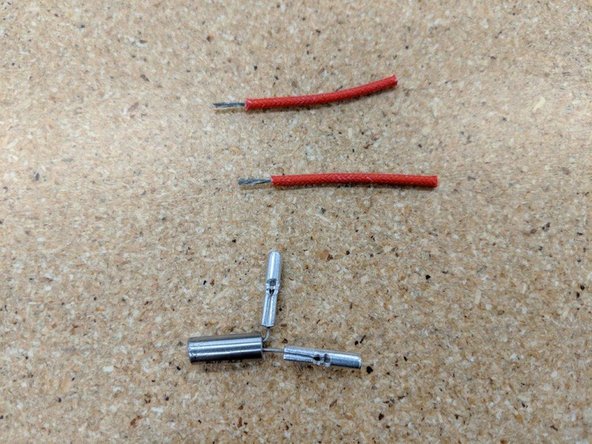
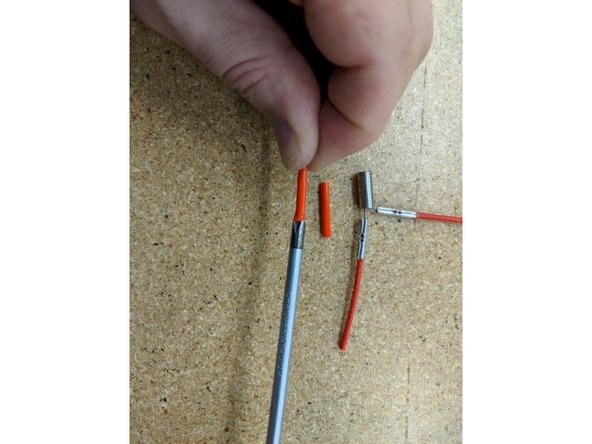
Locate the two red insulated wires in the kit and strip off the ends as shown in the first picture approximately as long as half the crimp.
-
Insert the wires into the crimps and as in the step before use your crimp tool or pliers to crush the other half of the crimp attaching the wires to the crimp securely.
-
-
-
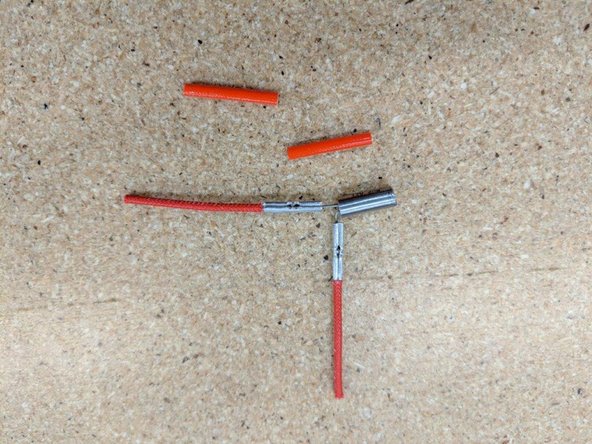
Locate the red silicone tube from the kit. Cut this tube in half so you have 2 pieces of equal length.
-
Use a screwdriver on one end of a tube to help open up one side. This will help get the tube over the crimps you just installed.
-
Slide one tube on one of the wires and work it down over the crimps until fully seated near the heater cartridge. Repeat this process on the other leg of the heater.
-
Bend the leg of the cartridge so they are back in line with the cartridge. Pic 3 shows a fully prepped heater cartridge.
-