Introduction
General maintenance to be done on your Rostock Max V3 every 6 to 12 months, depending on how much you print.
-
-
Remove all the screws on the top plate except the ones holding the clamps in place. Pry up the top plate on all sides, then lift it off the printer
-
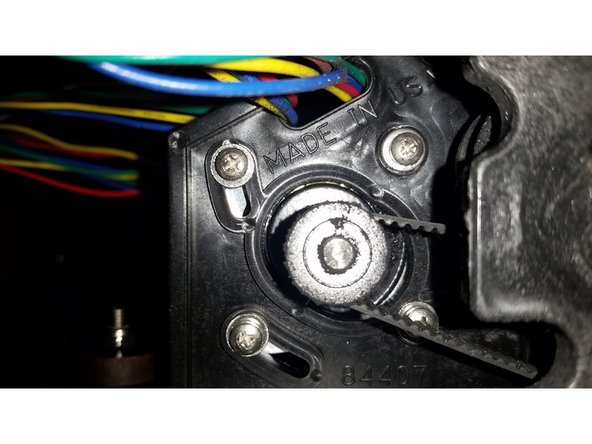
Rotate each motor pulley until the grub screw is facing up, and tighten. If you don't have the allen wrench that came with your kit, you'll need a metric allen wrench set to do this. There should be two grub screws in each motor pulley and the end of the pulley should be close to flush with the end of the stepper motor shaft.
-
Tip: Before you put the top back on (and I'd wait until you were done with all the maintenance before you did), tape or hot glue the nylon locknuts into place where the screws from the top plate come down. That'll keep them from popping out when you push the top plate back into place.
-
-
-
The heavy gauge power wires can work themselves loose from the terminal blocks over time due to the vibration in the printer. Unplug the connector and wiggle the wires to make sure they are well seated. If they loosen at all, unscrew the top, remove the wires, then re-seat and screw down the wires.
-
Also check the wire for the heated bed in the same style terminal block.
-
-
-
An easy check for your belt tension is to grab one of the carriages, and move it up and down on the tower quickly. If you hear or feel the belt skipping, it's probably too loose.
-
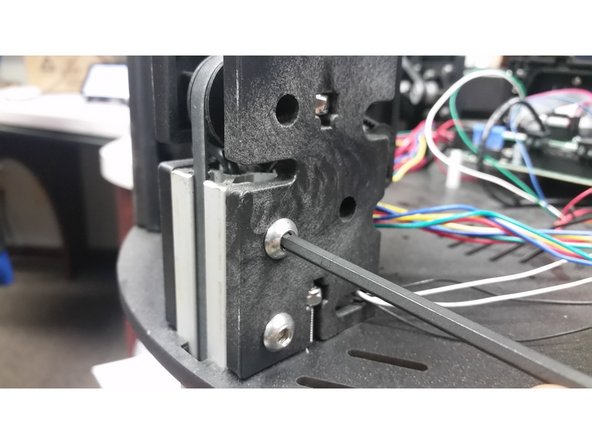
To tighten it, you'll need to remove the side panels on the top of the printer. Inside above the towers are the motor mounts. With the screws loosened, you can rotate them clockwise to tighten the belt.
-
If you can't tighten them enough, leave the screws loose, remove one belt clip from the carriage on that tower, pull the belt tight, and reinstall the belt clip. Then you should be able to tighten the belt enough by rotating the motor, then tightening the motor screws.
-
-
-
Take a screwdriver and an allen wrench and tighten all the screws. I recommend starting at the top and working your way down.
-
Remove the acrylic plates on the corners to get at the tower mount screws.
-
When you have all the tower screws and the phillips screws from the top assembly and the top plate of the bottom assembly, turn the printer up-side-down and tighten the screws on the bottom.
-
-
-
Depending on when your kit shipped, you might not have a barrel fan blocker. It's highly recommended that you install one if you don't have one already. You can buy one from our website, or print your own by downloading the STL from repables. It significantly reduces the amount of power required to maintain temperature.
-
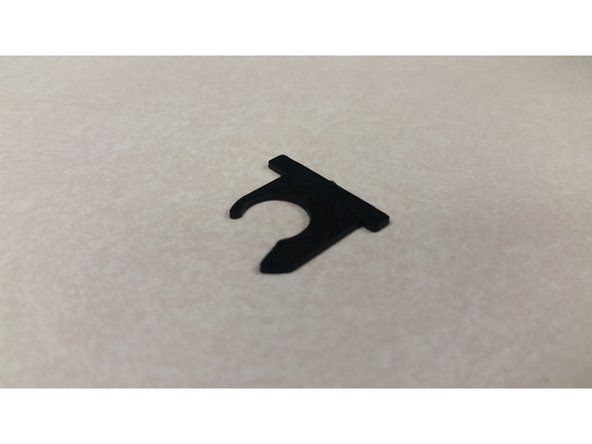
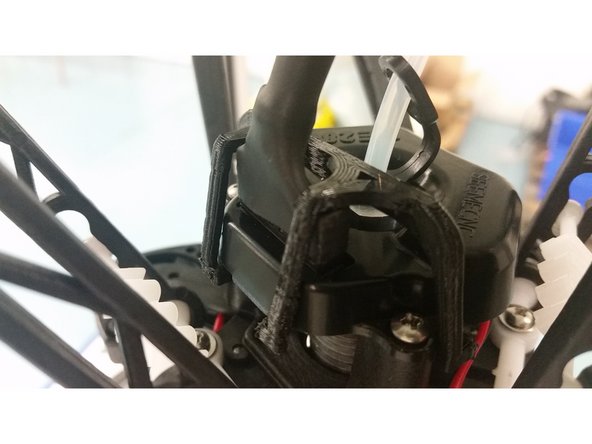
A whip clip is very useful for keeping your whip connector from coming loose during printing. You can download one from repables and print it, then fit it to your hot end.
-
-
-
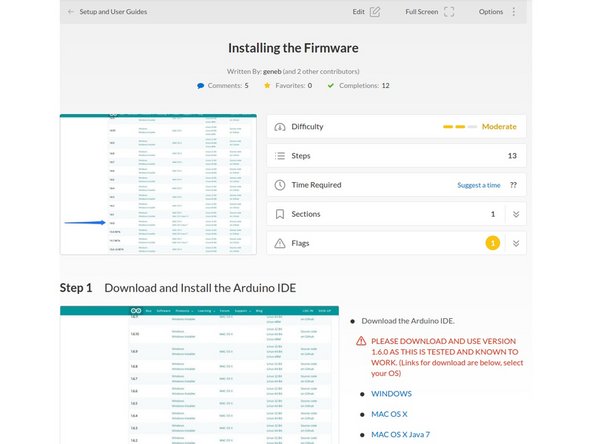
Download and install the new firmware for the latest bug fixes, tweaks, and improvements. Instructions can be found here:Installing Firmware
-
If you've run the advanced delta calibration, make sure you save your EEProm before wiping it and installing the new firmware. The values you'll want to save are Tower Endstop Offsets (X, Y, Z), Diagonal Rod Lenght, Horizontal Rod Radius, Z Max Length, and Tower Alpha Angles (A, B, C). You could always do the advanced calibration again instead if you want to.
-
-
-
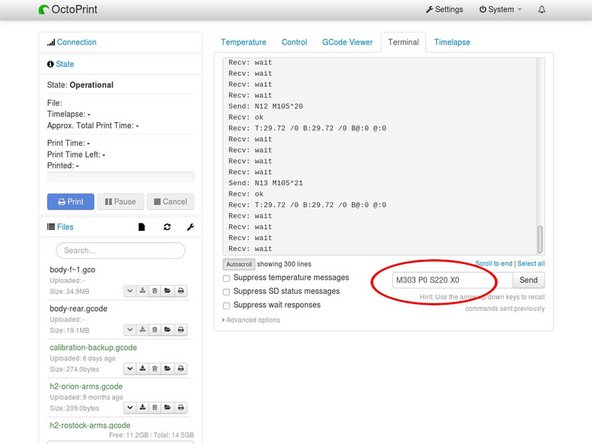
Over time your heater cartridge's resistance changes slightly. PID tuning will help account for this and can also be used to dial in your hot end for printing materials of drastically different temperatures. To tune your hotend, connect to your printer and open a terminal. (tuning command below)
-
Tune it for the temperature that you most commonly print at - if you find yourself switching from PLA to Nylon, I recommend returning to the higher temperature. If you usually use part fans while printing, tune with the part fans running (M84 turns them on).
-
The command below will tune your hot end and save the values to the EEProm. Change the number after "S" to the temperature you want to tune for. Command: M303 P0 S210 X0
-