
Difficulty
Very easy
Steps
7
Time Required
- Rostock MAX v2 RTP User Guide 7 steps

User-Contributed Guide
This guide is not managed by the site's staff.
Quiz
0
-
-
Your machine was fully assembled, calibrated and printed successfully before it left our factory. We have done some things to make sure the machine does not get damaged while shipping the printer. Please complete the following steps
-
Carefully remove all shrink wrap from the printer. Be careful not to cut the machine if you are using a knife.
-
The arms have been inverted to prevent the hot end nozzle from striking the glass print surface during shipping. To invert the arms from shipping position to printing position, place your hand on ONE of the carriages and slowly move this carriage upward toward the top of the printer.
-
Next select one of the two remaining carriages and repeat.
-
Do the same operation with the final carriage.
-
Remove the BLUE calibration print from the print bed. (we leave that on there for you to see that your printer has been calibrated and printed on and is ready for printing)
-
-
-
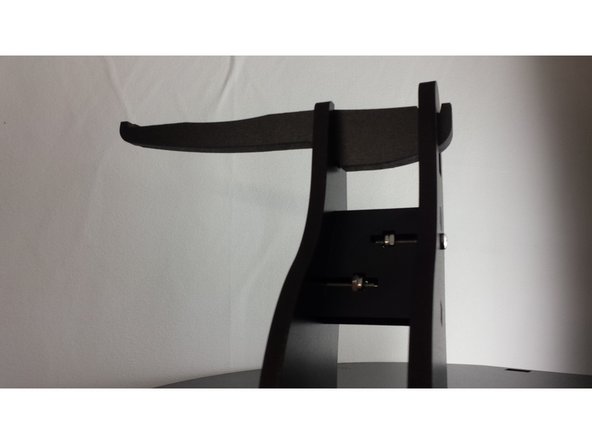
The spool holder has been removed from the machine and you will need to reinstall it. Locate the spool holder and insert the 3 nylon lock nuts as shown in the second image.
-
Finally, position the spool holder on the top of the machine as shown in the third image. Use the (3) 6-32 x 1” machine screws to secure the spool holder to the top plate.
-
-
-
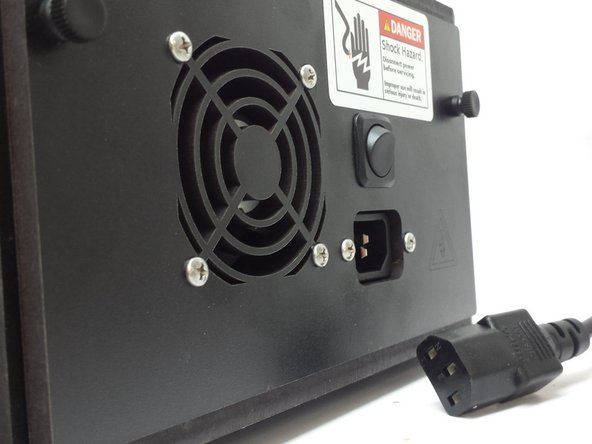
Install the AC power cord
-
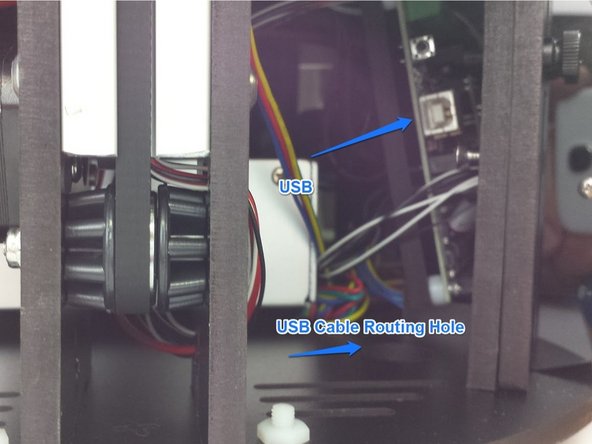
Install the USB cable (Note: the front left piece of acrylic has been removed in the image to make the location of the USB port more easily recognized. You can easily gain access to this location by removing the front LCD Controller Module. This module is fastened to the machine with (2) nylon thumb screws.)
-
-
-
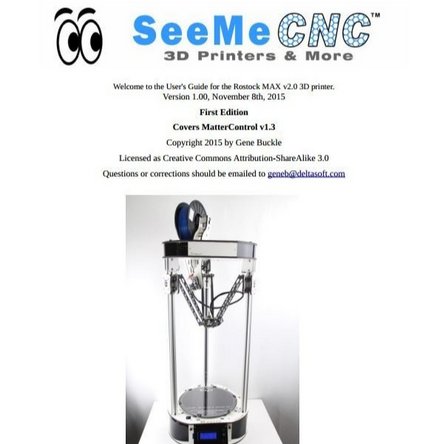
Download: Rostock Max v2 User Manual
-
Familiarize yourself with the READ ME FIRST section on page 2
-
Perform the driver installation as instructed on pages 5-6
-
YOU DO NOT NEED TO PERFORM THE STEPS ON PAGES 7-12. THE PRINTER'S FIRMWARE IS ALREADY LOADED ONTO THE RAMBO BOARD.
-
Familiarize yourself with the LCD and Front Panel Controls on pages 13-15
-
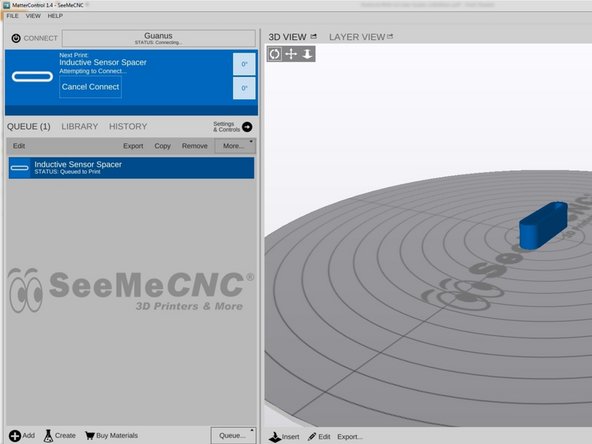
Install and configure MatterControl as directed on pages 17-22
-
YOU DO NOT NEED TO PERFORM THE INITIAL FUNCTION TESTS ON PAGES 23-35. YOUR PRINTER IS ALREADY FULLY CONFIGURED AND CALIBRATED
-
Get some practice printing! Pages 36-42 in the manual will teach you how to print a fan shroud on your new printer. This part is already installed on your printer, however this will be good practice for learning how to operate the software and printer.
-
-
-
Read through the remainder of the manual about:
-
MatterControl Basics: Slicing (pages 53-62)
-
MatterControl Basics: Loading and Printing Objects (pages 63 - 68)
-
Advanced MatterControl: Configuration (pages 69 - 82)
-
Advanced MatterControl: Settings - Filament (pages 83 - 86)
-
Advanced MatterControl: Settings - Printer (pages 87 - 89)
-
Using the 3D and Layer Views (pages 90 - 98)
-
A Strategy for Successful (and Great!) Prints (pages 99 - 112)
-
-
-
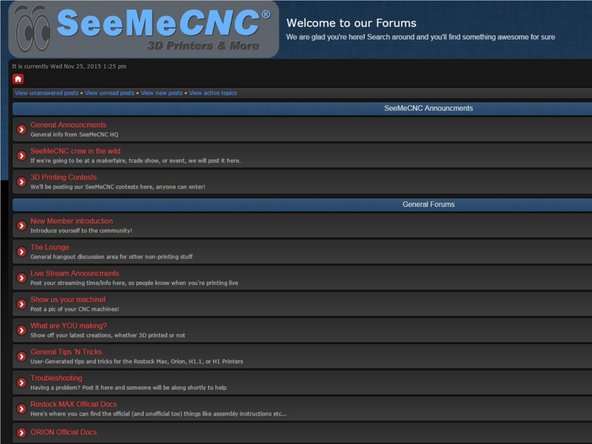
Join our community of 3D Printing enthusiasts by visiting www.forum.seemecnc.com
-
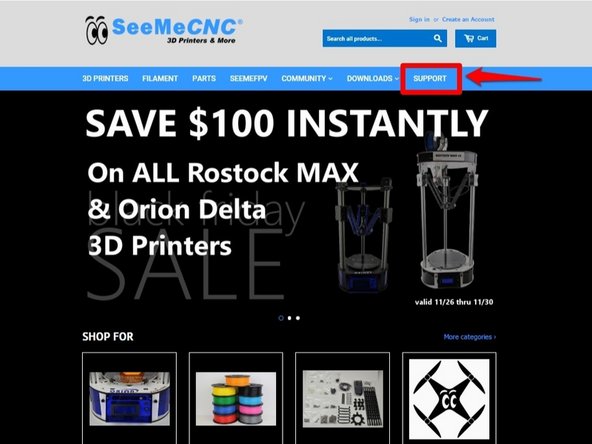
Should you need any customer support, please visit SeeMeCNC and submit a support ticket.
-
Chat with live technicians Monday - Friday 8am - 4pm EST.
-


Cancel: I did not complete this guide.
3 other people completed this guide.

One Comment
I have a copy of Rostock MAX v2 User Guide 1st Edition.pdf but all screenshot figures of the MatterControl software are a different version than the current, 2.19.10.10368 I have. I registered, clicked on the “Download: Rostock Max v2 User Manual “ in Step 5 above and get “File not found (404 error)” so cannot find an updated user manual.