Introduction
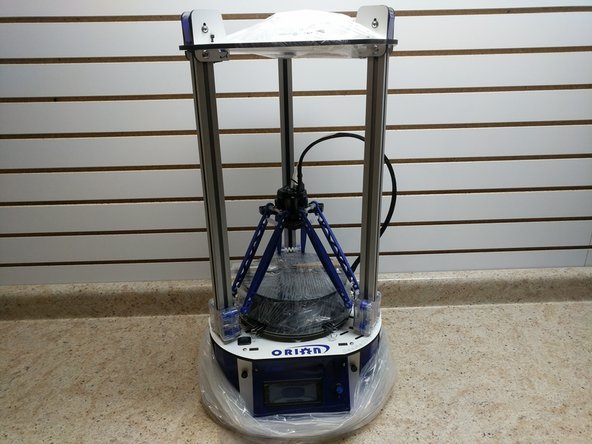
Congrats on your new Factory Assembled Orion Delta! This guide will help you in getting started with your new machine.
Your machine was fully assembled, calibrated and printed successfully before it left our factory.
Please make sure there are no damages to your new Orion Delta. Inspect it carefully for any broken parts. If you find any damages please STOP and contact the company that you purchased it from immediately. Please include your order number when contacting them as it helps to speed up the process.
Your machine was fully assembled, calibrated and printed successfully before it left our factory. We have done some things to make sure the machine does not get damaged while shipping the printer. Please complete the following steps:
-
-
Please thoroughly read the Introduction - Read Me First
-
Want to download this guide as a PDF? Click on the PDF link just above the image and save as PDF.
-
-
-
Remove the tape and staples from the top of the Orion box. be careful after removing the staples as they can be sharp!
-
Inside the top of the box, you will find your getting started instruction sheet.
-
Lift the Orion straight up out of the box. You can do so by grasping the aluminum extrusions (noted in the 3rd image with blue arrows) Just let the packaging fall away as you lift the printer out of the box
-
-
-
Remove the plastic bag that the printer is protected by.
-
Remove the shrink wrap on the top of the printer. These wrap is retaining the bag of accessories that come with the printer.
-
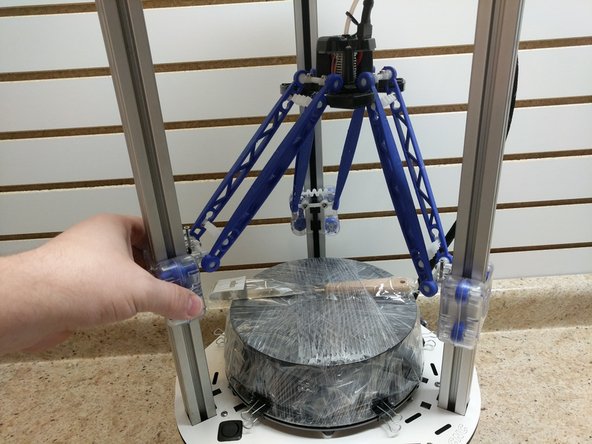
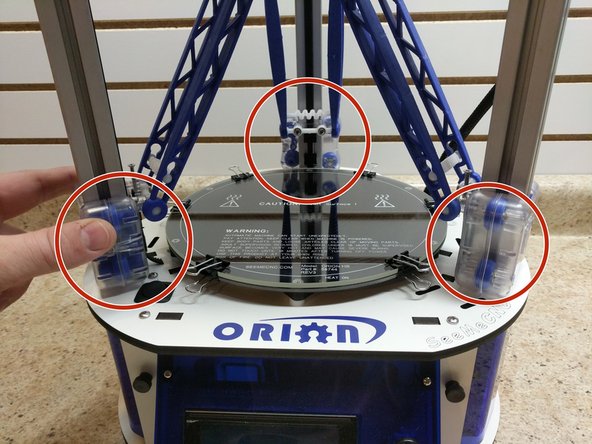
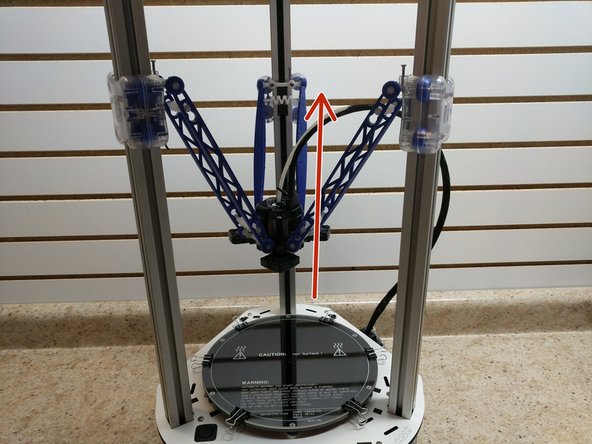
Gently list up on each of the three carriages a little at a time until they are all above the spool of filament attached to the build plate.
-
-
-
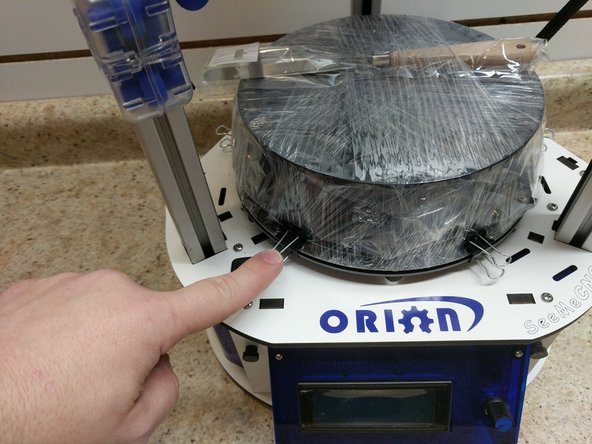
Remove the 6 bed clips holding the filament and glass plate in place.
-
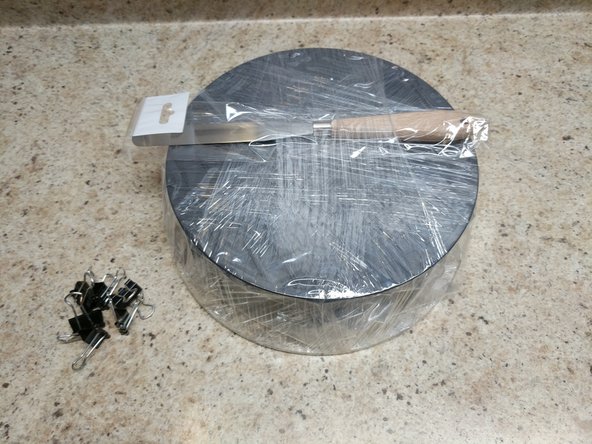
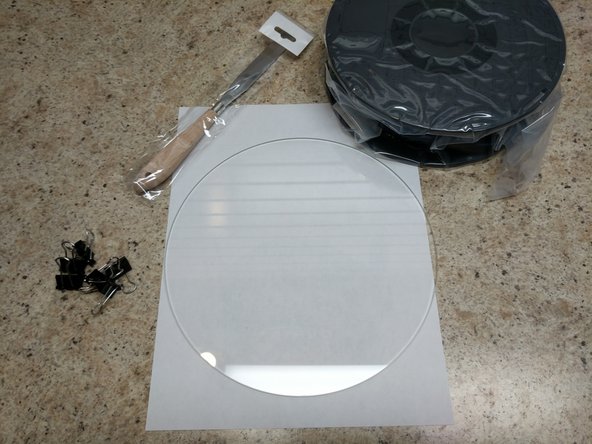
Remove the filament and glass plate from the print area.
-
Carefully cut away the shrink wrap holding it all together. Be very careful not to drop the glass plate.
-
Try to hold the glass plate by the edges not touching the surface of the glass plate. Oils on the glass plate will make it more difficult for prints to stick.
-
The final item in this bundle is a print removal tool. This assists in getting prints up and off the bed when they are completed.
-
-
-
Re-install the glass plate on the print bed.
-
Try to hold the glass plate by the edges not touching the surface of the glass plate. Oils on the glass plate will make it more difficult for prints to stick.
-
Secure the glass plate using the supplied binder clips that you originally removed. Position them as shown.
-
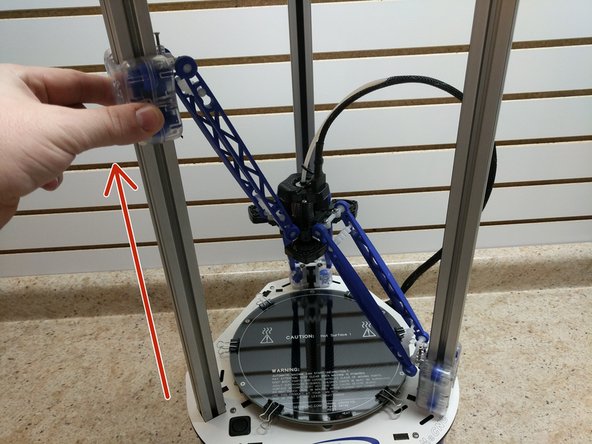
Slowly and carefully move each of the 3 carriages down to the top of the base assembly.
-
-
-
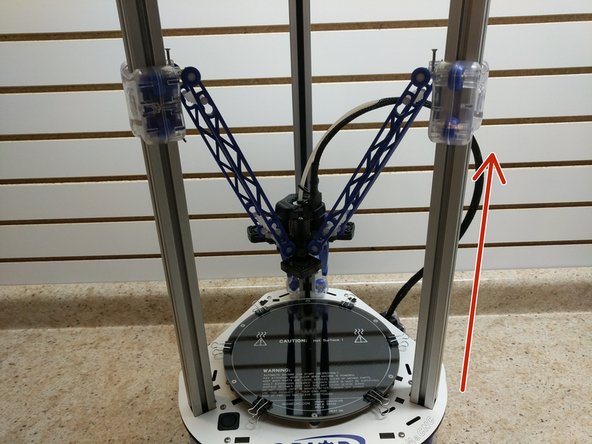
Slowly and carefully raise the carriages, one at a time until they are all three in printing position. Be sure to look at all three images before beginning.
-
-
-
Remove the accessories from the white pouch (originally shrink wrapped to the top of the printer).
-
Install the power cable where shown.
-
Install the spool holder arms as shown.
-
Install the USB cable on the opposite side of the machine as the power cable. (not shown)
-
-
-
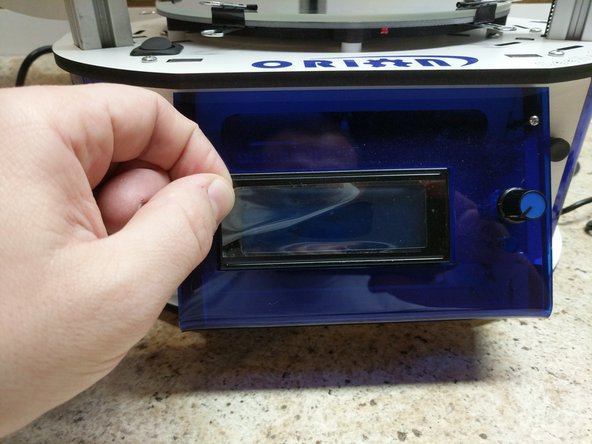
Remove the protective covering from the front of the LCD screen.
-
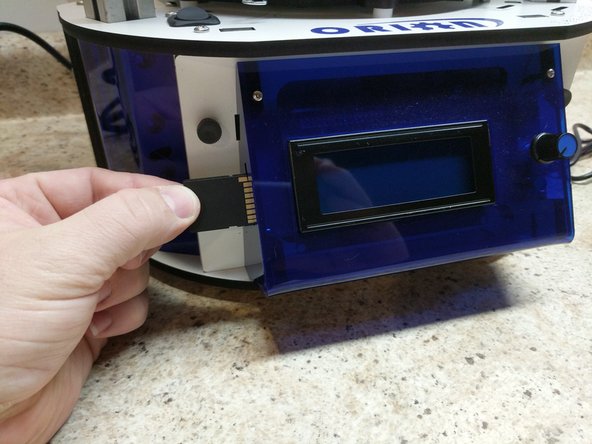
Insert the SD card into the side of the LCD assembly. Note the orientation of the SD card, the metal contact should be facing you.
-
-
-
Remove the filament from the packaging.
-
Set the filament spool on the spool holder arms with the filament coming off of the top of the spool.
-
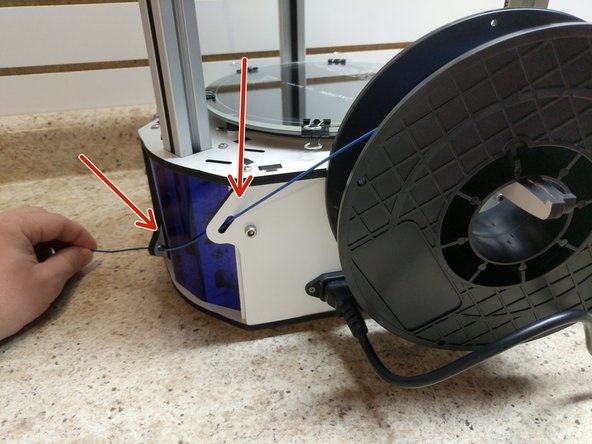
Route the filament through the two guides in the back of the printer.
-
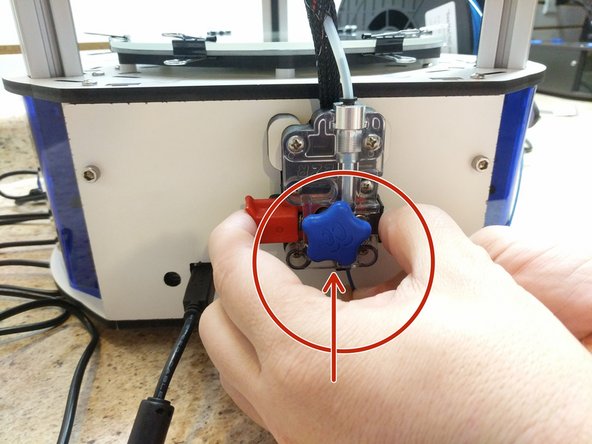
Bring the filament to the bottom of the extruder. The extruder is the part on the side of the printer with the blue "star"
-
Observe the filament path on the bottom of the extruder. While pressing the red release lever with your first finger and thumb, insert the filament into that path and feed it upwards until you see it appear in the bowden tube (clear tube).
-
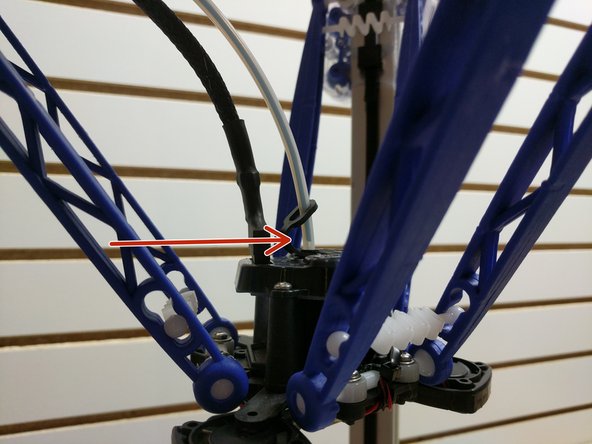
Continue feeding the filament up through the bowden tube (clear tube) until you see it reach the hot end. You can feed filament by either turning the blue stepper motor knob, or by pressing the red lever and manually feeding the it.
-
-
-
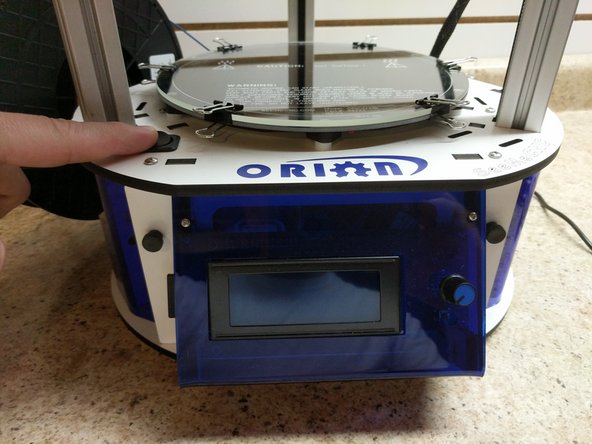
The power switch is located above the LCD screen (note the position in the image). Power the printer on.
-
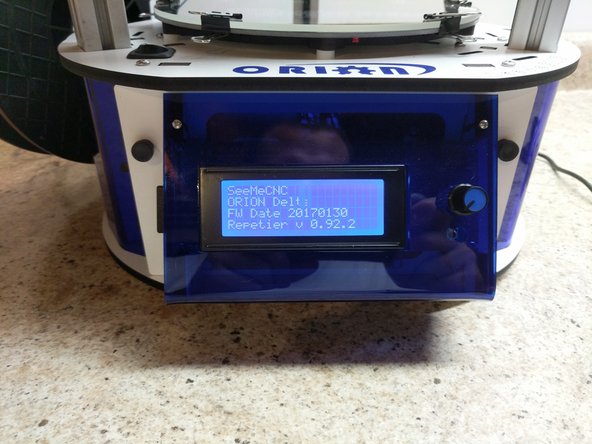
You should see an initial splash screen that shows the printer model and firmware version and compilation date.
-
Your next step is to download and check out the MatterControl User Manual It will guide you through setting up MatterControl and running your first print!
-
-
-
Make sure the glass is attached with clips and clear of any obstruction. Be sure nozzle is clean with out filament. The nozzle will come down in the follow steps and tap the bed, probing to automatically level the print surface.
-
Power on the printer and insert an SD card into the LCD control panel.
-
Push in the LCD control knob to select. Turn the knob to scroll to the bottom and select "Advanced Settings" by pushing in the knob.
-
Turn the knob again to "Calibration Menu" and push in to select
-
Turn the knob to "Full Calibration" and push in to select.
-
Turn the knob to select "Begin Calibration" and the machine will home, then automatically move down to the print surface and tap. This is measuring the surface and storing information so your first layer is perfect.
-
When it's finished, the bottom of the machine will say "CALIBRATION COMPLETE" or say failed if it did not work. Try again, perhaps the nozzle was not clean.
-


