
Difficulty
Very easy
Steps
8
Time Required
- EZR Struder 8 steps

User-Contributed Guide
This guide is not managed by the site's staff.
Quiz
0
Tools
Parts
No parts specified.
-
-
This animation highlight the assembly / installation of the EZR Struder.
-
Your EZR Struder will come nearly fully assembled from SeeMeCNC.
-
-
-
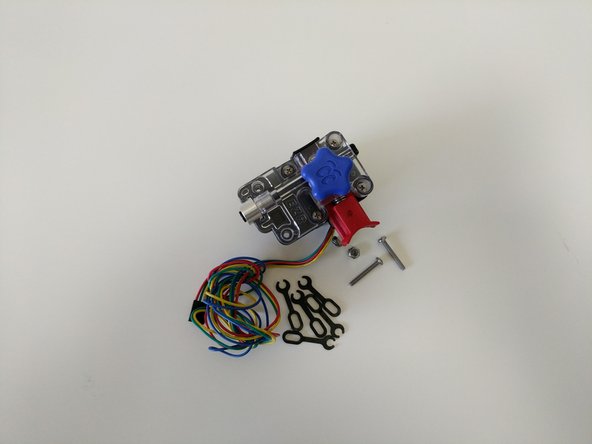
Locate the EZR Struder pack from your kit or order.
-
If you are assembling a printer kit, you will also need to locate the bank of stepper motors packaged in bubble wrap. You will need (1) stepper motor for the EZR Struder assembly.
-
If you are upgrading your extruder on a machine you will need to remove the old extruder from the stepper motor.
-
-
-
The main bodies of the EZR Struder have been zip tied together so they stay together during shipping. You will need to cut that zip tie and remove it.
-
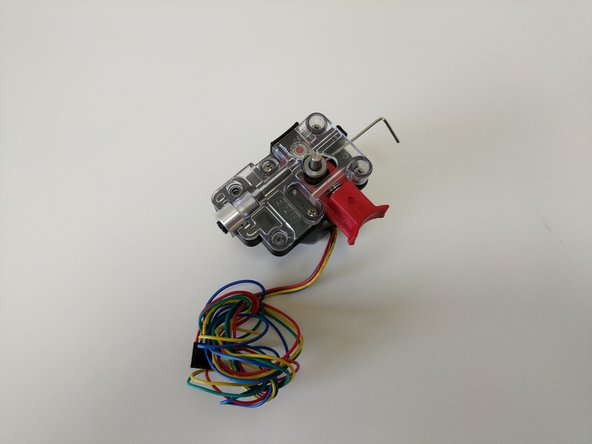
Keep the EZR Struder assembled
-
-
-
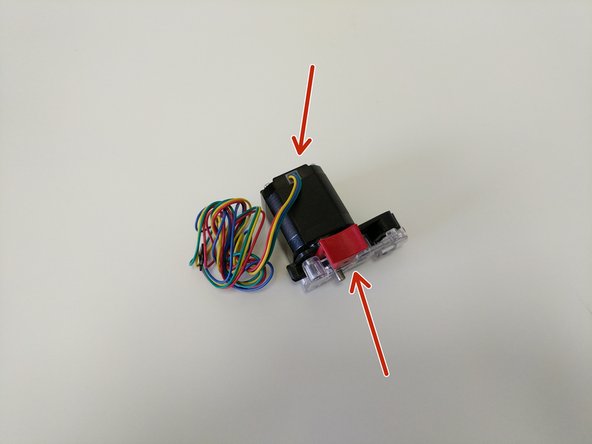
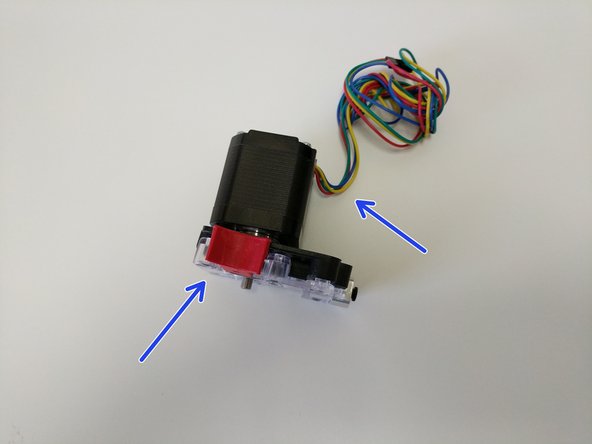
The orientation of the EZR Struder with the stepper motor is different for different machines.
-
The image with the red arrows shows the correct oriantaiton when installing the EZR Struder on the H2.
-
The image with the blue arrows shows the correct oriantaiton when installing the EZR Struder on the Rostock Max v3.
-
-
-
You will be attaching the EZR Struder to the stepper motor using (4) M3 x 10mm screws in the locations indictaed by blue arrows.
-
Fully tighten the screws
-
-
-
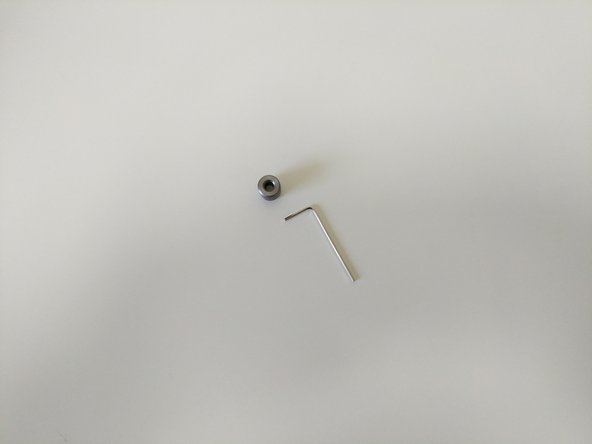
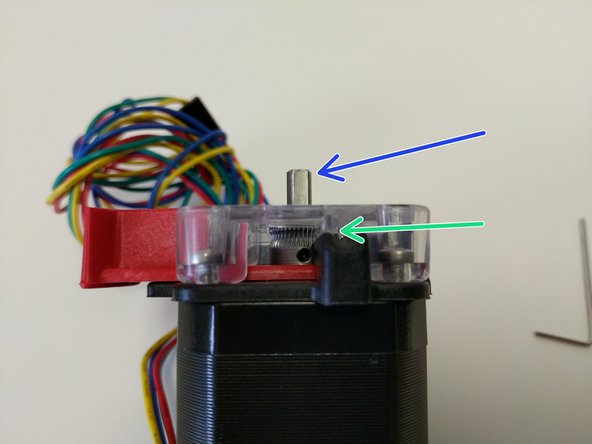
Locate the Hobbed Drive Roller.
-
Slide the hobbed drive roller onto the stepper motor shaft. Note the orientation of the hobbed drive roller shown in the second image.
-
Press the red release lever and slide the hobbed drive roller down into the EZR Struder assembly until the midpoint of the hobbed portion is aligned with the split between the base and cover pieces (indicated by a green arrow)
-
Rotate the stepper motor shaft so the flat is in the orientation indicated by the blue arrow.
-
Align the hobbed drive roller so that the set screw will be set against the flat in the stepper motor shaft.
-
-
-
Tighten the set screw fully using the supplied allen wrench.
-
-
-
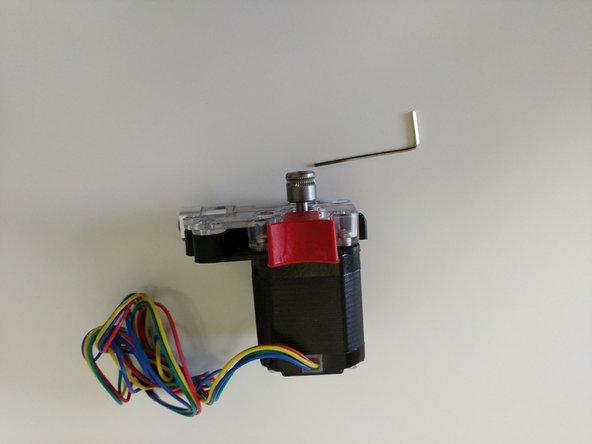
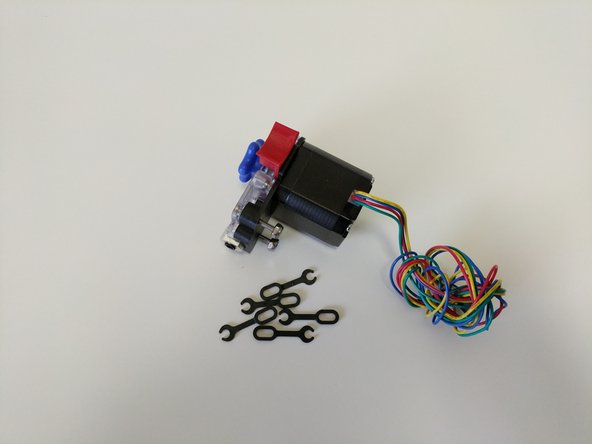
Install the stepper motor handwheel by aligning the flat of the molded handwheel with the flat of the stepper motor shaft and pressing down until it bottoms out.
-
The stepper motor handwheel is used for manually advancing / retracting filament.
-
If this is going to be installed in a new build install the (2) 6-32 x 1" machine screws and lock-nuts in the remaining 2 holes in the EZR Struder plates and hand tighten only
-
HAND-TIGHTEN ONLY. These are being placed here for safekeeping only.
-
If you are upgrading a printer and ready to install, you will now install the EZR Struder using the (2) 6-32 x 1" machine screws and Nylon lock-nuts to mount your EZR Struder into you extruder mount.
-
The black lanyard clips are installed once the bowden tube is installed in the EZR Struder. We send plenty of extra in case you ever lose one.
-


Attached Documents
