-
-
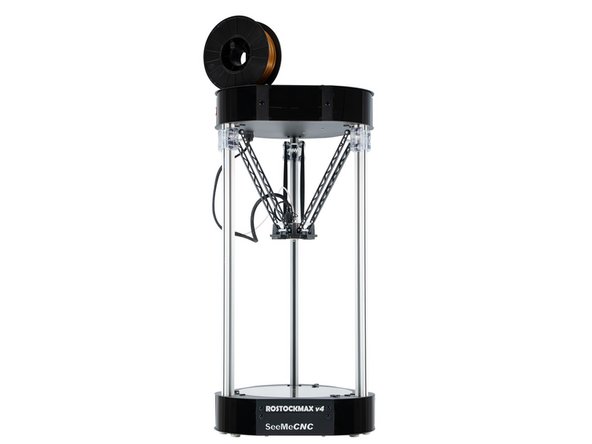
Please follow the "Quick Start" Guide. Click this link to jump to SeeMeCNC Quick Start
-
If you purchased your printer before July 2019, please continue to Step 2.
-
-
-
If you purchased an RTP (ready to print) please skip this step.
-
CLICK HERE > Follow this guide to download and install the latest firmware
-
RostockMAX v4 DIY Kits now come with an SD card with current firmware downloaded onto the card. You can skip this step.
-
-
-
If you purchased a fully assembled RTP (ready to print) machine, please skip this step.
-
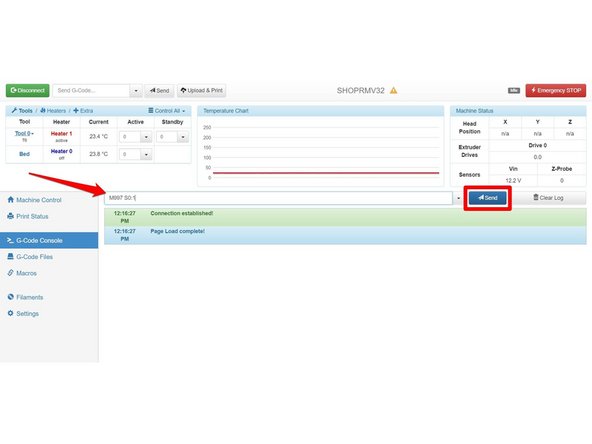
Go to the "G-Code Console" page.
-
In the text field, type in M997 S0:1 . This command manually triggers a firmware update to the latest version.
-
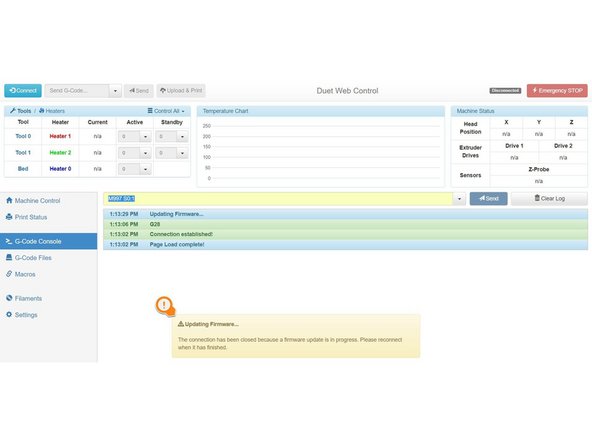
If done successfully, you should see an attention box telling you the connection has been terminated while updating the firmware.
-
Wait a minute or so, then reconnect to the printer using the blue "Connect" button at the top left of the window.
-
-
-
If you purchased a fully assembled RTP (ready to print) machine, please skip this step.
-
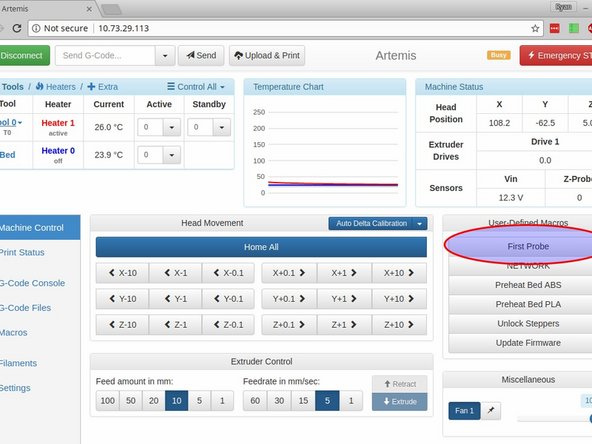
We have created a custom macro to assist with your first calibration. On the "Machine Control" tab, you can click "First Probe" under "User-Defined Macros" to do your first calibration.
-
The first probe macro will do a 10 point calibration (single tapping), then do a large bed map (double tapping), then a final 10 point calibration (double tapping). It will take about 5 minutes to run all the way through. Don't worry, future calibrations go much faster.
-
The first probe macro will automatically pre-heat the bed.
-
Run "G28" in the gcode console to home all of the axes. Test your calibration by putting a sheet of paper on the bed and running: "G0 Z0". Your nozzle should just touch and pinch the paper so it's hard to move. If it's too loose, run the following GCode: "G31 P100 X0 Y0 Z-0.1", then run "G32" to recalibrate, then "M500" to save your settings.
-
If it's too tight, you want to try "G31 P100 X0 Y0 Z-0.3", then run "G32". If it's still too tight, make the number after Z a larger negative number. If it's still too loose, make it a smaller negative number.
-
After your initial calibration, you can calibrate by clicking the "Auto Delta Calibration" button, or by sending "G32" in the gcode console.
-
You might see a line or two that says the Height Error Difference was above the maximum tolerance. Don't worry about them - if there's a real problem it will abort the calibration.
-
-
-
The printer is designed to run from either (a) browser window over your intranet or (b) by using the optional touchscreen controller with SD card reader
-
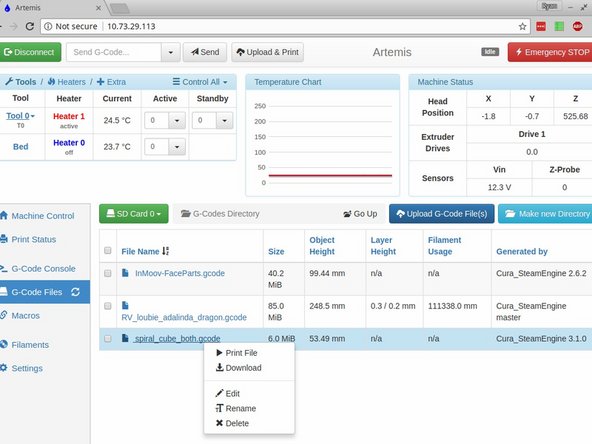
Upload and print your first gcode file. You can do this two different ways. You can either click "Upload & Print" at the top of the page, or click on G-Code files at the side of the page, then "Upload G-Code File(s)", then select your file from the list.
-
A pre-sliced file for your first print should already be loaded on your SD card. This test print is called "firstprint.gcode"
-
-
-
We recommend using Cura for slicing. All v4 testing is performed with Cura and our slicing profiles for our printers will get you going fast! Click here to see our guide for installing Cura and downloading our profiles for your new printer.
-