Introduction
Please refer to the following Guide
SeeMeCNC staff have aligned this guide and current slicing configuration to work on Cura version 3.4.1
-
-
Please refer to the following Guide == Clean Cura Slicing Software Setup ==
-
-
-
Follow this link to download CURA.
-
SeeMeCNC settings and slicing profiles are currently aligned to work properly with version 3.4.1
-
We still find problems using later revisions of Cura
-
Remember, SeeMeCNC printers ship with standard 0.5mm nozzles.
-
Also note we DO NOT recommend printing over USB. Upload to the printer or use an SD card on the control screen if you purchased a control screen option.
-
-
-
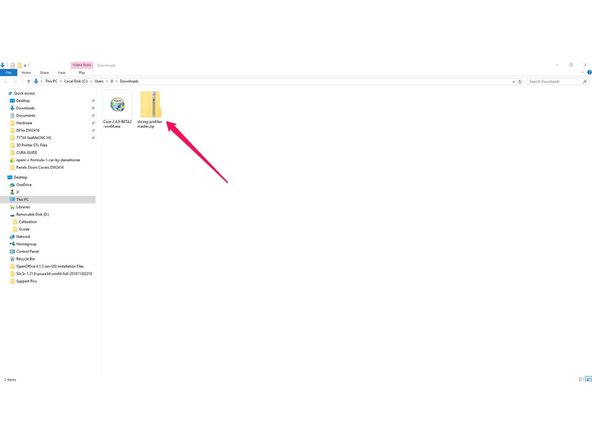
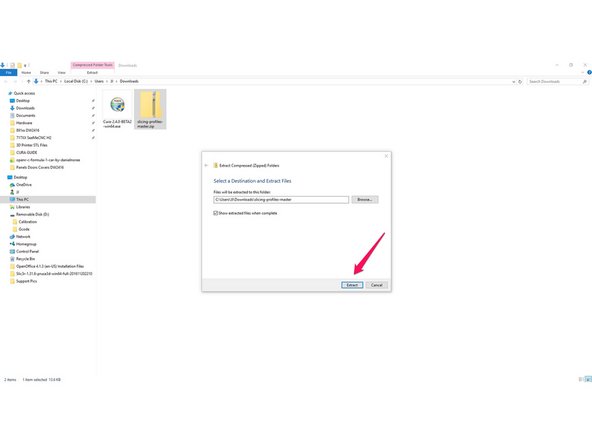
Download and extract the SeeMeCNC Slicing Profiles
-
Save/move them to a location where you can access them in the future steps / or to return to defaults.
-
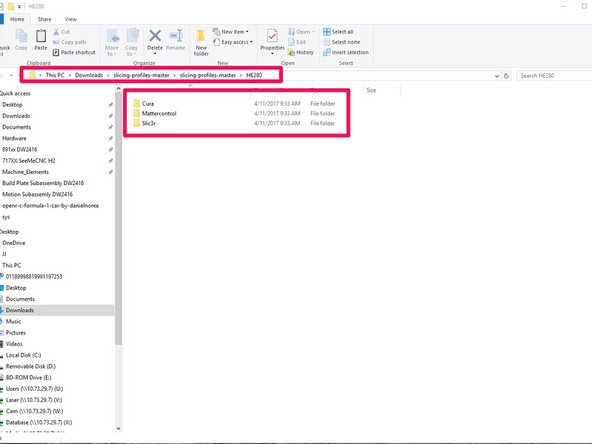
There are several different pre-configured slicing profiles for you to choose from. They have been broken into categories for hot end type (ERIS, HE280, & SE300) and slicing engine(MatterControl, Slic3r, & Cura) . This guide will show you how to import the appropriate settings in future steps.
-
HE280 comes stock on all Orion Delta and Rostock Max v3 printers
-
SE300 comes stock on the Artemis 300 and Rostock Max v3.2
-
-
-
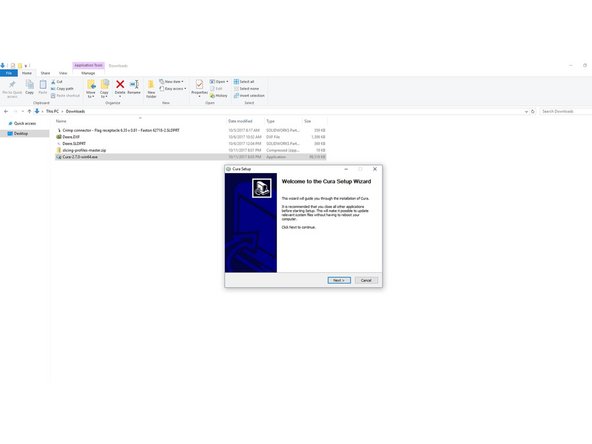
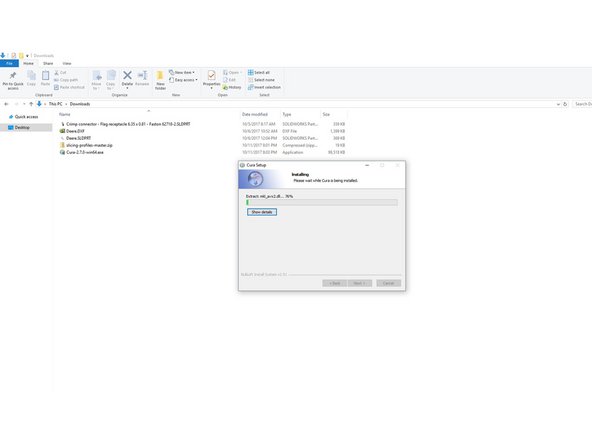
Double click on the Cura install that you downloaded.
-
Follow through the prompts to specify the installation location, file types, etc.
-
When the install is complete, click the finish button on the setup dialog, that will automatically launch Cura.
-
-
-
When CURA opens you will automatically be presented with the option to add a printer. Choose: Custom > Custom FDM printer
-
Give the printer a Name (Your Preference)
-
Click on: Add Printer
-
-
-
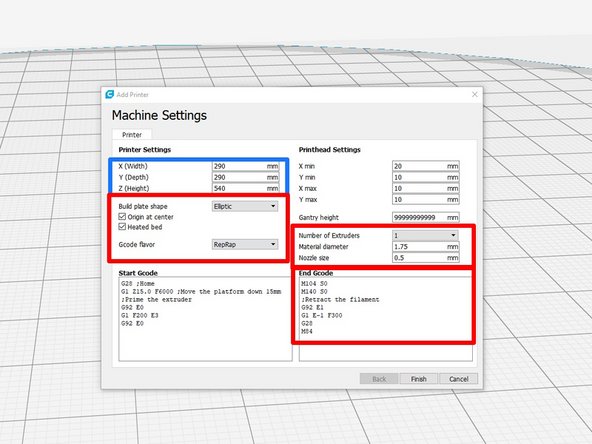
You will need to configure your printer on this page. The box in blue notes settings that are specific to your machine type (These settings are noted below for each machine.) The boxes in red note settings that are universal for SeeMeCNC Delta Printers. Change the configuration to match those in the image. You can ignore the other boxes.
-
Artemis 300 Settings: X 290 Y 290 Z 540 Stock Nozzle Size .5 ****For Artemis and Rostock Max 3.2 add the following line to the beginning of Start Gcode AND End Gcode: M203 Z30000
-
ERIS Settings: X 124 Y 124 Z 165 Stock Nozzle Size .5
-
Orion Delta Settings: X 150 Y 150 Z 235 Stock Nozzle Size .5
-
Rostock Max v3 Settings: X 265 Y 265 Z 400 Stock Nozzle Size .5
-
H2 (178mm Arms) Settings: X 140 Y 140 Z 295 Stock Nozzle Size .5
-
H2 (290mm Arms) Settings: X 200 Y 200 Z 175 Stock Nozzle Size .5
-
Click Finish when you are done setting the printer configurations.
-
-
-
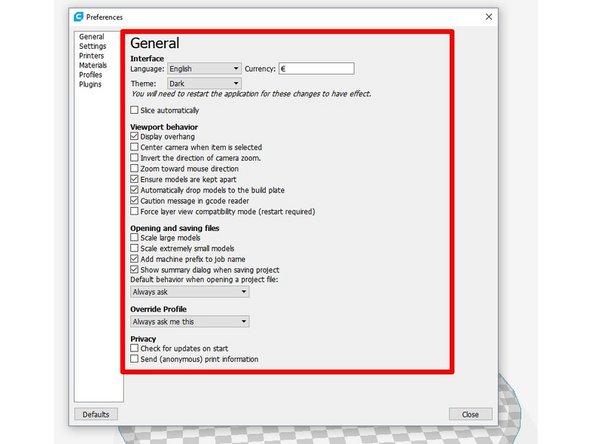
From the menu bar click Preferences and choose Configure Cura...
-
In General change the settings to match those in the first image.
-
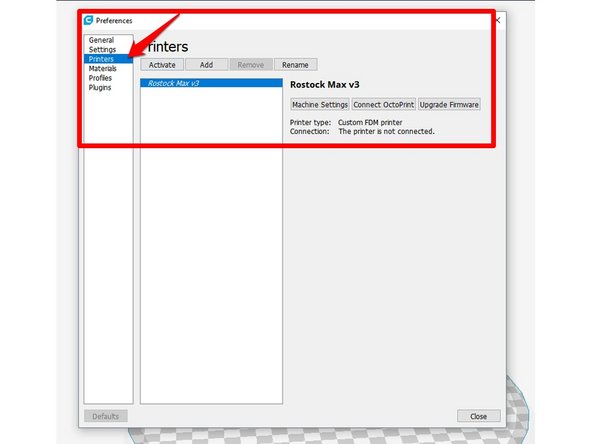
In Preferences is where you can also go to Printers and setup different machine profiles that can be used for configurations such as different arms, nozzle sizes, etc.
-
-
-
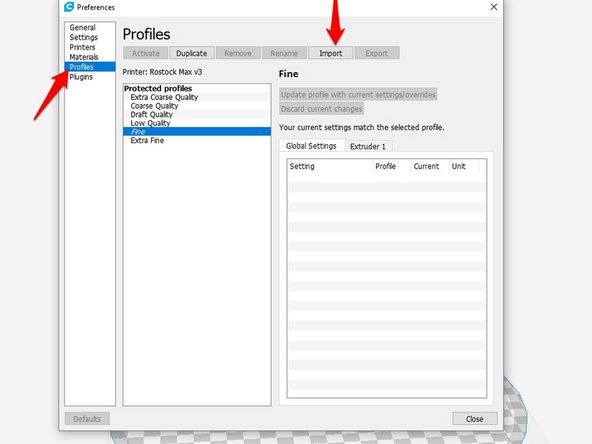
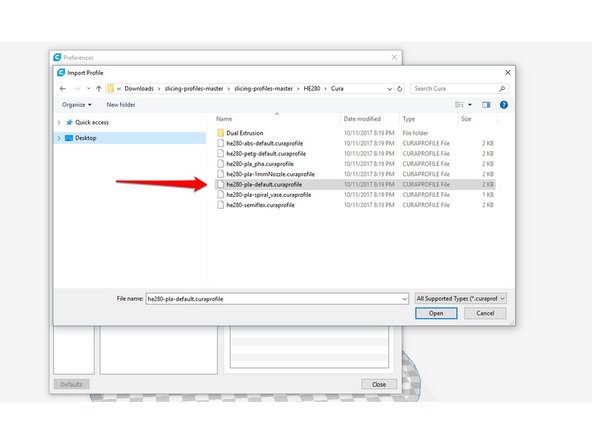
In the preferences dialog, navigate to: Profiles and choose Import.
-
Navigate to the profile(s) that you downloaded in previous steps.
-
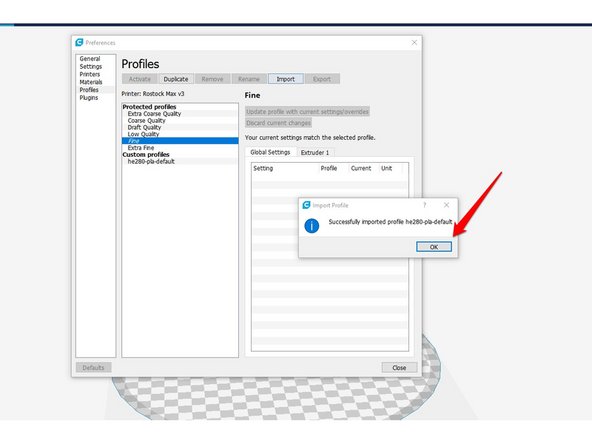
Choose the profile you would like to import first. pla-default is a good profile to begin with if you are unsure which one to begin with.
-
After you have imported the profile you can rename it, duplicate it, remove it etc from within Cura.
-
When you are finished click CLOSE
-
-
-
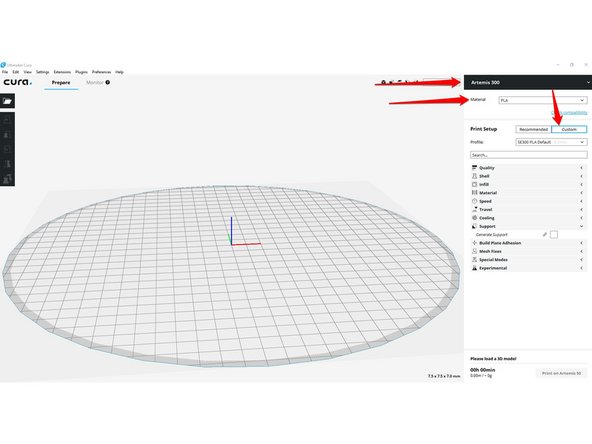
Ensure that the active Printer and Profile are the ones that you want to be active. (To change to a different profile, you need to click on CUSTOM)
-
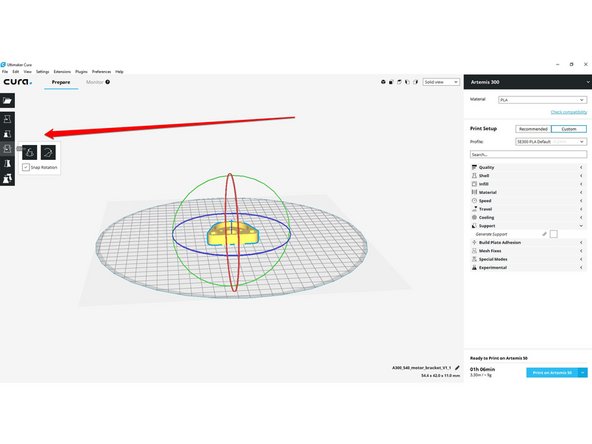
The Tools along the left edge of the screen are used for importing and editing your model (scale, orientation, etc)
-
Experiment around with importing an STL file and manipulating it in the build environment.
-
Right click and hold to rotate/orbit, Middle click and hold to pan, middle scroll wheel to zoom.
-
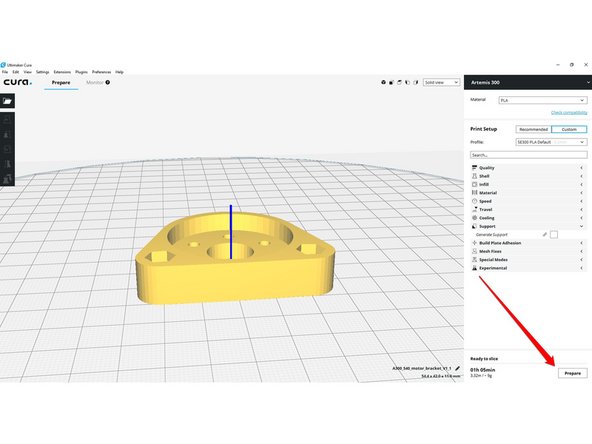
When the model is yellow it fits in the build area and can be printed. If the model is grey, it does NOT fit. Red areas on your model are overhang areas.
-
-
-
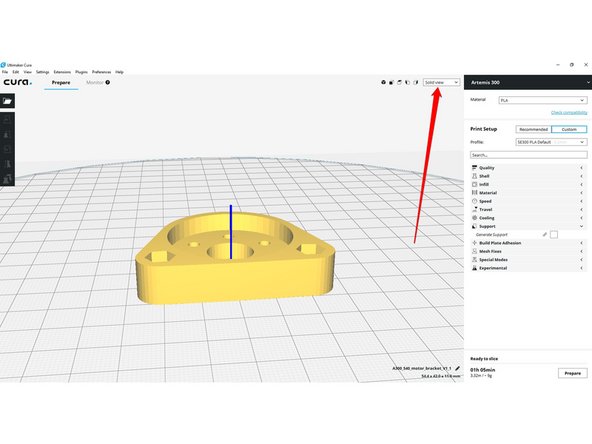
When you are ready to print click Prepare in the bottom right hand corner. It is recommended that you first check the layer/slice preview. This is located in a drop down near the top of the screen. Change from Solid View to Layer View You can use the slider to preview the slice prior to printing.
-
When you are ready to print click the Save to File or Save to Removable Drive button in the bottom right hand corner. If you print via a Raspberry Pi (OctoPrint / AstroPrint) choose Save to File. You can then choose where to save the file and later transfer it.
-
After you have saved the file, Cura will provide you with the file location, name, and the option to eject the memory device.
-
Transfer the memory device (or file if using Raspberry Pi) to your printer and begin the print.
-
-
-
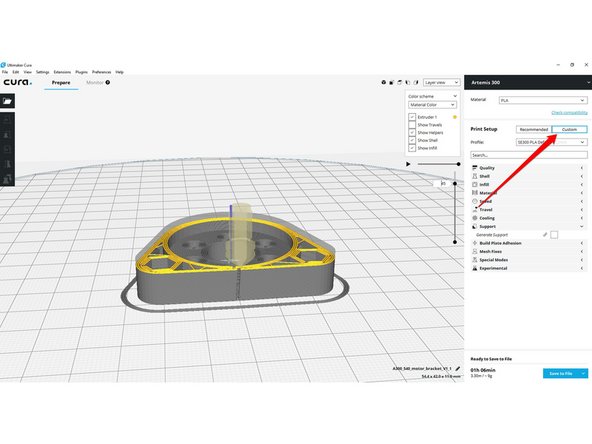
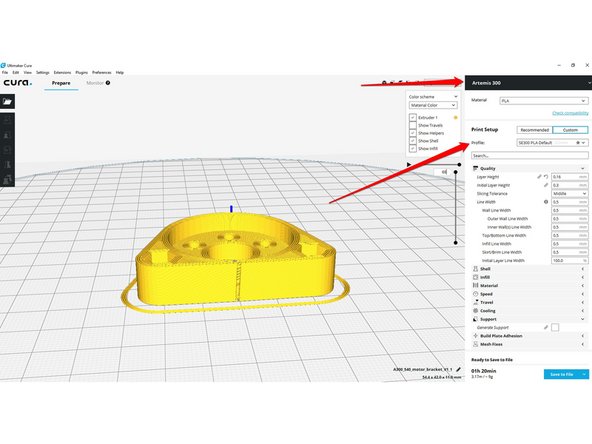
You can modify profile settings in Cura. These settings are located on the right hand side of the screen. There are a multitude of settings that you can modify. To get to these setting you will have to move the slider to "Custom"
-
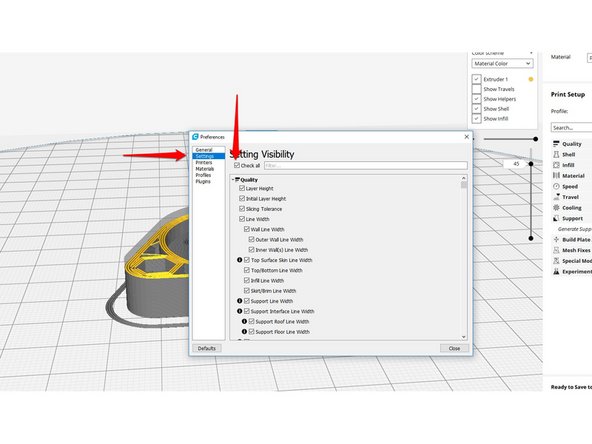
By default only some settings are shown. You can access all of the settings here by going to Preferences > Configure Cura > Settings > Click in the box labeled - Check All
-
Hovering your cursor over any setting will provide you with a brief explanation.
-
After you have made any changes to the slicing profile you will need to click the prepare button in the bottom right hand corner to re-slice the part. To save the change for later use you can click the active profile. Then choose from the 3 options shown in the third image.
-
A STAR in next to the name of a profile indicates that changes have been made to the active profile that have not been saved or discarded.
-
If at any time you would like to go back to default settings, access the profile manager and import a fresh profile (downloaded from the SeeMeCNC Github page)
-
-
-
For setting up Cura to use different machines, nozzle sizes, arm configurations, etc, you should set up and switch between different Machine Profiles.
-
For setting CURA up to use different slicing profiles import them into CURA in the Profile configuration.
-