
-
-
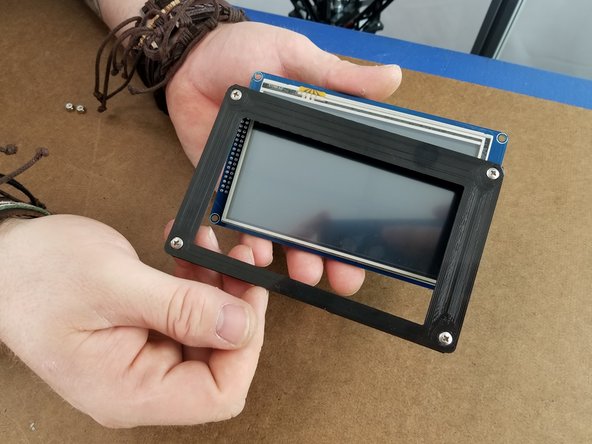
Look over the included bill of materials (BOM) to make sure you have all required components for this install. A full sized BOM can be found attached at the end of this guide.
-
Not Pictured: The 84670 plastic Touch Screen Frame for the touch screen.
-
Turn off your RostockMAX v4 before following this installation guide!
-
-
-
Peel the foam protector off the pins on the back of the touch screen. Make sure you don't bend any pins!
-
Enjoy the sweet satisfaction of peeling that thin film off the front of the screen. Yeeeeeah that's niiiiice....
-
-
-
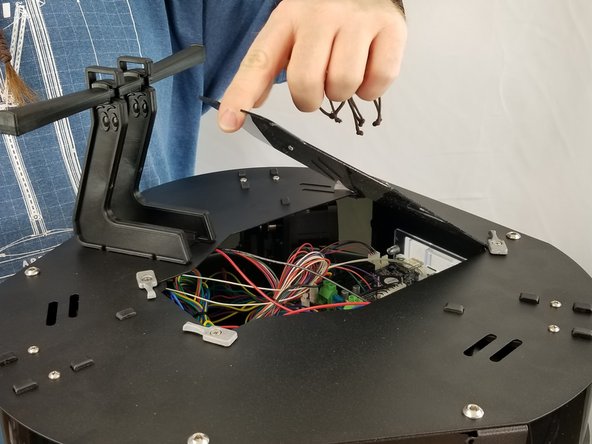
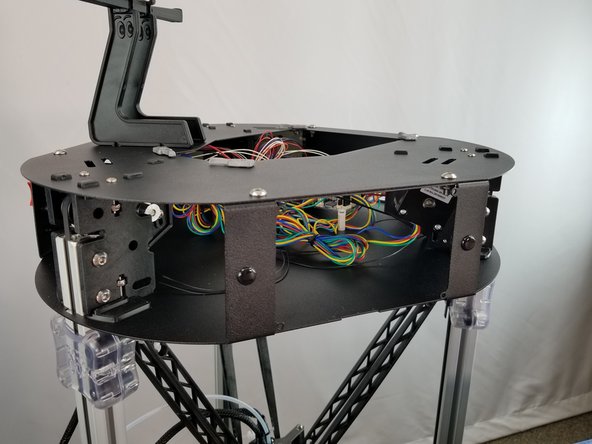
Remove the top hatch cover
-
Pop out the touch screen hole cover, pushing inward to release it from where it's seated
-
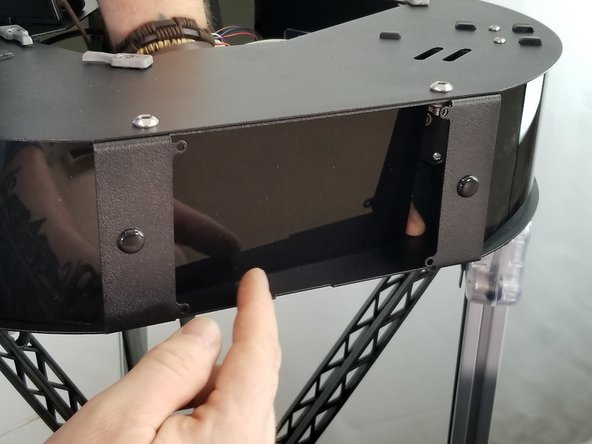
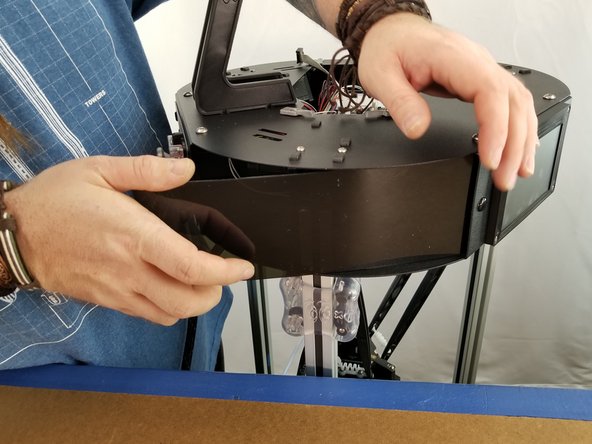
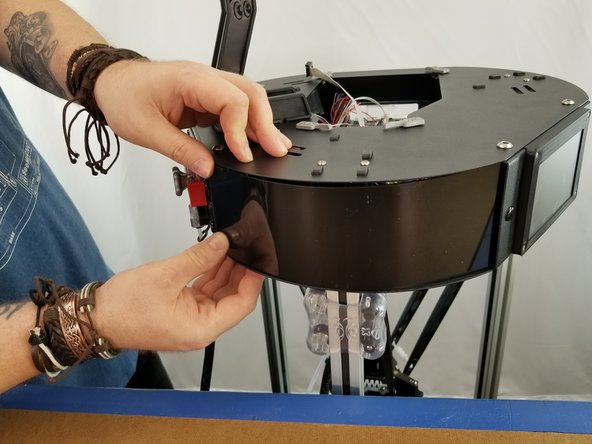
You'll need to carefully remove the side acrylic covers too to make this install easier
-
-
-
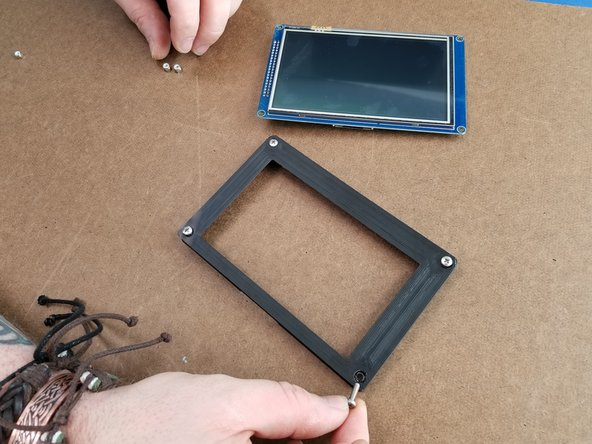
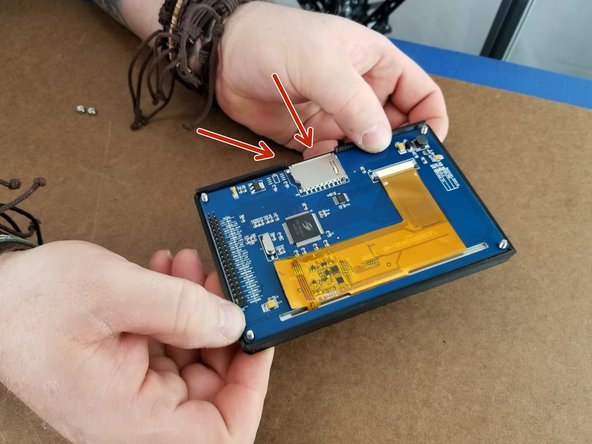
Insert the 30318 M3 - .5 x 10mml Phillip Pan Head screws in the 84670 Touch Screen Frame
-
Place the Touch Screen Frame over the touch screen with the notch in the frame matching up with the SD card reader at the bottom of the screen.
-
Pass the screws through the holes in the touch screen control board.
-
-
-
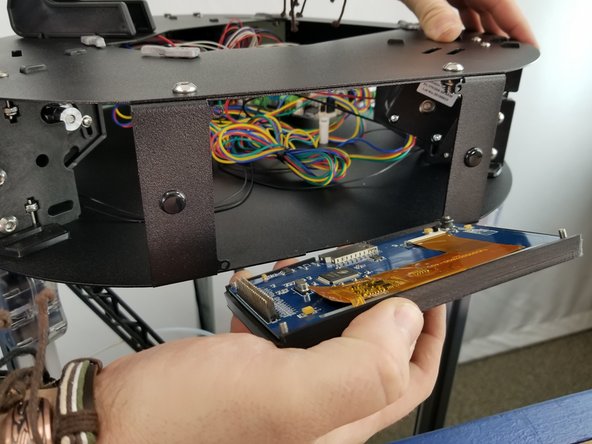
Inert the touch screen in the sheet metal panel on the front of your ptiner's top assembly, where you removed the acrylic panel earlier.
-
Let the 30318 M3 screws pass through the holes in the sheet metal, and use the 30321 M3 - .5 Nylon Lock Nuts to fasten the screen to the panel.
-
Do this for all four corner screws
-
-
-
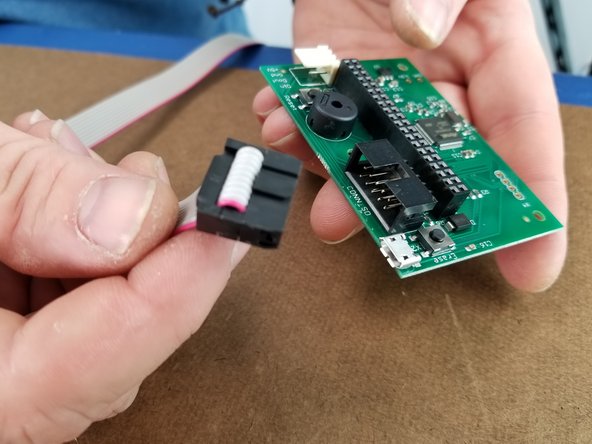
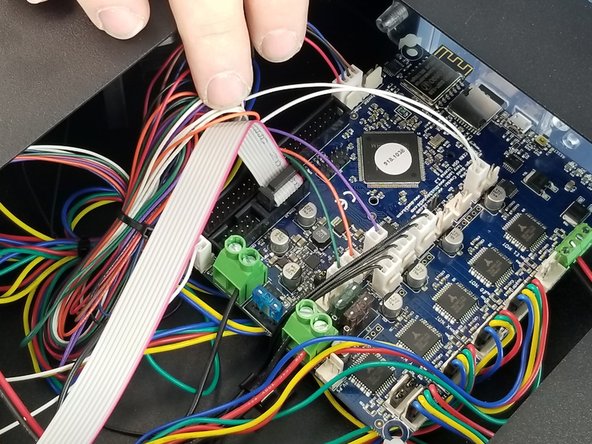
With the touchscreen fully tightened on, grab your 26688 Ribbon Cable and 26776 Control Board
-
Insert one end of the ribbon cable into the control board as shown.
-
Which end of the ribbon cable doesn't really matter here, but generally the end shown in the photos is easier to install on the control board side because of the direction the cable exits the black terminal.
-
-
-
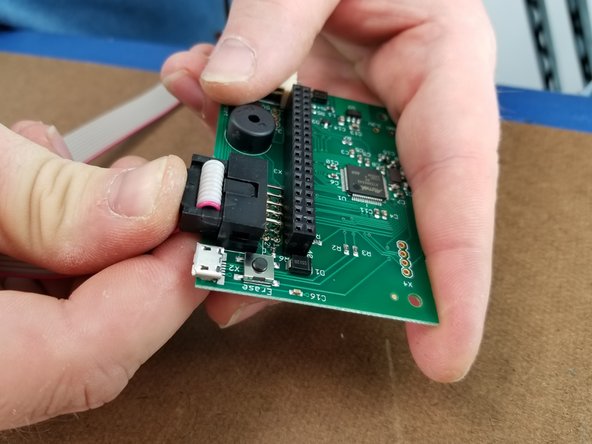
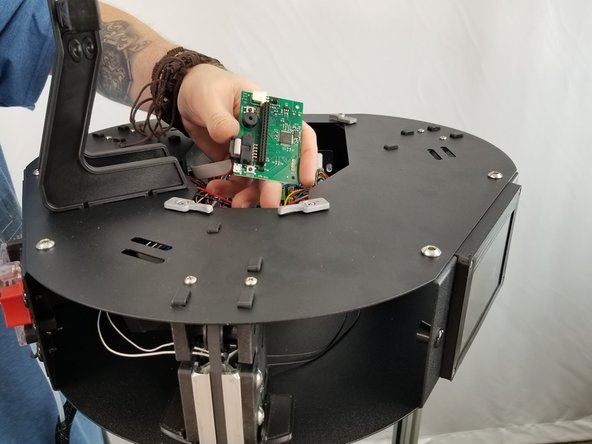
Pass the control board through one of the openings in the top assembly.
-
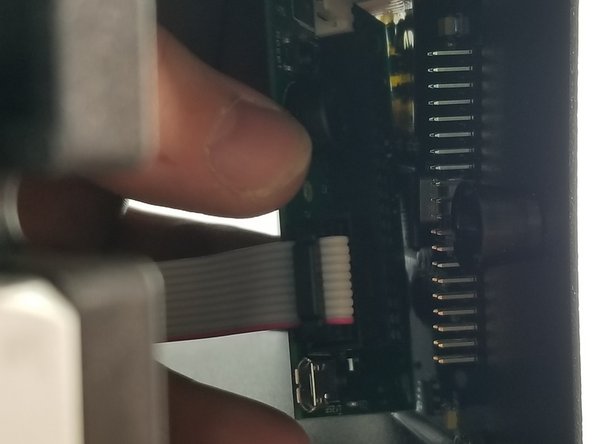
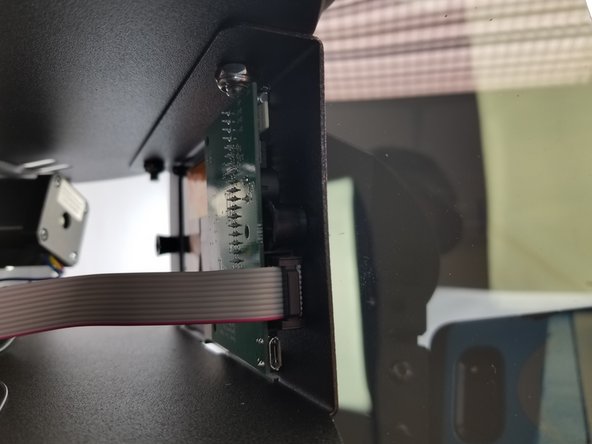
Line up the black housing on the control board with the row of pins on the back of the touch screen control board.
-
Make sure all the pins are lined up properly, and carefully push the control board into place.
-
Again, make sure not to bend any of the pins during installation.
-
-
-
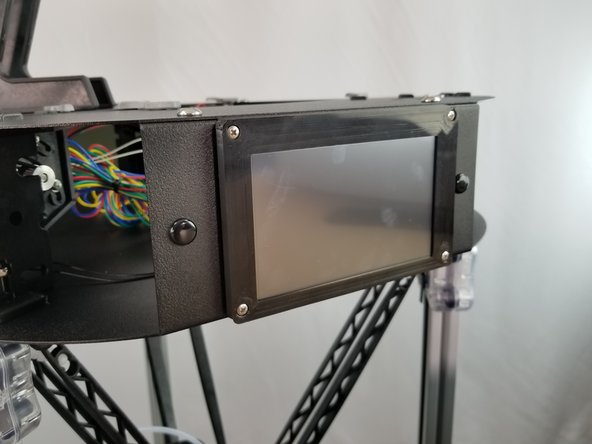
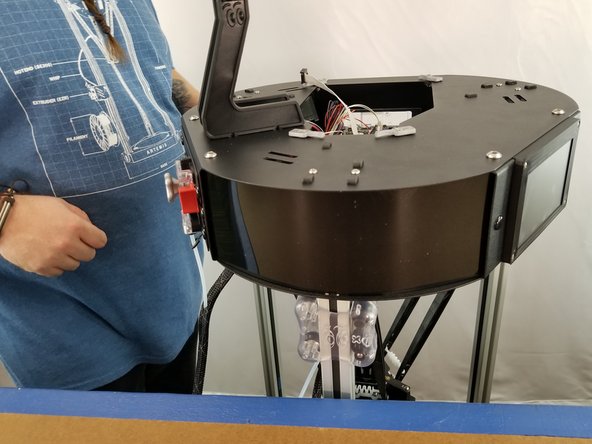
Carefully re-install your acrylic side panels.
-
-
-
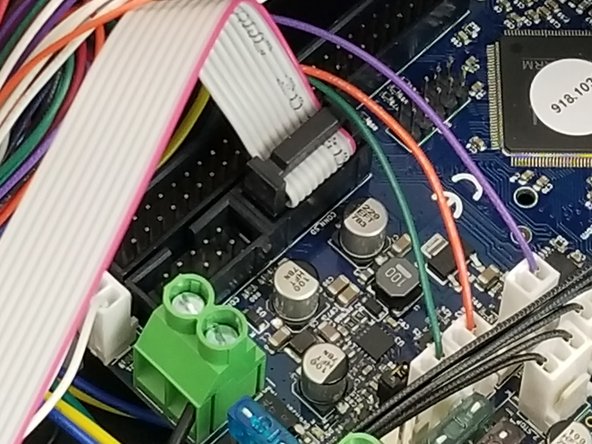
Plug the other end of the ribbon cable into your Duet control board in the location shown. The plug and housing are keyed, so it should only plug in in one direction.
-
If you are following this guide as a side track from your RostockMAX v4 DIY KIT assembly, go back to that guide at this point and return here when you're done with your build and configuration.
-
-
-
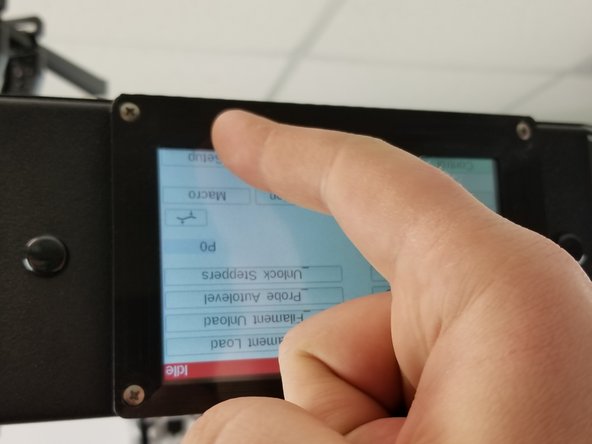
Turn your RostockMAX v4 back on
-
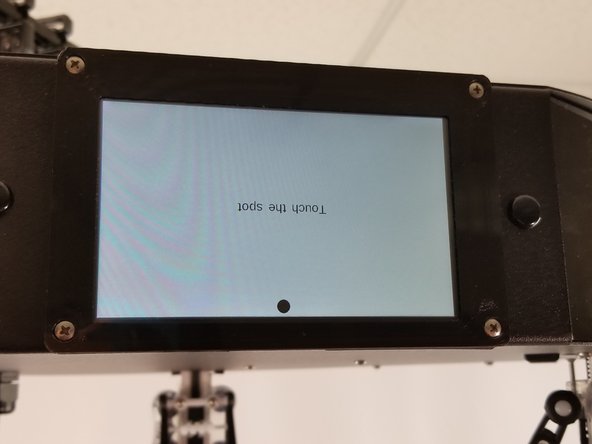
Tap the dots to calibrate the screen. Don't worry, we'll be inverting the display in the next step!
-
-
-
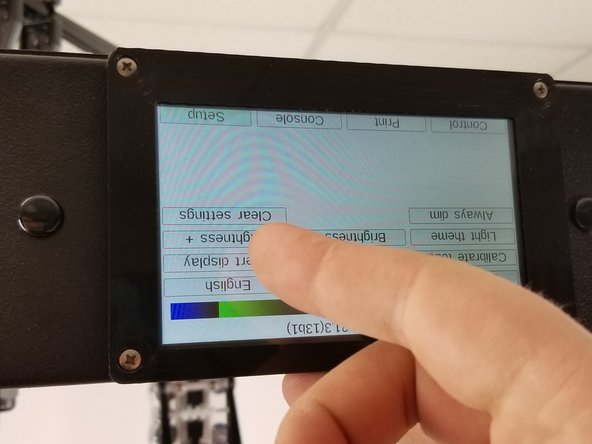
To invert your display, touch "Setup", "Invert Display"
-
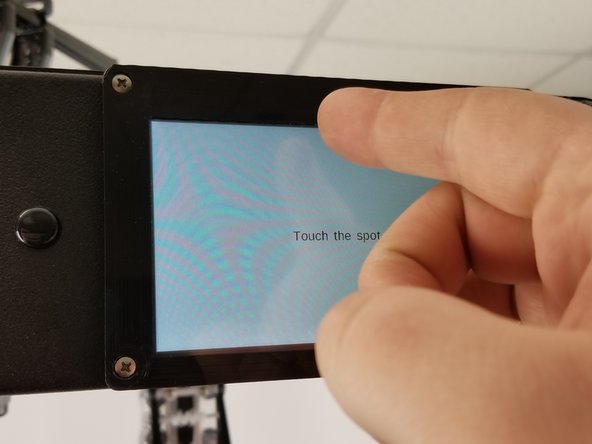
Re-poke the dots to calibrate the touch screen again
-
-
-
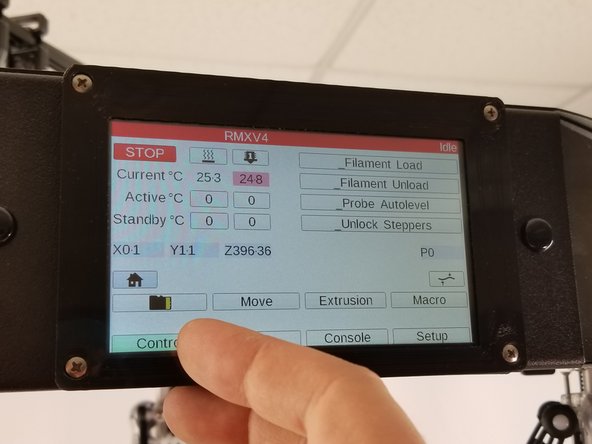
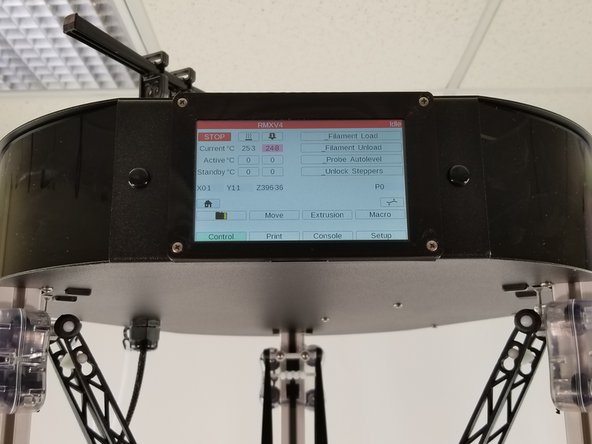
Touch "Control" to return to the main control screen
-
Enjoy poking away at your new touch screen controller on your RostockMAX v4! Remember, you now have another SD card reader at the bottom of the touch screen for extra GCode storage!
-


Attached Documents
