Introduction
Congrats on your new Factory Assembled Rostock Max v3! This guide will help you in getting started with your new machine.
Your machine was fully assembled, calibrated and printed successfully before it left our factory.
Please make sure there are no damages to your new Rostock Max v3. Inspect it carefully for any broken parts. If you find any damages please STOP and contact the company that you purchased it from immediately. Please include your order number when contacting them as it helps to speed up the process.
Your machine was fully assembled, calibrated and printed successfully before it left our factory. We have done some things to make sure the machine does not get damaged while shipping the printer. Please complete the following steps:
-
-
Please thoroughly read the Introduction - Read Me First
-
Want to download this guide as a PDF? Click on the PDF link just above the image and save as PDF.
-
-
-
Remove the printer from the shipping container if you have not done so already. You can do this by lifting the printer straight up out of the container. The best place the grab the machine is by the vertical rails (silver aluminum rails).
-
Carefully remove all shrink wrap from the frame of the printer. Be careful not to cut the machine (or yourself) if you are using a knife.
-
Don't worry about removing the shrink wrap from the bed. We will get to that in future steps.
-
-
-
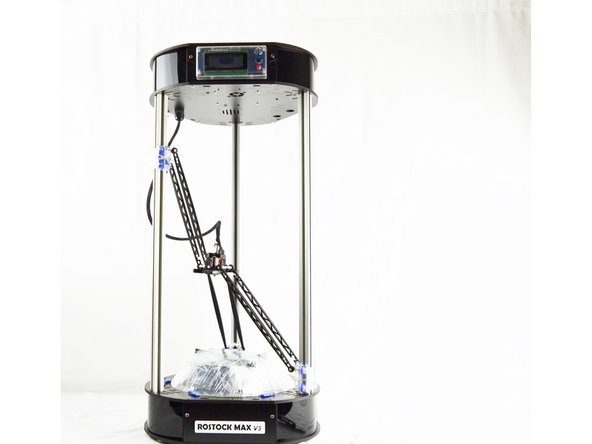
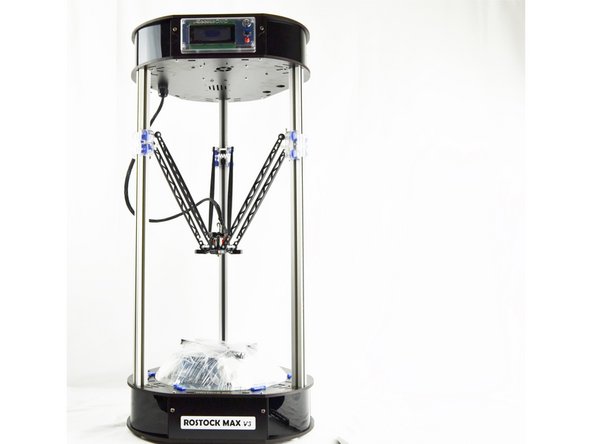
The arms have been inverted to prevent the hot end nozzle from striking the glass print surface during shipping. To invert the arms from shipping position to printing position
-
Place your hand on ONE of the carriages and slowly move this carriage upward toward the top of the printer.
-
Next select one of the two remaining carriages and repeat.
-
Do the same operation with the final carriage.
-
-
-
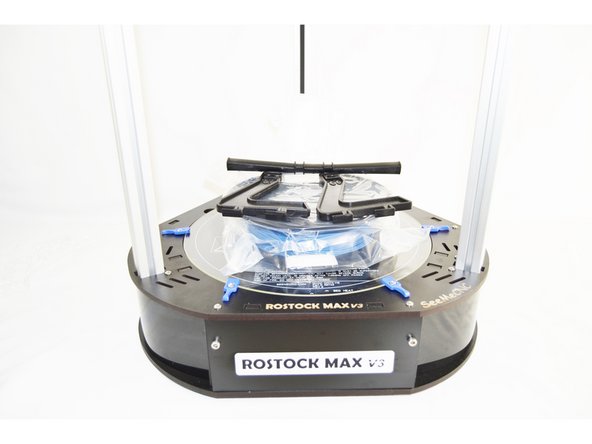
Rotate the [BLUE] bed clamps to remove the glass build plate and accessories from the printer.
-
Remove the glass plate from the printer.
-
-
-
Carefully remove all shrink wrap from the glass build plate. Be careful not to cut the accessories (or yourself) if you are using a knife.
-
Replace the glass build plate back on the printer.
-
Rotate the [BLUE] bed clamps to clamp the glass build plate down.
-
-
-
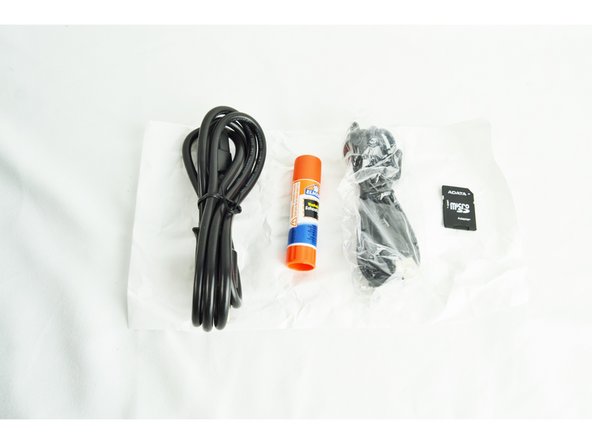
Attached to the glass plate was a bag of accessroies. They are shown here. Each printer comes with a power cable, USB cable, glue stick (for prepping glass plate) and SD card.
-
-
-
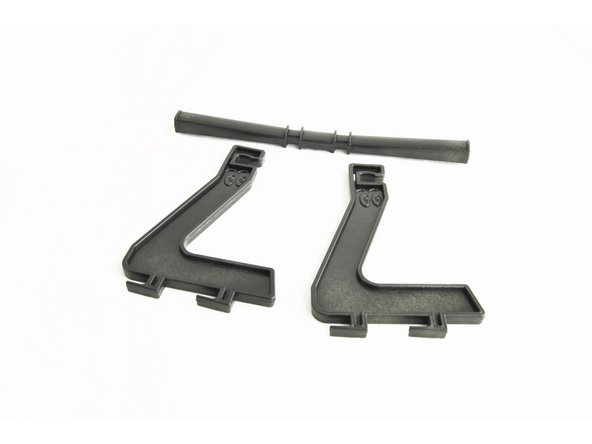
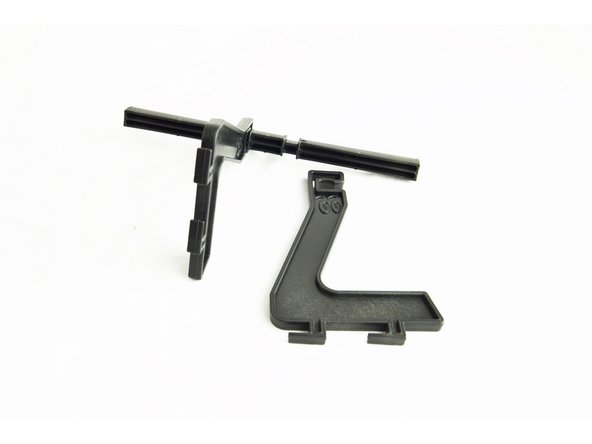
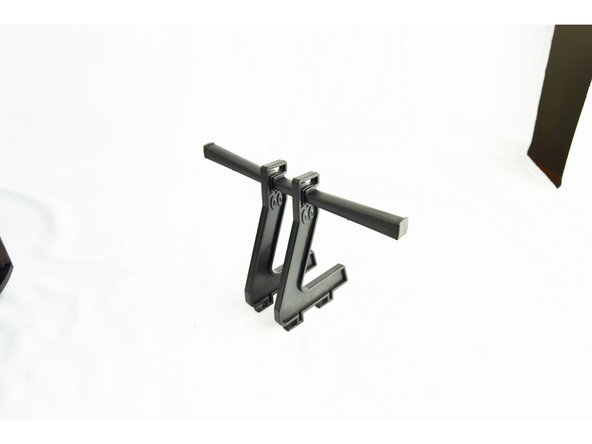
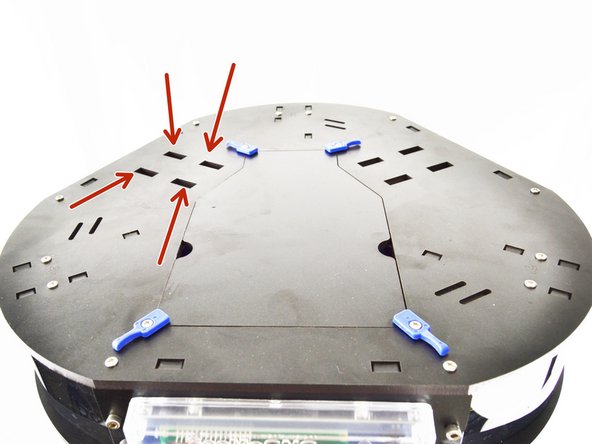
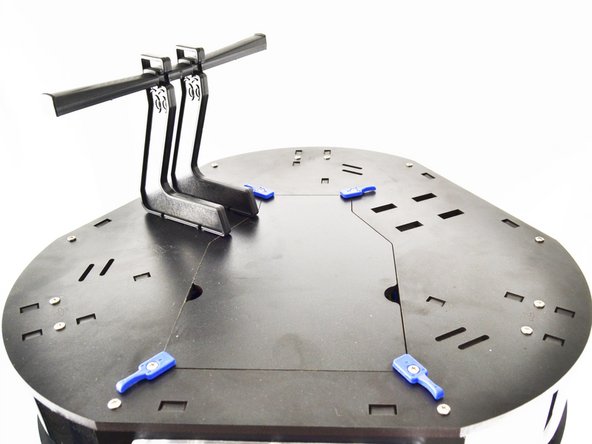
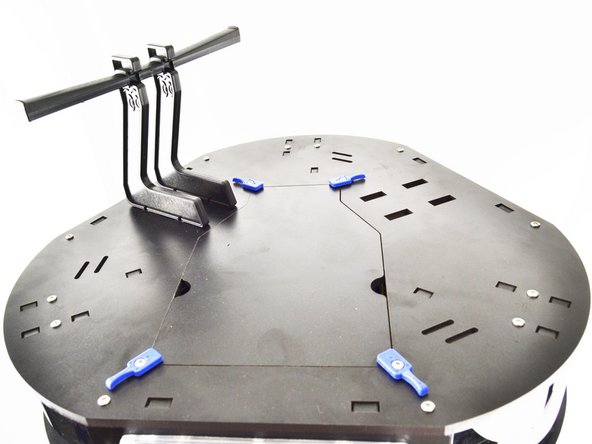
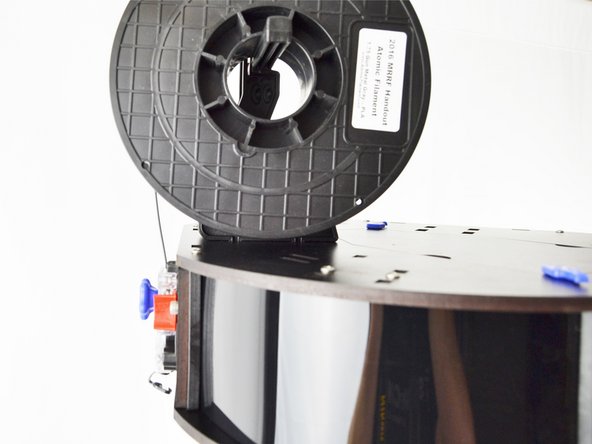
Position the spool holder on the top plate of the machine in the four rectangular cutouts.
-
Slide the spool holder assembly towards the outer edge of the printer, locking it in place.
-
-
-
The power supply in the printer is shipped in the 110 (115) position.
-
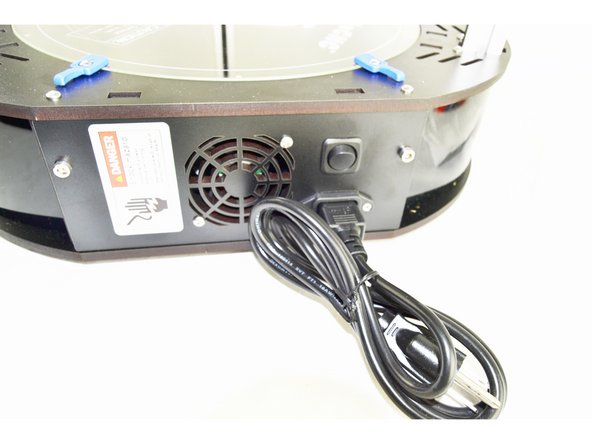
Install the power cable on the right side of the machine.
-
-
-
The Rostock Max v3 is equipped with a USB connection and cable. This is intended to be used as a connection for updating firmware and manually control the machine when diagnosing issues is required.
-
Printing via the provided SD card is considered to be a significantly more stable than printing via the USB connection. We highly encourage the use of printing via the SD card.
-
-
-
The spool of filament should be installed on the printer so the filament is coming off of the top side and down to the extruder as shown.
-
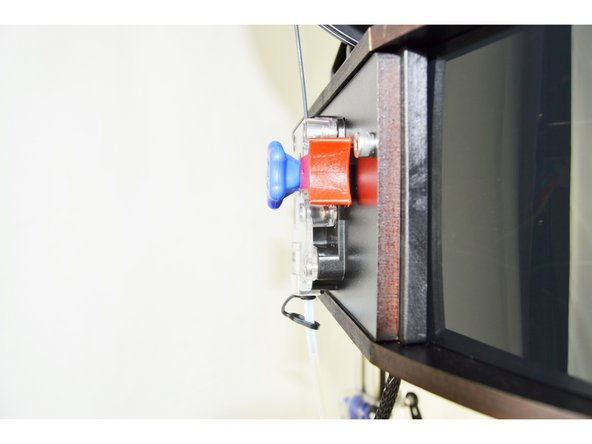
The extruder on a 3D printer, is the device that feeds the filament to the hot end. On the RMAX v3, the extruder is called the EZR Struder. It is the component on the side of the top assembly that has a clear cover, black base and red release lever.
-
Press the red release trigger and push filament down through the filament path on the side of the EZR Struder until you see it in the clear PTFE tube (connected to the EZR Struder)
-
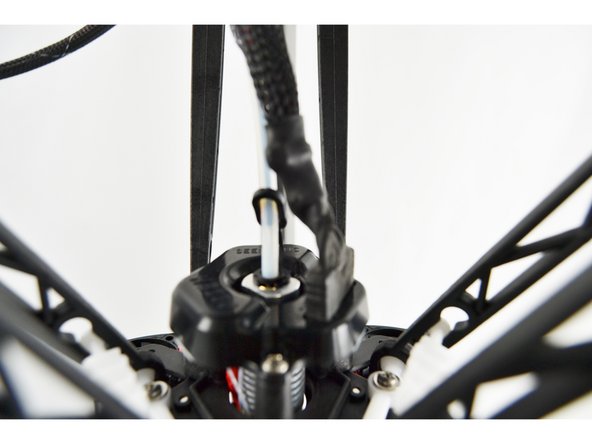
This clear tube is often referred to as a BOWDEN TUBE. The material of the tube is PTFE
-
Either rotate the blue knob on the EZR Struder or press the red release lever and feed filament to the hot end until you see the filament just above the top (as shown in picture 3)
-
-
-
-
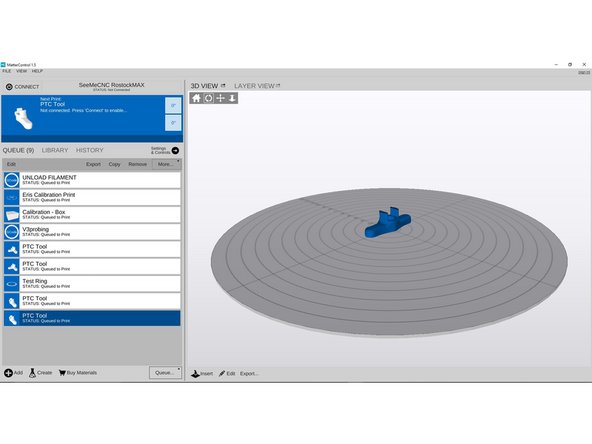
Your next step is to download and check out the MatterControl User Manual It will guide you through setting up MatterControl and running your first print!
-
You can also check out: Setup and User Guides to find other helpful resources such as changing filament, exporting GCODE to the SD card, and more. It would be a good idea to bookmark that page.
-
Cancel: I did not complete this guide.
5 other people completed this guide.



![Rotate the [BLUE] bed clamps to remove the glass build plate and accessories from the printer.](https://d3t0tbmlie281e.cloudfront.net/igi/seemecnc/XAgJ2KFnIkUEuHo6.medium)

