Difficulty
Easy
Steps
2
Time Required

In Progress
This guide is currently being written. Reload periodically to see the latest changes.

User-Contributed Guide
This guide is not managed by the site's staff.

Private
This guide will not appear in search results and can only be viewed by team members!
Quiz
0
Tools
-
-
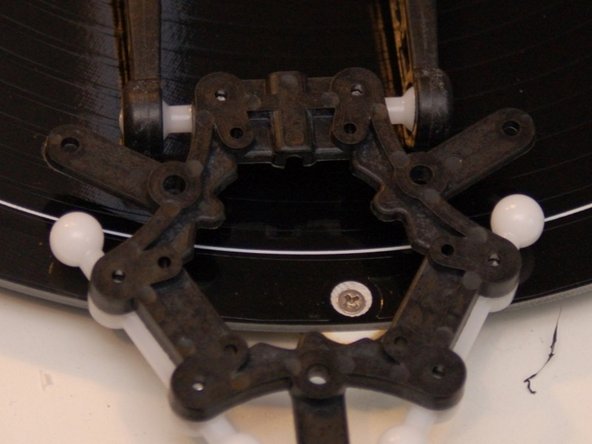
Press a Ball Joint Arm on to two of the mounting posts on the under side of the Ball Joint Platform.
-
Fix in place using two #4, 3/8" machine screws and two #4 flat washers.
-
Repeat for the other two mounting locations as shown in the third image.
-
-
-
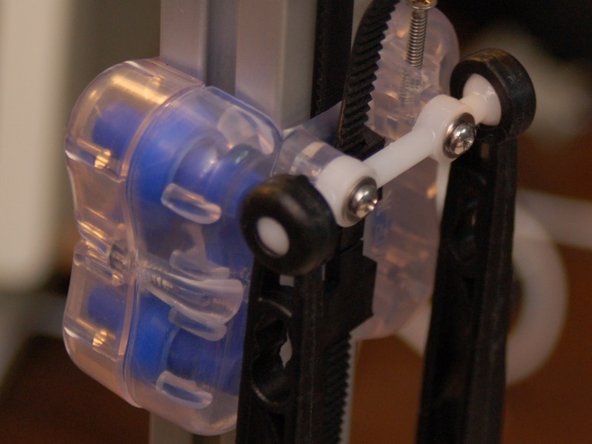
Attach a Ball Joint Arm to the ball joints on the carriage as shown. As you press the socket over the ball on the carriage, you'll hear a faint "click" as it locks into place.
-
Attach the Ball Joint Platform you assembled previously to the other ends of the arms as shown.
-