Difficulty
Easy
Steps
3
Time Required

In Progress
This guide is currently being written. Reload periodically to see the latest changes.

User-Contributed Guide
This guide is not managed by the site's staff.
Quiz
0
-
-
Open MatterControl and click the "Printers..." button and then click on the Add New Printer button.
-
You'll be presented with a Setup Wizard that will allow you to enter the Make & Model of the printer you're adding. In this case, you'll chose SeeMeCNC for the Make and Rostock MAX v3 for the model. Note that if you're using the SeeMeCNC branded version of MatterControl, SeeMeCNC will be the only Make available.
-
The next page of the Setup Wizard will ask to install a Communications Driver. If you installed one during the MatterControl install process, you don't need to install a driver here. For Mac & Linux users, no driver is required.
-
-
-
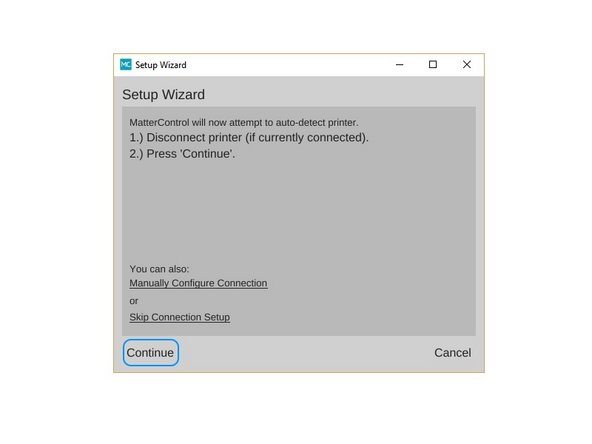
The next Setup Wizard page will instruct you to disconnect your printer to allow it to detect what port it's attached to.
-
Once the Setup Wizard has detect the port your printer is connected to, you can click the Connect button in order to complete the configuration process.
-
-
-
The next task is to perform the initial calibration of the printer. This is done by sending a "G29" command to the Rostock MAX v3.
-
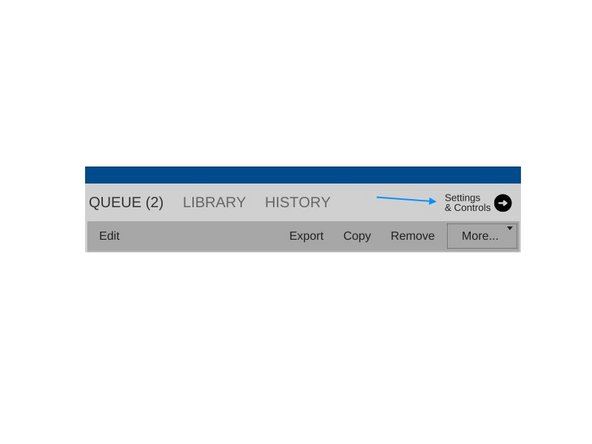
Click on the Settings & Controls button as indicated.
-
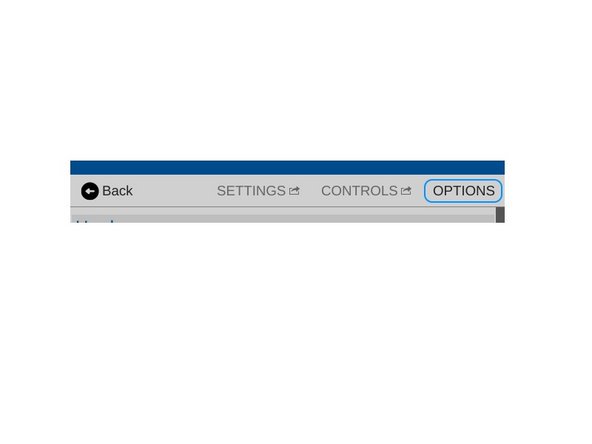
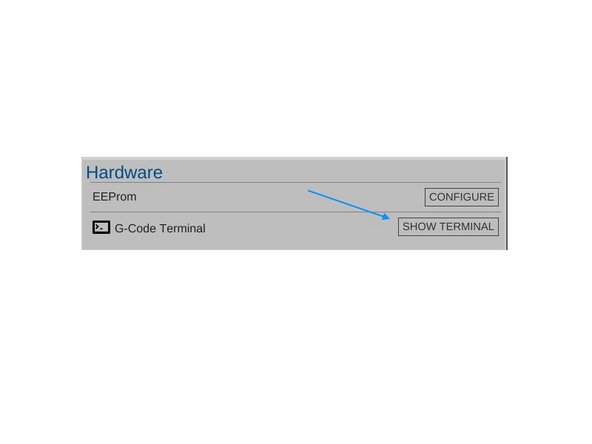
Click on the Options button and then click on the Show Terminal button. This will open up a serial terminal that you'll use to talk to your Rostock MAX v3.
-